
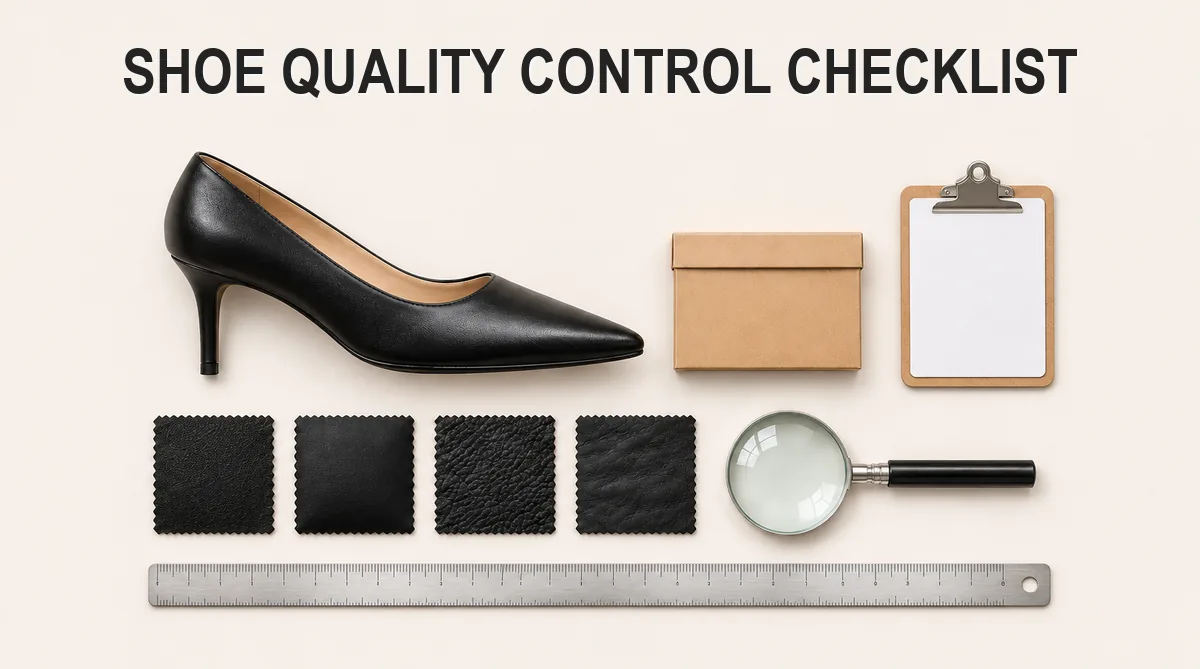
Shoe quality control is a set of agreed checks at three points: when materials arrive, while shoes move through the line, and before the finished lot ships. The buyer defines the defect categories, the sampling level and any lab tests in advance, then accepts or rejects each lot against the inspection report.
This checklist is for brand owners, private-label buyers and sourcing managers who order women’s footwear without in-house QC staff. It follows the order a factory works in, from materials first to packaging last. You will decide what to check and when, set the sampling rules, add checks for heeled styles, read the report, and handle a lot that fails.
Where Quality Control Happens: Three Stages
| Stage | What is checked | Typical checker | Buyer decision |
|---|---|---|---|
| Incoming materials | Leather, fabrics, sole units and trims against approved swatches | Factory material QC or a buyer-appointed inspector | Release materials to cutting or request replacements |
| In-line production | Stitching, lasting, bonding and heel attaching on work in progress | Factory line QC, plus optional buyer or third-party visits | Continue production or require corrections first |
| Pre-shipment final inspection | Finished pairs, packaging and labels on a random sample | Buyer’s inspector or a third-party inspection company | Accept, reject or hold the lot |
Defects found earlier are usually cheaper and easier to fix. A scarred hide caught before cutting means swapping a hide. The same scar found on a finished pump means a pair to sort, repair or reject. For the production steps behind each stage, see how shoes are made.
Checks at every stage fall into four types. Visual checks judge appearance against the approved sample. Functional checks confirm that parts work in normal handling: zippers run, buckles close, the shoe stands level. Sampled inspection applies visual and functional checks to pairs drawn at random from the lot, with acceptance decided by agreed rules. Lab tests use instruments, often destructively, on selected pairs to measure what no inspector can judge by eye.
Incoming Materials
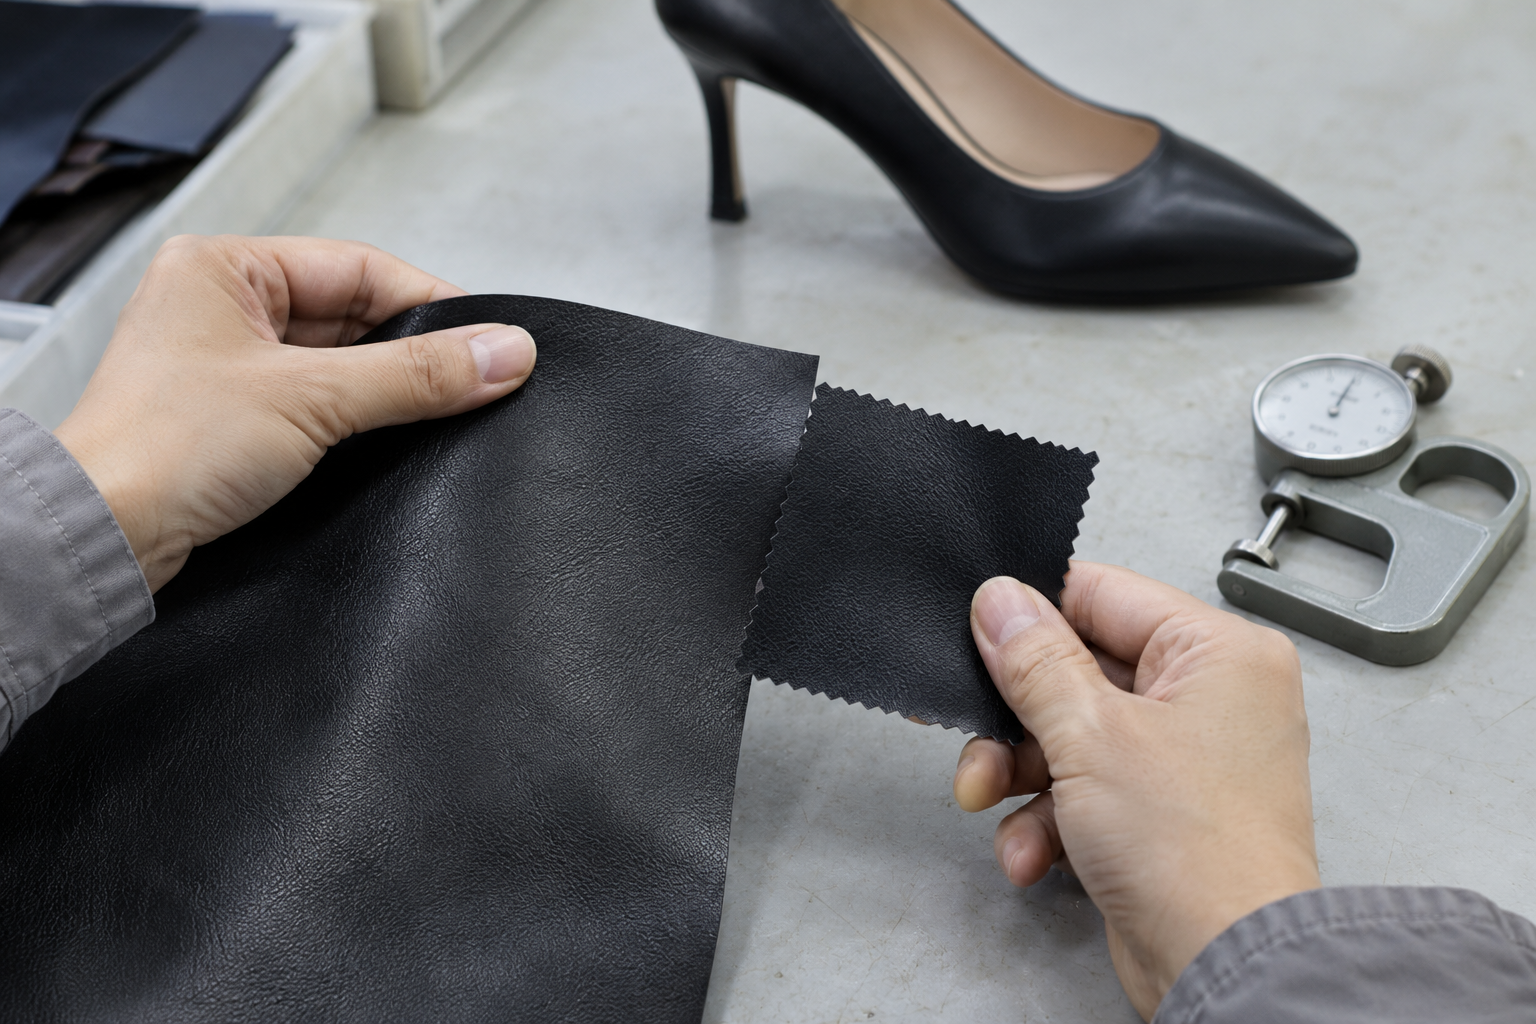
Compare leather texture, thickness and natural marks with the approved material grade and swatches, within the tolerances you agreed. Check fabric color against the approved swatch, and check sole units for bubbles or cracks against the agreed criteria. Ask the factory to compare each material lot with these references and to hold any lot outside them until you decide whether to accept or replace it.
In-Line Production
Line checks look at stitching, lasting and bonding while the shoe is still open. Once the lining is closed and the sole attached, a misplaced seam or poorly cemented edge is hard to reach. For heeled styles, useful checkpoints are after closing the upper, after lasting, and after sole and heel attaching.
Pre-Shipment Final Inspection
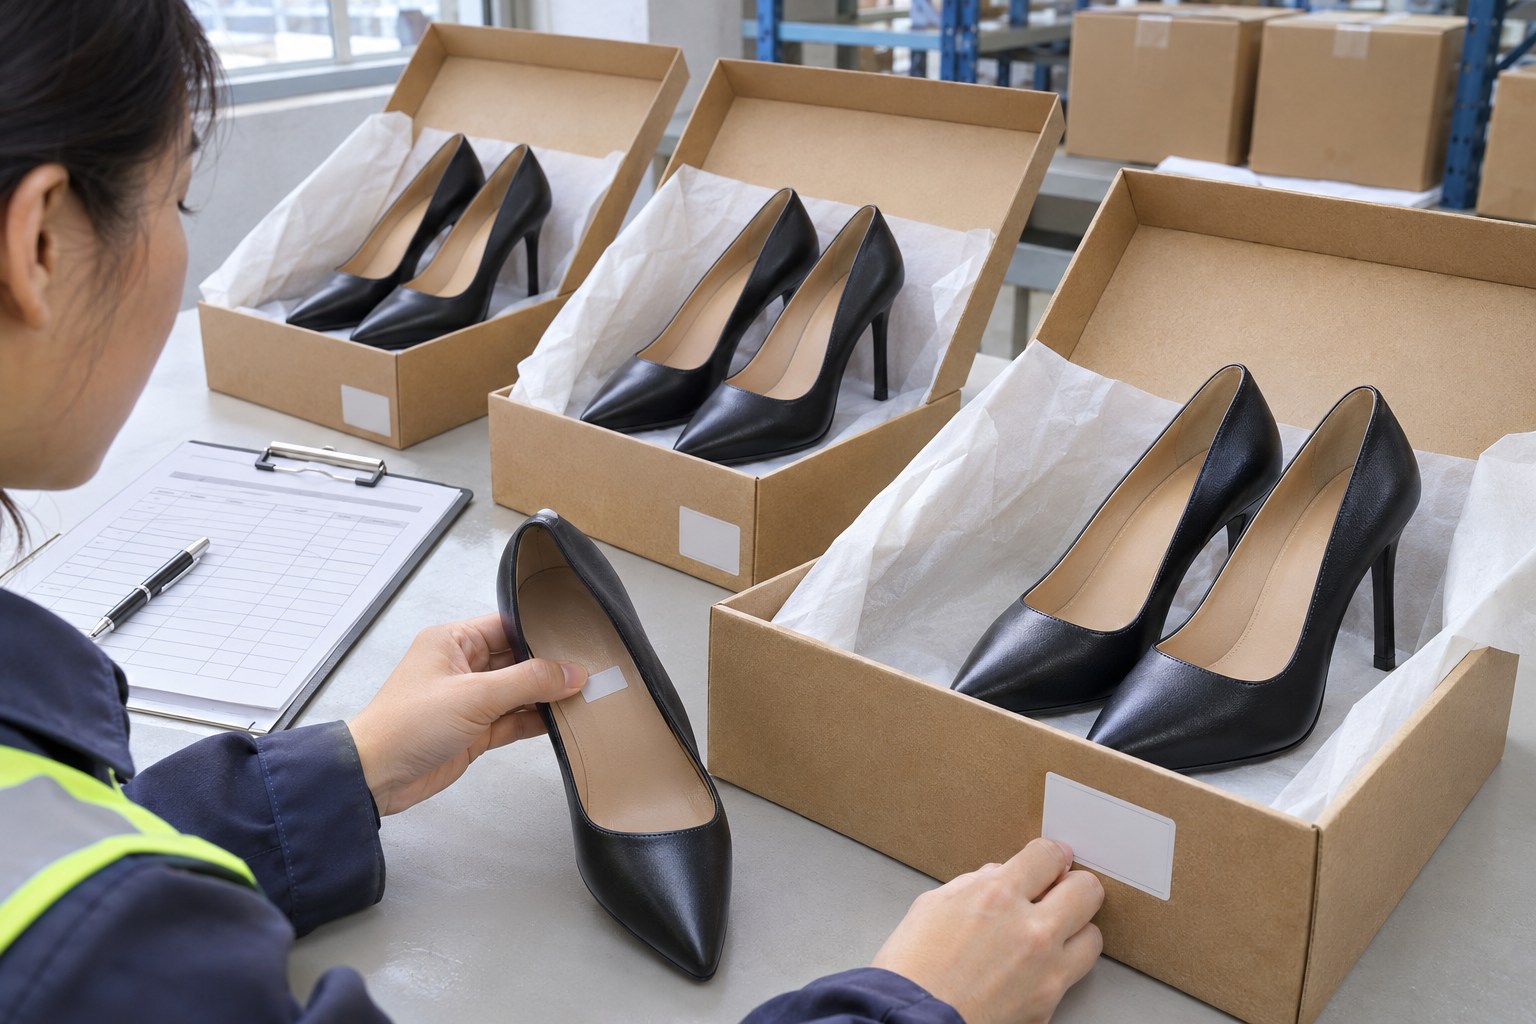
The final inspection takes place once production is complete and most of the order is packed, so the inspector can draw pairs at random from across the cartons. It covers finished pairs, boxes, labels and carton marks, and produces the report you use to accept or reject the lot.
Defect Categories You Define in the Contract
Critical, major and minor are categories you define in the purchase documents, and a factory’s internal definitions may differ from yours. Agree on concrete examples and tolerances in advance, based on how each defect affects safety, function and saleability. A label cannot lower a legal or safety obligation. Illustrative placements might look like this:
- Critical: A defect that could harm the wearer or breach a legal requirement, such as a sharp edge or protruding tack inside the shoe.
- Major: A defect likely to make the pair unsellable, such as a visible glue mark, a misaligned logo or a gap at the sole edge.
- Minor: A departure from the sample that most customers would accept, such as a slight color variance within an agreed range.
Attach a defect list to the order that gives a written definition and tolerance for each defect, with reference photos. The written criteria set the rule, and the photos show the inspector and the factory where each category begins on a real shoe. Update the list after each order with photos of the defects that appeared.
A separate AQL is usually set for each category, and AQLs can be adjusted to your requirements and the product type. Write the acceptance and rejection rule for each category into the plan. A proposed addition is that any safety-critical finding holds release for investigation and corrective action, however clean the cosmetic counts look.
AQL, Inspection Levels and Ac/Re Without the Myths
What AQL Actually Sets
AQL stands for acceptable quality limit, and it is one parameter in the sampling plan. The lot size and the agreed inspection level select the sample size from the sampling table, and the AQL for each defect category then sets the Ac and Re numbers within that plan. State in the plan whether the sampling unit is a single shoe or a pair, and whether the inspector counts nonconforming units or individual nonconformities. Apply that basis consistently so no defect is counted twice. The AQL does not set the percentage of defective shoes allowed in the shipment, and a lot that passes can still contain defective pairs the sample missed.
Choosing an Inspection Level
The general inspection levels are I, II and III, and each uses a different sample size for the same lot. Level I is intended for suppliers or production lines whose reliability has been established. Level III is the most thorough, used when the risk of supplier failure or a new product range calls for more control. Level II gives a medium sample size and is commonly used for normal inspection plans.
No level suits every order. Agree the level with your inspection provider based on what you know about the supplier, the style and the lot, then write it into the purchase documents.
Reading Ac and Re
The inspector finds a sample-size code letter from the lot size and inspection level, then reads the sample size from the sampling table. For each defect category and its AQL, the table gives two numbers. Ac is the maximum count the sample can contain and still be accepted. Re is the minimum count that triggers rejection. Both apply to whatever the plan counts, nonconforming units or individual nonconformities. Each category is judged on its own count, so a lot can pass on minor defects and fail on major ones. Ask for the sample size, the counting basis and the Ac and Re values for each category in the inspection plan, before anyone opens a carton.
Visual and Workmanship Checks on Every Sampled Pair
Judge each item pass or fail against the approved sample and the tech pack.
- Stitching: Loose, skipped, uneven or overlapping stitches, broken threads and open seams.
- Stitch density: Stitches per inch compared with the specification.
- Glue marks: Residue on the upper, sole edge or lining.
- Color: Uniform within each pair and across pairs, compared under the same light as the approved standard.
- Logo and branding: Correct position, spelling and finish on the insock, outsole and upper.
- Sole bond line: No gaps, lifting or uneven cement where the sole meets the upper.
- Surface: No scratches, scuffs, creases or blemishes beyond what the defect list allows.
- Interior: No rough seams, sharp edges or protrusions a foot would touch.
- Function: Zippers, buckles and straps work smoothly and stay secure in normal handling.
Heel-Specific Checks for Women’s Styles
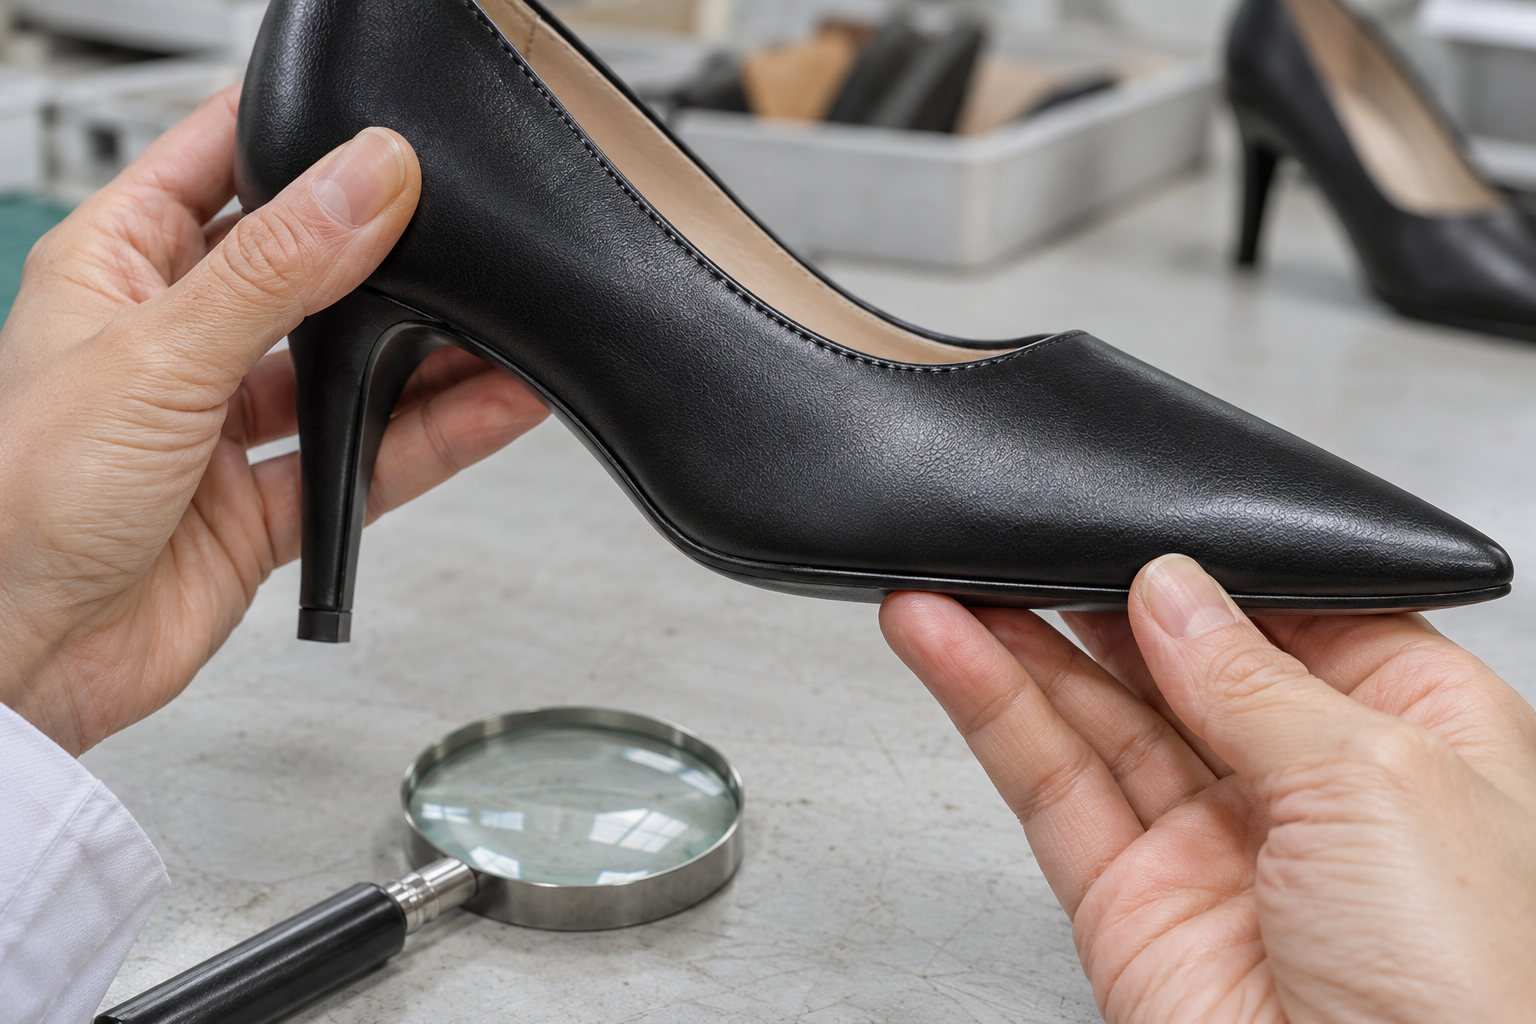
These are hand-and-eye checks on sampled pairs. They screen for visible problems without damaging the shoe. An inspector should not pull, twist or lean on an attached heel to judge its strength. Strength needs a lab test, and forcing the heel can damage a sellable pair.
Heel Seat Security
Look closely at the joint where the heel meets the shoe. Compare any gap, cracked finish, lifting heel cover or excess adhesive with the approved sample, and classify it under your defect list. Heel movement during normal handling is more serious. Photograph and record it, hold the affected goods, and get a qualified assessment before release. The assessor can decide which lab test, if any, fits the problem.
Alignment and Top Lift
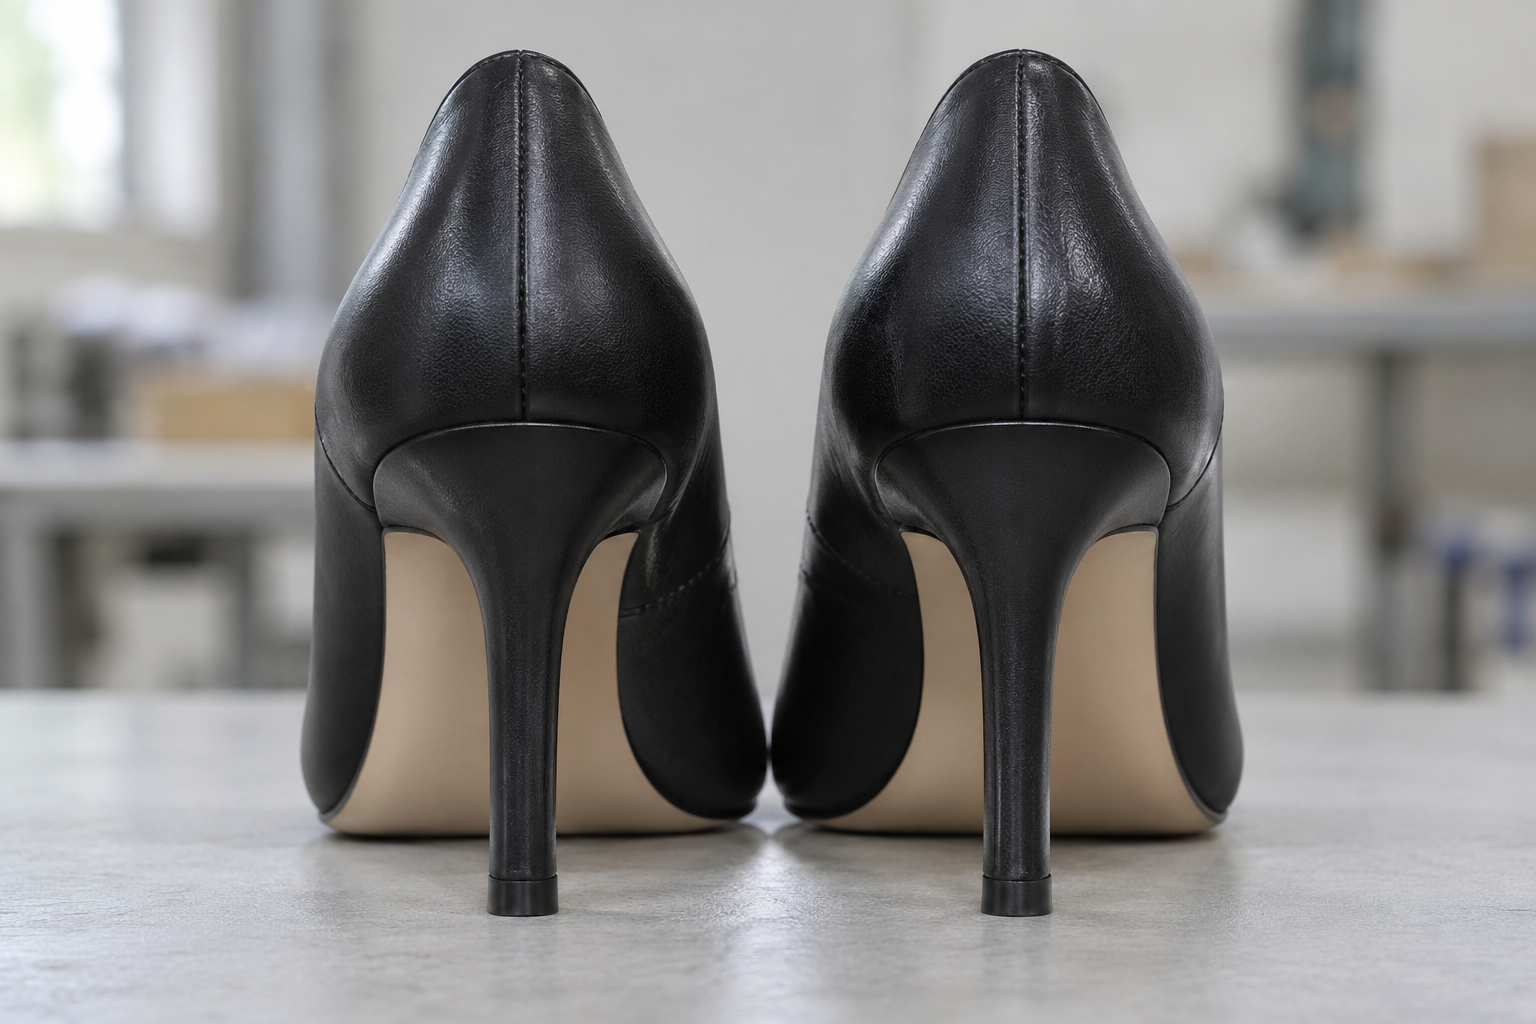
View each shoe from behind and from the side next to the approved sample. The heel should match the sample’s angle and position, which means upright for a straight stiletto and matching the design for a deliberately angled or flared heel. Set the shoe on a flat surface and check that it sits as the sample does, without rocking. The top lift should be fully seated with no gap, edges finished as approved and no exposed fixings.
Pair Symmetry and Sizing Consistency
Left and right shoes should match in heel height, shape and pitch within the tolerance in your specification. Size markings on the insock, outsole, box label and carton should agree. Inconsistent sizing is a common customer complaint, so draw pairs across the size run and compare them with the approved size set, not only the sample size.
When to Specify Lab Tests
On-site inspection covers what an inspector can see and handle without damaging the shoe. Lab tests measure properties with instruments, usually on pairs set aside for the purpose. Specify them when something new or uncertain enters the order: a new style, material, adhesive, supplier or construction, a previous failure, or a performance claim on the label.
Tests worth considering for women’s styles:
- Adhesion and peel: Measures the force needed to peel the sole from the upper. A heat-resistance test checks whether the bond holds across temperatures.
- Heel attachment and backpart rigidity: One lab method clamps the forepart and pulls the heel backwards at a constant rate, recording deformation and the force at which the heel detaches or fails. It applies to most footwear with separately attached heels and is not normally suitable for low heels.
- Flex endurance: Repeated bending shows whether the upper or sole cracks.
- Slip resistance: Measures friction between the footwear and a specified test floor, with or without contaminants such as water or oil. The method also covers heel top lifts.
Pass criteria are contractual. Agree them with the lab and supplier before testing, and record which pairs, materials and conditions were tested, so nobody reads the result as covering a different construction.
Worked Application: Planning QC for a Hypothetical Stiletto Pump Order
This scenario is hypothetical. It shows decisions a buyer would weigh, not a test result, a customer case or a plan that fits every order.
A brand places its first order with a new supplier for a leather pump with a slim high heel in two colors. A recommended starting point:
- Check the leather lot for each color, because two colors may come from different dye lots and a mismatch is cheaper to fix before cutting.
- Schedule in-line checks at lasting and heel attaching, because heel seat problems are hard to correct once the shoe is finished.
- Choose the inspection level with the inspection provider. With no track record and a new style, a tighter level such as Level III may be justified. If the supplier has documented results on similar styles, Level II may be enough. Write down the reason either way.
- Set separate AQLs for critical, major and minor defects, so safety and cosmetic issues are judged on separate counts.
- Ask the lab to confirm that a heel-attachment method applies to this exact heel design, then test pre-production pairs. A weak attachment found then can be corrected before bulk production.
- Base the slip-testing decision on intended use and risk, along with any claims the brand plans to make. A slip-resistance claim needs stated floor and contaminant conditions, and leaving the claim off the label is no reason to skip a test the intended use calls for.
Before ordering, also settle who pays for re-inspection and what happens to pairs used in destructive tests.
What the Inspection Report Should Contain
A useful report covers quantity, quality against the AQL, conformity with the approved sample and specification, and packaging. Also ask for:
- Lot size, sample size and inspection level
- Defects per category, with Ac and Re values and the result
- Photos of each defect type, showing its location on the shoe
- Label, size marking, barcode and carton mark checks
- Anything not checked, with the reason
Agree the report format before production starts, along with the defect list and sampling plan. If you are building a private-label shoe line, file the report template with the tech pack and order documents.
When a Lot Fails: Isolate, Investigate, Correct, Re-Inspect
- Isolate. Hold the lot at the factory, and keep it apart from passed goods.
- Investigate. Ask the supplier for the root cause, not only the defect count. Adhesion failures, for example, often trace back to improper curing or an adhesive that does not suit the materials.
- Correct. The supplier sorts the lot, repairs or replaces defective pairs, and fixes the process that produced them.
- Re-inspect. Draw a fresh sample from the corrected lot under the re-inspection plan agreed for corrective action. Release the lot only when it meets the agreed criteria and any corrective evidence or test results the plan requires are in hand.
Keep the failed report, the cause and the fix together. On the next order, review that record, the supplier’s performance history and the remaining risks with your inspection provider before choosing the inspection level and checks.
Frequently Asked Questions
Is AQL the percentage of defective shoes allowed in my shipment?
No. AQL is a sampling-plan parameter set separately for each defect category. Lot size and inspection level select the sample size, and the AQL sets the Ac and Re numbers, which apply to the unit (shoe or pair) and the counting basis written in the plan. The lot passes or fails on what the inspector counts in the sample, and a lot that passes may still contain some defective pairs.
Who should carry out the inspection: the factory, the buyer or a third party?
Factory QC staff know the product and can check every stage, but they report to the producer. A buyer’s own inspector is independent but adds travel and staff cost. A third-party inspection company is independent and charged per inspection. You can combine factory line checks with an independent final inspection, as long as the contract names who signs off.
Do I need lab tests on every order?
Not necessarily. Tie lab testing to risk and to your contract. Test when the style, material, adhesive, supplier or construction is new, after a previous failure, or when the label makes a performance claim. Heel-attachment testing applies to separately attached heels, not normally to low heels. Unchanged repeat orders may need on-site inspection only.
Can one inspection cover several colors and sizes?
Yes, if the lot is defined clearly. State in the inspection plan whether all colors form one lot or each color is a separate lot. The inspector should draw pairs from across colors, sizes and cartons, not only the first boxes opened, and report findings by color so a problem confined to one color stays visible.
How should I specify a ‘non-slip’ sole?
Avoid the bare label. Slip resistance is measured as friction between the footwear and a specified floor, with or without contaminants such as water or oil, under defined test conditions. Write the floor type, contaminant, test method and pass criterion into the specification, agree them with the lab, and use the same conditions in any product claim.
About TLSTAGE
Since 2012, TLSTAGE has been your trusted one-stop fashion supply partner from Guangzhou, China—specializing in women's footwear, apparel, bags, and accessories.
What started as a specialized footwear supplier has grown into a full-range fashion supply partner, driven by client trust and proven by consistent quality across every product category.
- 20+Years Industry Expertise
- 30+Countries Served
- 300+Global Buyers Trust Us
- FlexibleMOQ by style and project