
You just invested in a stunning pair of premium footwear—perhaps a sleek set of leather oxfords or rugged heritage boots—only to find that after twenty minutes of wear, your feet are screaming in protest. This stiffness isn’t just an inconvenience; it is a recipe for painful blisters, chafing, and potential long-term podiatric issues. Many people simply “power through” the pain, but this often leads to blood-stained heels and a pair of shoes that never quite conform to their gait.
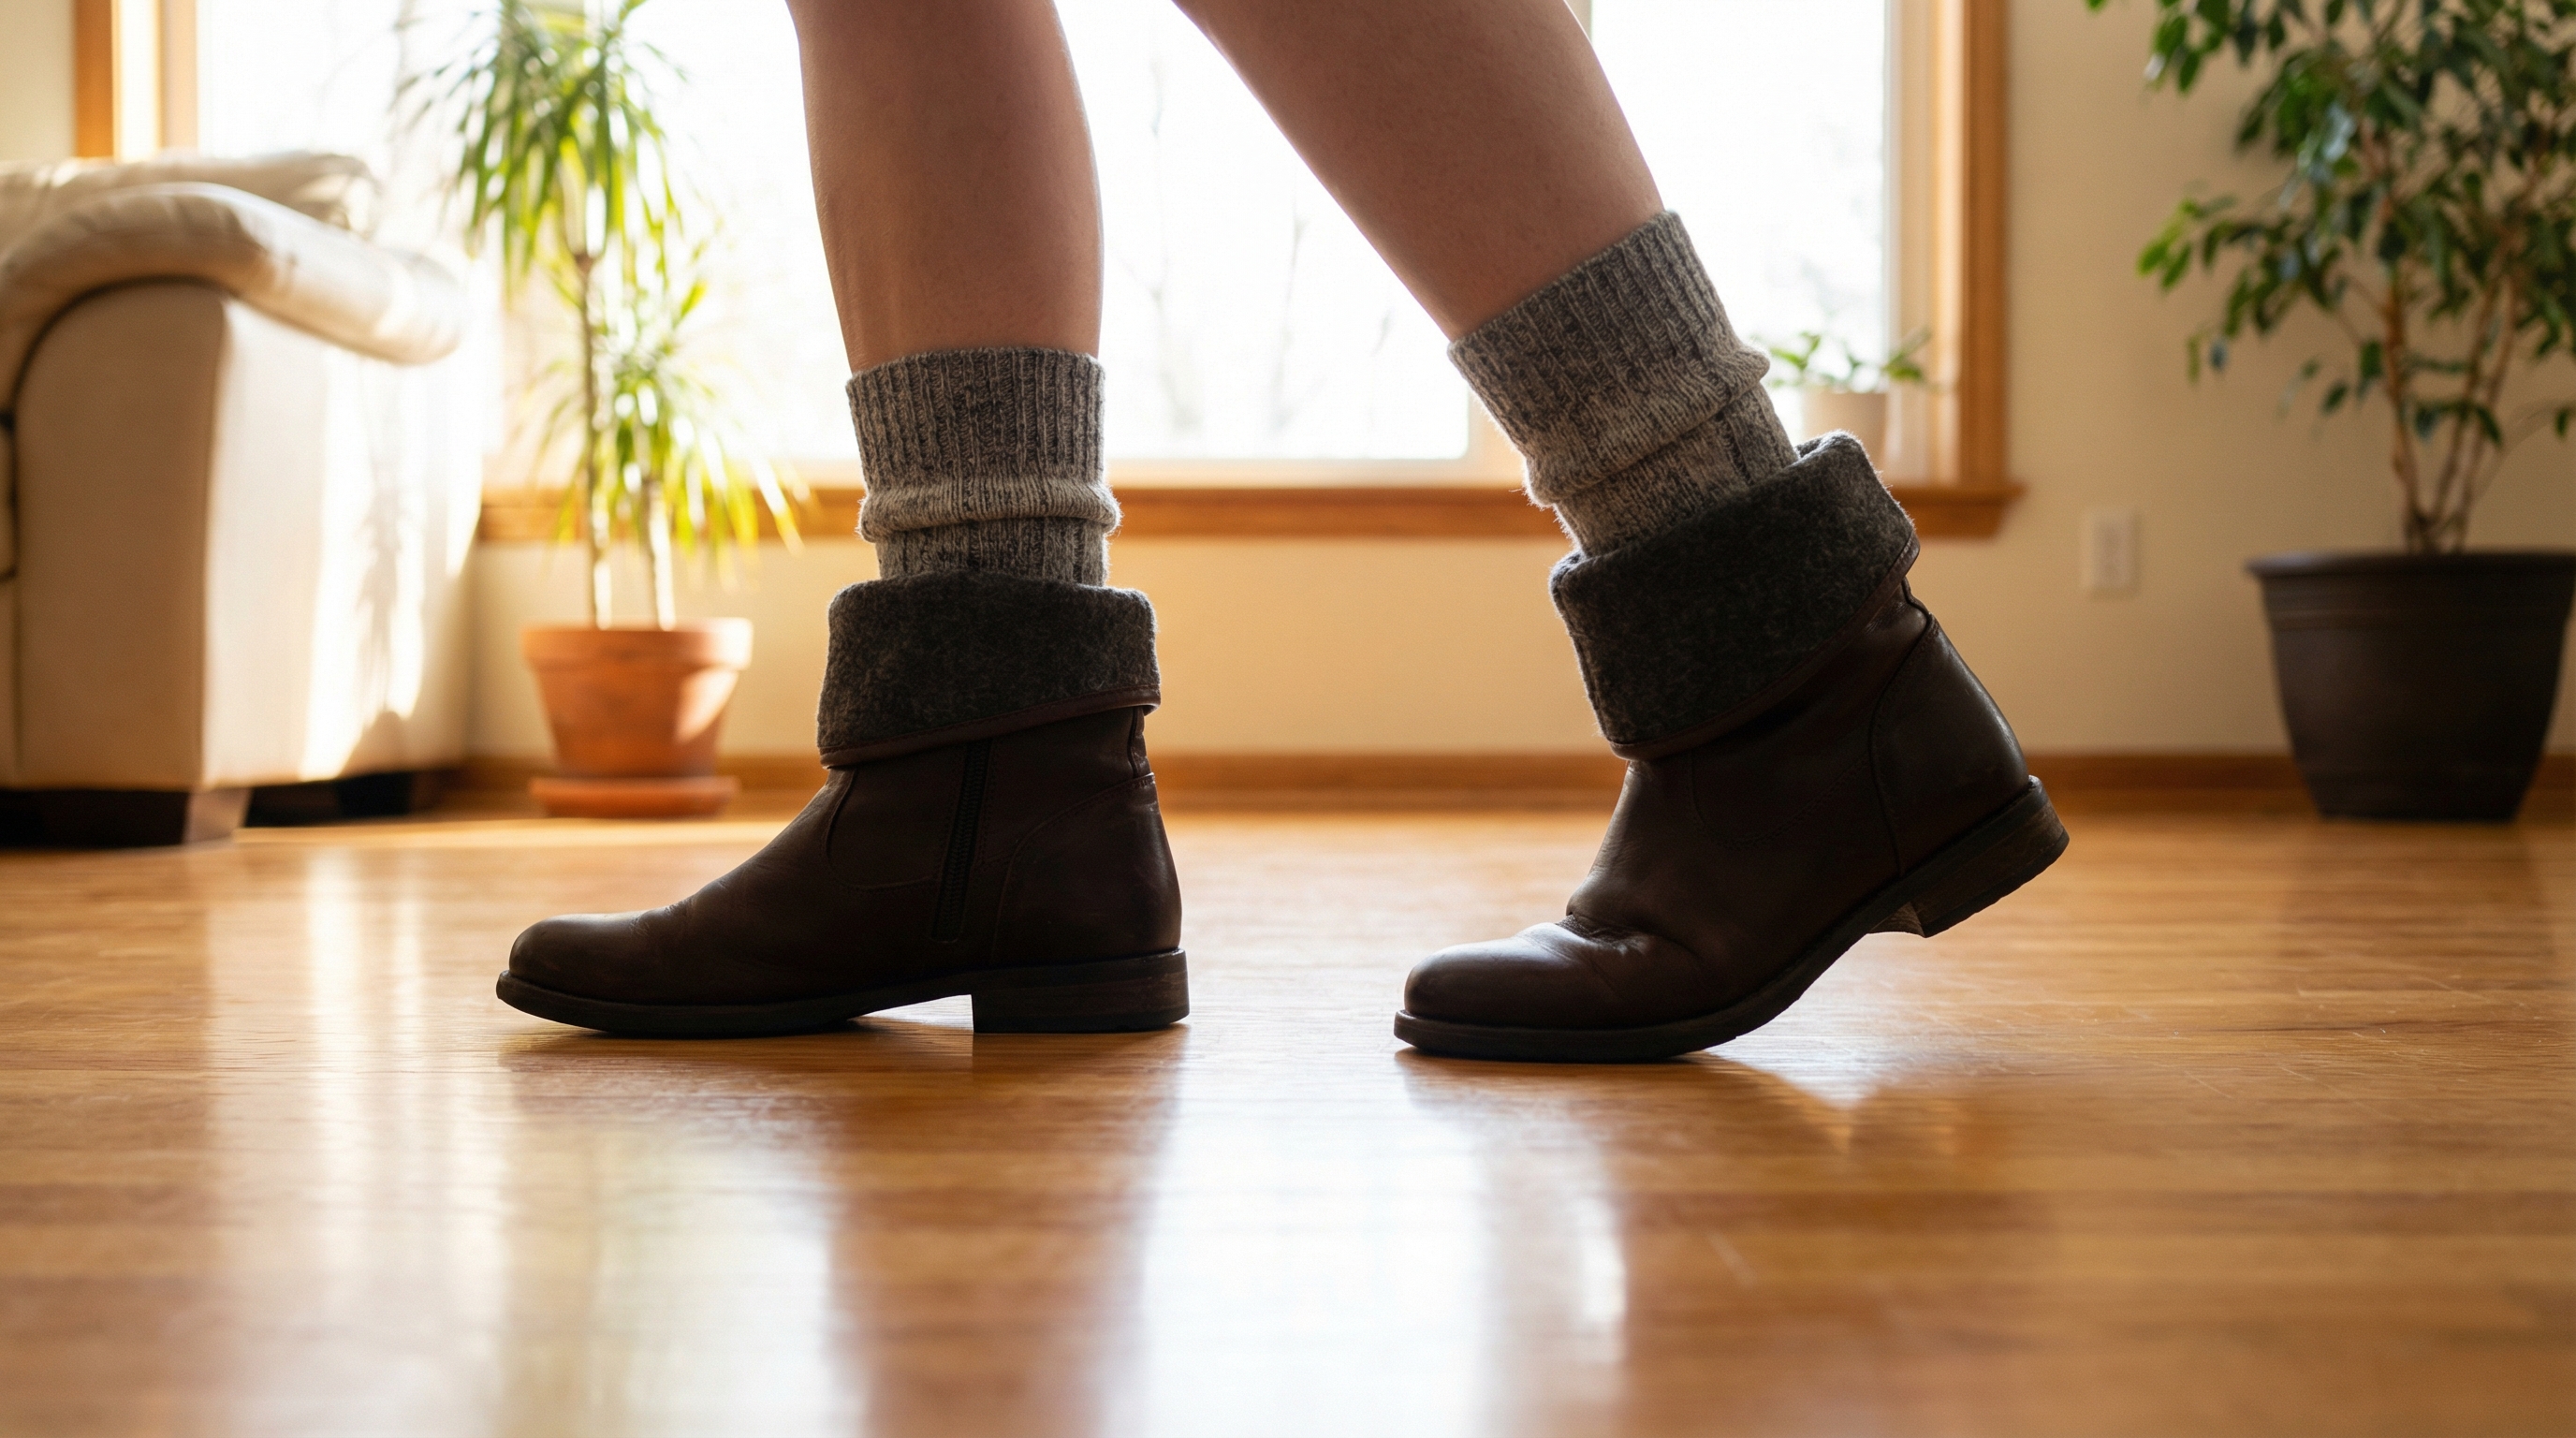
The most effective, safest way to break in new shoes is the Gradual Wear Method paired with thick socks, allowing the natural heat and moisture of your feet to soften the material (particularly leather) and slowly reshape it without the risk of over-stretching or damaging the construction.
Quick Steps Summary: The 48-Hour Comfort Protocol
| Phase | Action | Duration | Primary Goal |
|---|---|---|---|
| Phase 1 | Wear thick “hiking” socks inside the house. | 30 mins (twice daily) | Initial fiber relaxation. |
| Phase 2 | Apply targeted heat to “hot spots” (hairdryer). | 30 seconds per area | Thermal molding of uppers. |
| Phase 3 | Use a leather conditioner or stretching spray. | Overnight application | Chemical softening of fibers. |
| Phase 4 | Short outdoor excursions (commutes/errands). | 2–4 hours | Real-world gait adaptation. |
The Gold Standard: How Do I Use the Gradual Wear and Thick Sock Method?
The foundational principle of footwear longevity is patience. When you first receive a pair of shoes—especially those built to high manufacturing standards—the fibers of the upper material are tightly bound. Forcing these fibers to expand too quickly can lead to micro-tears in the leather or “cracking” in synthetic coatings. As footwear experts, we recognize that the goal is to reach a state of equilibrium where the material provides support without causing localized pressure points.
Incremental Exposure Strategy
The “Incremental Exposure” strategy treats your shoes like a new workout regimen. You wouldn’t run a marathon on day one; similarly, you shouldn’t wear new shoes for an eight-hour shift immediately. By limiting wear to the indoor environment, you retain the ability to remove the shoes the moment “hot spots” (the precursors to blisters) develop. This allows the foot to recover and the shoe to retain the slight expansion it gained during that session.
The Science of the Double-Sock Strategy
The use of thick socks or double-stacking thinner socks serves a dual purpose. First, it adds a physical buffer that protects your skin from friction. Second, it creates a “forced volume” within the shoe.
- Compression: The extra bulk puts constant, gentle pressure on the interior lining, encouraging the material to yield.
- Heat Retention: Thick socks trap more body heat, which is the primary catalyst for softening the natural oils in leather.
- Moisture Management: Minor perspiration slightly dampens the interior, making the material more pliable and responsive to stretching.
The Heat Trick: How Can a Hairdryer Help Soften Stiff Material?
In the world of material science, many shoe components—particularly the counters (heels) and toe boxes—contain thermoplastic reinforcements. These are designed to hold the shoe’s shape, but they can be notoriously stubborn. Applying controlled thermal energy can accelerate the break-in process significantly by making these polymers more malleable.

Precision Heating Techniques
To execute this, put on your thickest socks and step into the shoes. Identify exactly where the shoe feels tightest—usually the heel counter or the widest part of the toe box. Using a hairdryer on a medium setting, direct the airflow toward the tight area for about 20 to 30 seconds. Keep the dryer at least six inches away to prevent surface damage.
The Importance of the Cooling Phase
The secret isn’t just the heat—it’s the cooling. After you’ve heated the material, do not take the shoes off. Walk around the room as the material cools down. As the fibers reach room temperature, they “set” in their newly stretched position. This is essentially a DIY version of the industrial molding processes used for bespoke designs and high-quality private label shoes.
The Ice Method: How Does Freezing Water Stretch Non-Leather Footwear?
While leather responds best to heat, certain synthetic materials and canvas benefit from the physics of water expansion. When water freezes, it expands by approximately 9% in volume. We can use this controlled expansion to apply uniform pressure from the inside out, reaching nooks and crannies that a mechanical stretcher might miss.
Step-by-Step Ziploc Engineering
Fill two heavy-duty, leak-proof freezer bags about one-third full of water. Squeeze out all the air and seal them tightly. Insert the bags into your shoes, ensuring they are pushed firmly into the toe box or the specific area that needs stretching. Place the shoes in the freezer overnight. As the water turns to ice, the 9% expansion exerts consistent, outward pressure on the shoe walls.
Understanding Material Limitations
This method is highly effective for canvas sneakers and certain high-tensile synthetics that don’t respond well to heat. However, use extreme caution with premium leather. Excessive moisture can lead to “salt bloom” or tide marks if the bag leaks, and the extreme cold can sometimes affect the integrity of certain shoe glues used in modern construction.
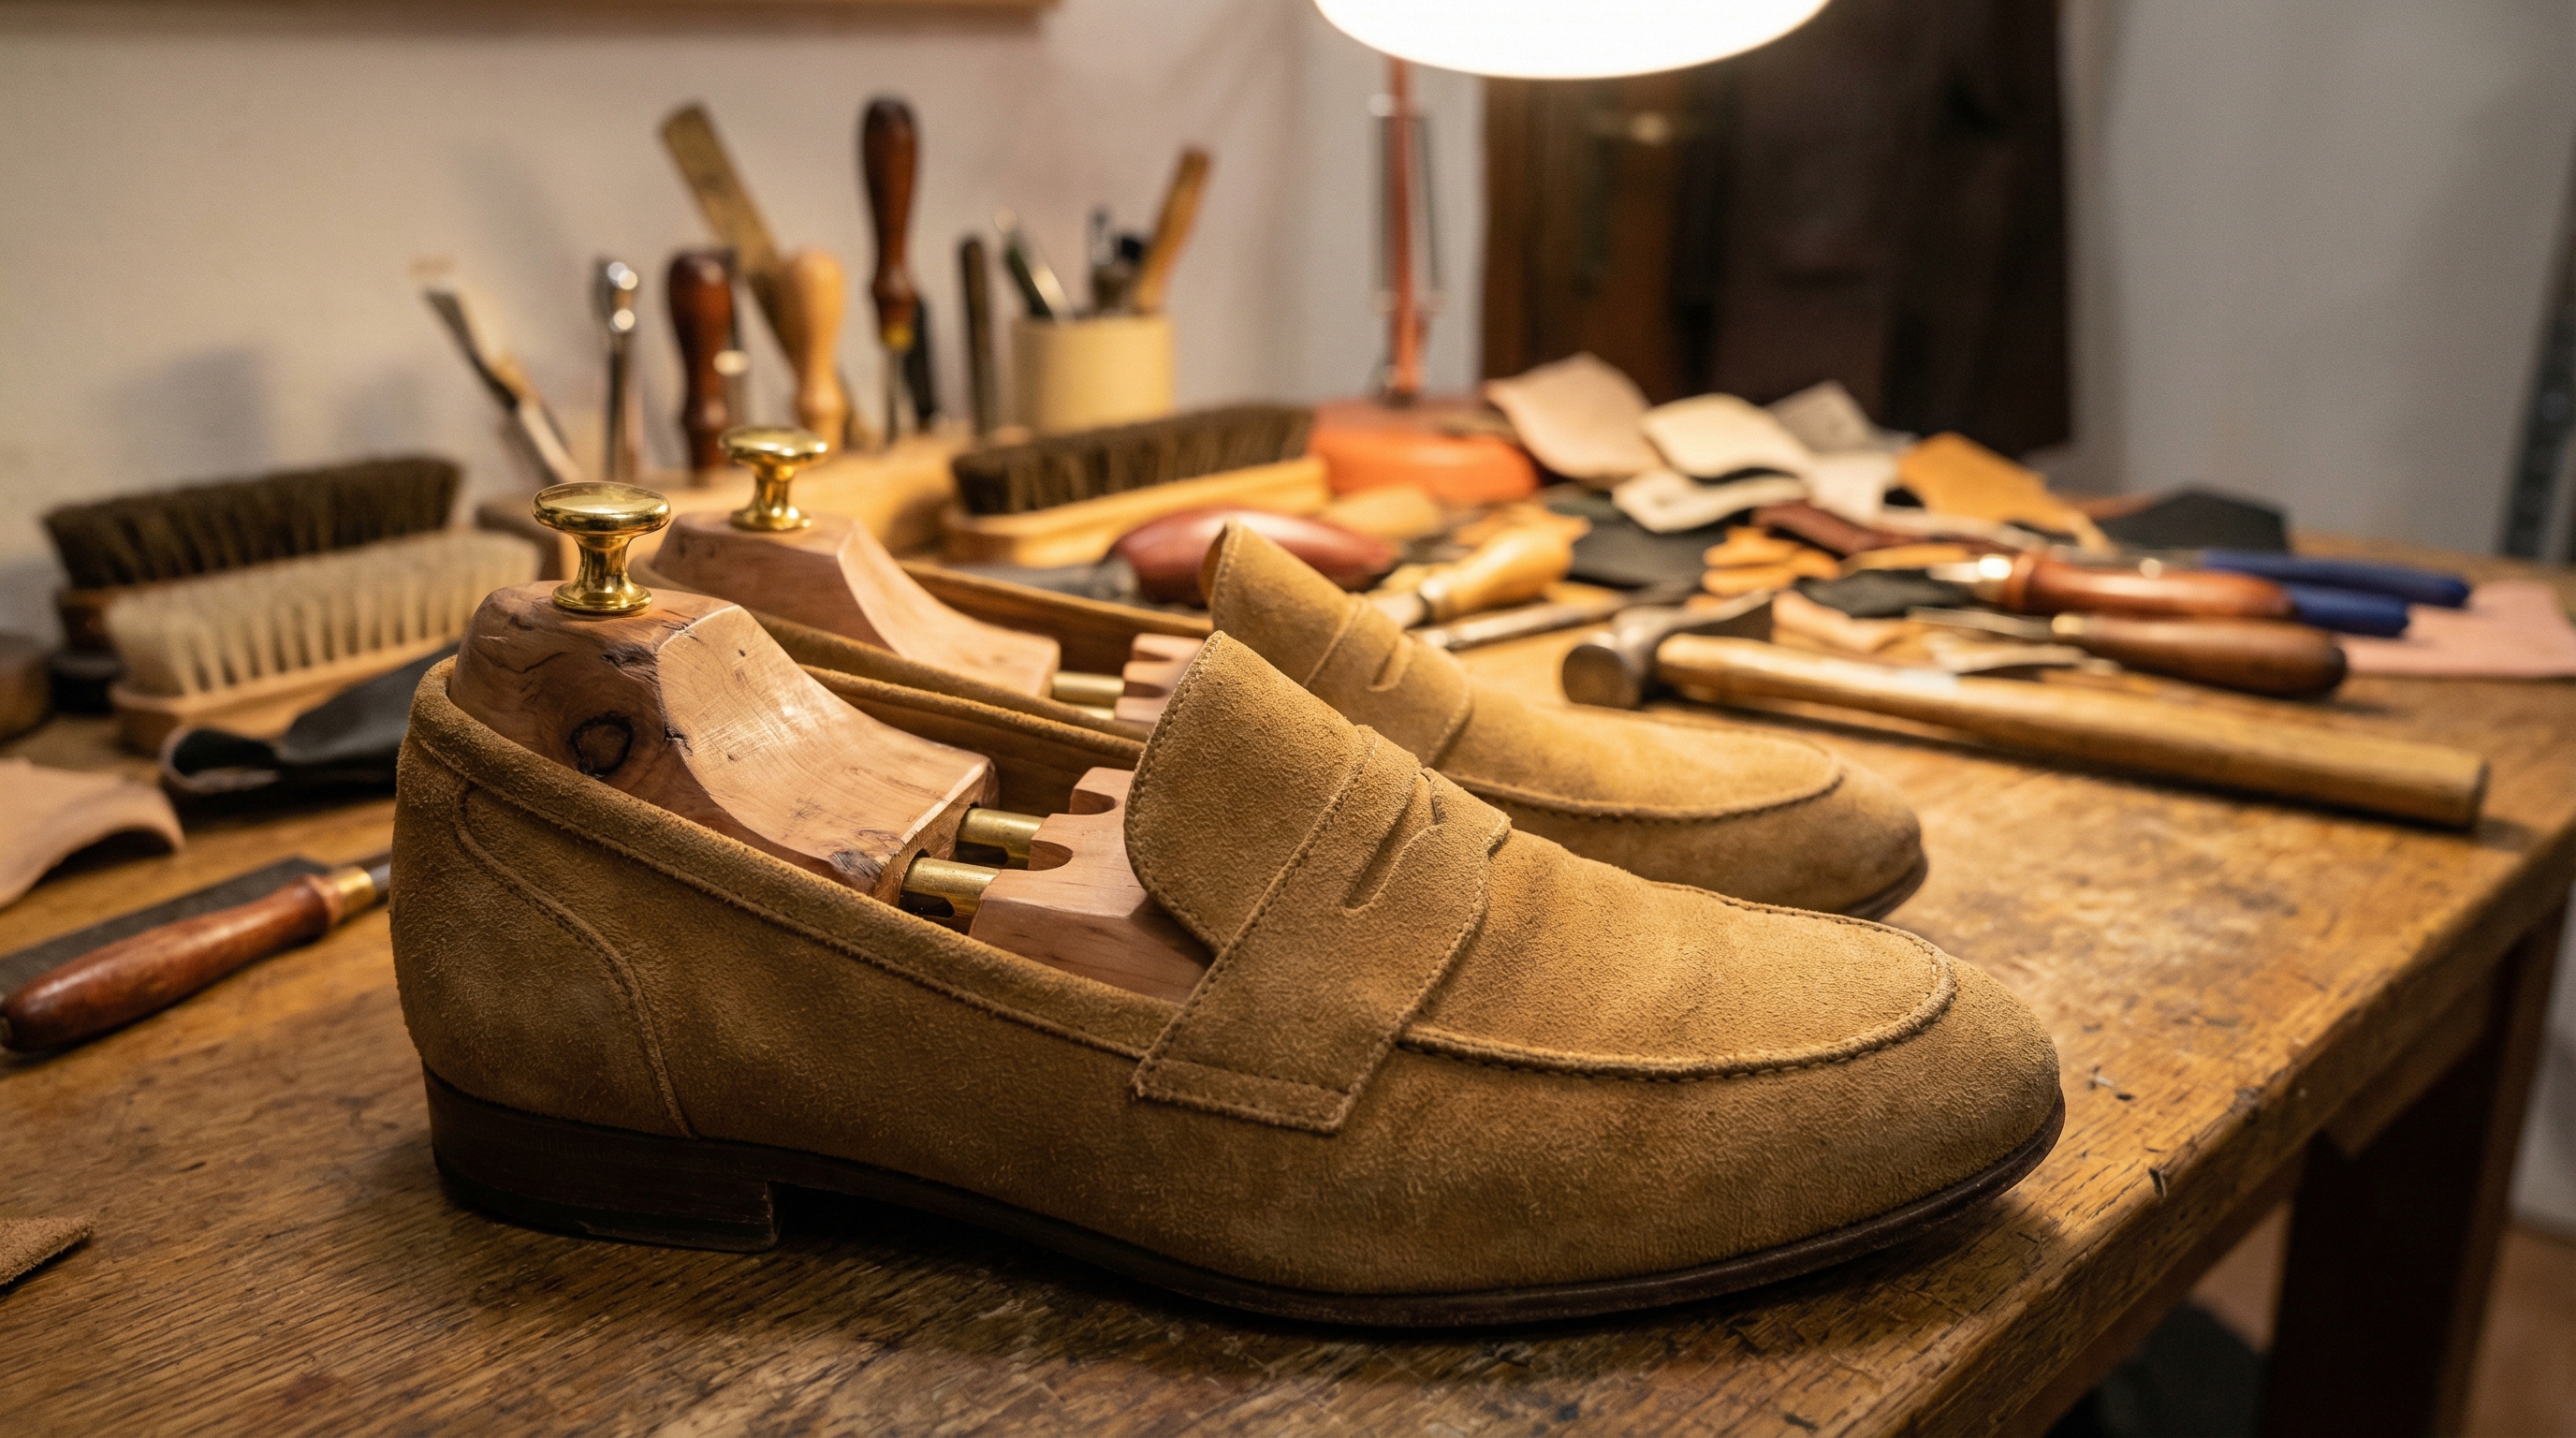
Material-Specific Strategies: Leather vs. Canvas vs. Synthetics
Understanding the “why” behind the stretch requires a look at material science. Not all uppers are created equal, and a method that works for a canvas slip-on might ruin a cordovan loafer. Whether you are breaking in bespoke leather boots or high-volume private label shoes, the material science remains the ultimate guide.

Material Response Comparison
| Material | Elasticity | Best Method | Risk Factor |
|---|---|---|---|
| Full-Grain Leather | High (Protein Fibers) | Heat & Conditioner | High heat causes cracking. |
| Suede/Nubuck | Very High | Steam & Brushing | Water stains easily. |
| Canvas | Low (Mechanical Weave) | Ice Method | Minimal, but can shrink if soaked. |
| Synthetic (PU/PVC) | Variable (Memory) | Mechanical Stretchers | Often returns to original shape. |
| Patent Leather | Very Low | Specialized Sprays | Surface cracking is permanent. |
Organic vs. Inorganic Response
Leather is a biological product consisting of a complex network of collagen fibers. These fibers can be permanently reorganized under tension and heat. In contrast, synthetic materials like Polyurethane (PU) have “material memory.” They are designed to return to their original shape, which is why synthetics often feel like they never truly break in. For these, mechanical force (shoe stretchers) is usually the only viable path to a permanent change.
Professional Equipment: When Should I Invest in Shoe Stretchers?
If home remedies fail, or if you are dealing with an expensive investment that you don’t want to risk with a hairdryer, professional tools are the answer. These tools allow for high-precision mechanical expansion without the trial-and-error of household hacks.
Using Two-Way Stretchers
A professional two-way shoe stretcher can expand both the length and the width of a shoe simultaneously. Most high-quality stretchers come with “bunion plugs”—small plastic inserts that can be placed in specific holes to create targeted relief for bunions, hammertoes, or particularly wide metatarsals.
- Preparation: Apply a stretching liquid (usually a mix of isopropyl alcohol and water) to the interior of the shoe to relax the fibers.
- Tension: Insert the stretcher and turn the handle until you feel significant resistance.
- Duration: Leave the stretcher in for 6 to 8 hours. Over-stretching is a permanent risk, so it is better to do this in multiple short sessions.
Manufacturer Pro Tips: The Science of Footwear Construction
To truly understand how to manipulate a shoe, you must understand how it was built. Drawing on decades of experience as footwear experts, we can provide insights that go beyond standard consumer advice.
The Adhesive Heat Limit
Modern footwear, especially performance sneakers and cemented dress shoes, relies on high-strength industrial adhesives. Most of these cements have a “reactivation temperature” around 150°F (65°C). If you exceed this temperature during the “Heat Trick,” the glue can liquefy, leading to sole delamination—where the bottom of your shoe literally peels off. Always keep your hairdryer moving and never use an industrial heat gun.
The “Last” Logic and Fiber Memory
Every shoe is built around a “last”—a 3D model representing the manufacturer’s idea of a “standard” foot. However, no foot is standard. Breaking in a shoe is the process of re-molding that shoe from the manufacturer’s last to your “organic last.” Synthetic fibers and low-grade corrected grain leathers have high “elastic memory.” To defeat this, you must maintain the stretch for at least 12 hours using a mechanical stretcher after the shoe has been heated, forcing the polymers to undergo “creep,” a permanent deformation that results in a lasting fit.
The “Don’t Do This” List: Common Mistakes That Ruin New Shoes
In an attempt to speed up the process, many people resort to “hacks” that end up destroying their shoes. Remember, footwear is an assembly of delicate materials held together by tension, stitching, and chemistry.
The Blowtorch and Oven Blunder
We have seen users use high-intensity heat sources or even kitchen ovens to “soften” leather. This doesn’t just dry out the material; it literally cooks the collagen fibers. Once leather is “burnt” at a microscopic level, it becomes brittle, loses its structural integrity, and will eventually snap or crumble.
Submersion Sabotage
There is an old military myth that you should soak your boots in water and wear them until they dry. While this will mold the boots to your feet, it is disastrous for the shoe’s lifespan.
- Rot: Constant moisture can lead to mold and mildew in the porous footbed.
- Shrinkage: As the water evaporates, fibers can actually contract tighter than they were originally.
- Odor: Trapped moisture in the deep recesses of the insole is a breeding ground for bacteria.
Frequently Asked Questions
How long does it take to break in new shoes?
For most full-grain leather shoes, the break-in period takes between 3 to 4 weeks of intermittent wear. Synthetic shoes may take less time to “give” initially, but they often never reach the same level of customized comfort as organic leather.
Why do my new shoes hurt my heels even after a week?
The “heel counter” is often the stiffest part of the shoe because it is reinforced with plastic or heavy-duty leather to provide stability. This area requires more targeted heat or mechanical stretching than the rest of the shoe to yield to the shape of your calcaneus.
Can I use professional stretching services at a cobbler?
Yes. Many cobblers use specialized machines that apply heat and high-pressure mechanical tension simultaneously. This is often the safest route for very expensive footwear where you don’t want to risk DIY mistakes.
Should I buy shoes that are slightly tight?
Leather will stretch in width, but it will not “grow” in length. If a shoe is physically too short—meaning your toes are touching the front of the toe box—no amount of breaking in will fix it. Always ensure you have at least a thumb’s width of space at the front.
Is it normal for leather shoes to squeak during the break-in?
Squeaking is usually caused by two pieces of leather rubbing together or a loose internal shank. During the break-in period, this is common. Applying a small amount of talcum powder or cornstarch under the insole can often silence the noise by reducing friction.
The process of breaking in new footwear is a blend of patience and applied physics. By understanding the manufacturing standards and material properties of your shoes, you can transition from “box-fresh stiffness” to “custom-fit comfort” without the pain. Treat your footwear as a long-term investment, and it will provide you with years of service.
For more information on high-quality construction and the science of footwear, you can learn more about our manufacturing standards.
For professional inquiries regarding shoe construction and durability, contact our design team.