
Most people learn to tie their shoes in early childhood and never give the process a second thought until their laces constantly come undone during a workout or a formal event. It is frustrating to constantly stop and re-tie a loose knot, especially when it affects your performance or safety. This common annoyance often stems from a fundamental misunderstanding of knot mechanics or the use of an improper technique for the specific shoe type. By mastering a few professional-grade methods, you can ensure your footwear remains secure, comfortable, and stylish regardless of the activity.
To tie shoes using the standard method, cross the laces to form an “X,” tuck one end under the other, and pull tight. Create a loop with one lace, wrap the other lace around that loop, and push a small section through the hole to form a second loop before pulling both loops firmly.
Quick Steps Summary
| Method | Best For | Difficulty |
|---|---|---|
| Standard Knot | Daily wear, casual sneakers | Easy |
| Bunny Ears | Children, beginners | Very Easy |
| Ian Knot | Speed, efficiency | Medium |
| Surgeon’s Knot | Hiking, boots, preventing slippage | Advanced |
| Heel Lock | Running, preventing blisters | Medium |
The Standard Shoelace Knot: The “Loop, Swoop, and Pull”
The standard knot, also known as the “Standard Shoe Lace Knot,” is the most common method taught worldwide. It is efficient, reliable, and provides a balanced look on most casual and athletic shoes. However, many people unknowingly tie a “Granny Knot” instead of a “Square Knot,” which is why their laces often sit vertically across the shoe and come undone easily.
To execute the standard knot correctly, start by holding one lace in each hand. Cross the left lace over the right to form an “X.” Take the left lace (now on the right) and tuck it under the right lace, pulling both ends tight to create the base of your knot. This base provides the foundation for the entire structure.
Manufacturer Pro Tip: To prevent the base from loosening while you form the loops, use a “friction cross.” Instead of tucking the lace under once, tuck it twice. This creates extra resistance that holds the tension while you complete the rest of the knot.
Creating the First Loop
After tightening the base, create a loop with the right-hand lace. This is often called the “tree.” Hold the loop firmly between your thumb and index finger. The loop should be about two inches long—large enough to work with, but not so large that the finished knot looks sloppy.
The Swoop and the Finish
Take the left lace and wrap it clockwise around the loop you just created. As you wrap the lace around, you will notice a small “tunnel” or hole forming near the base of the loop. Use your finger to push the middle section of the left lace through this hole. This creates a second loop. Grab both loops and pull them away from each other horizontally. If the loops sit across the shoe (perpendicular to the foot), you have successfully tied a secure square knot.
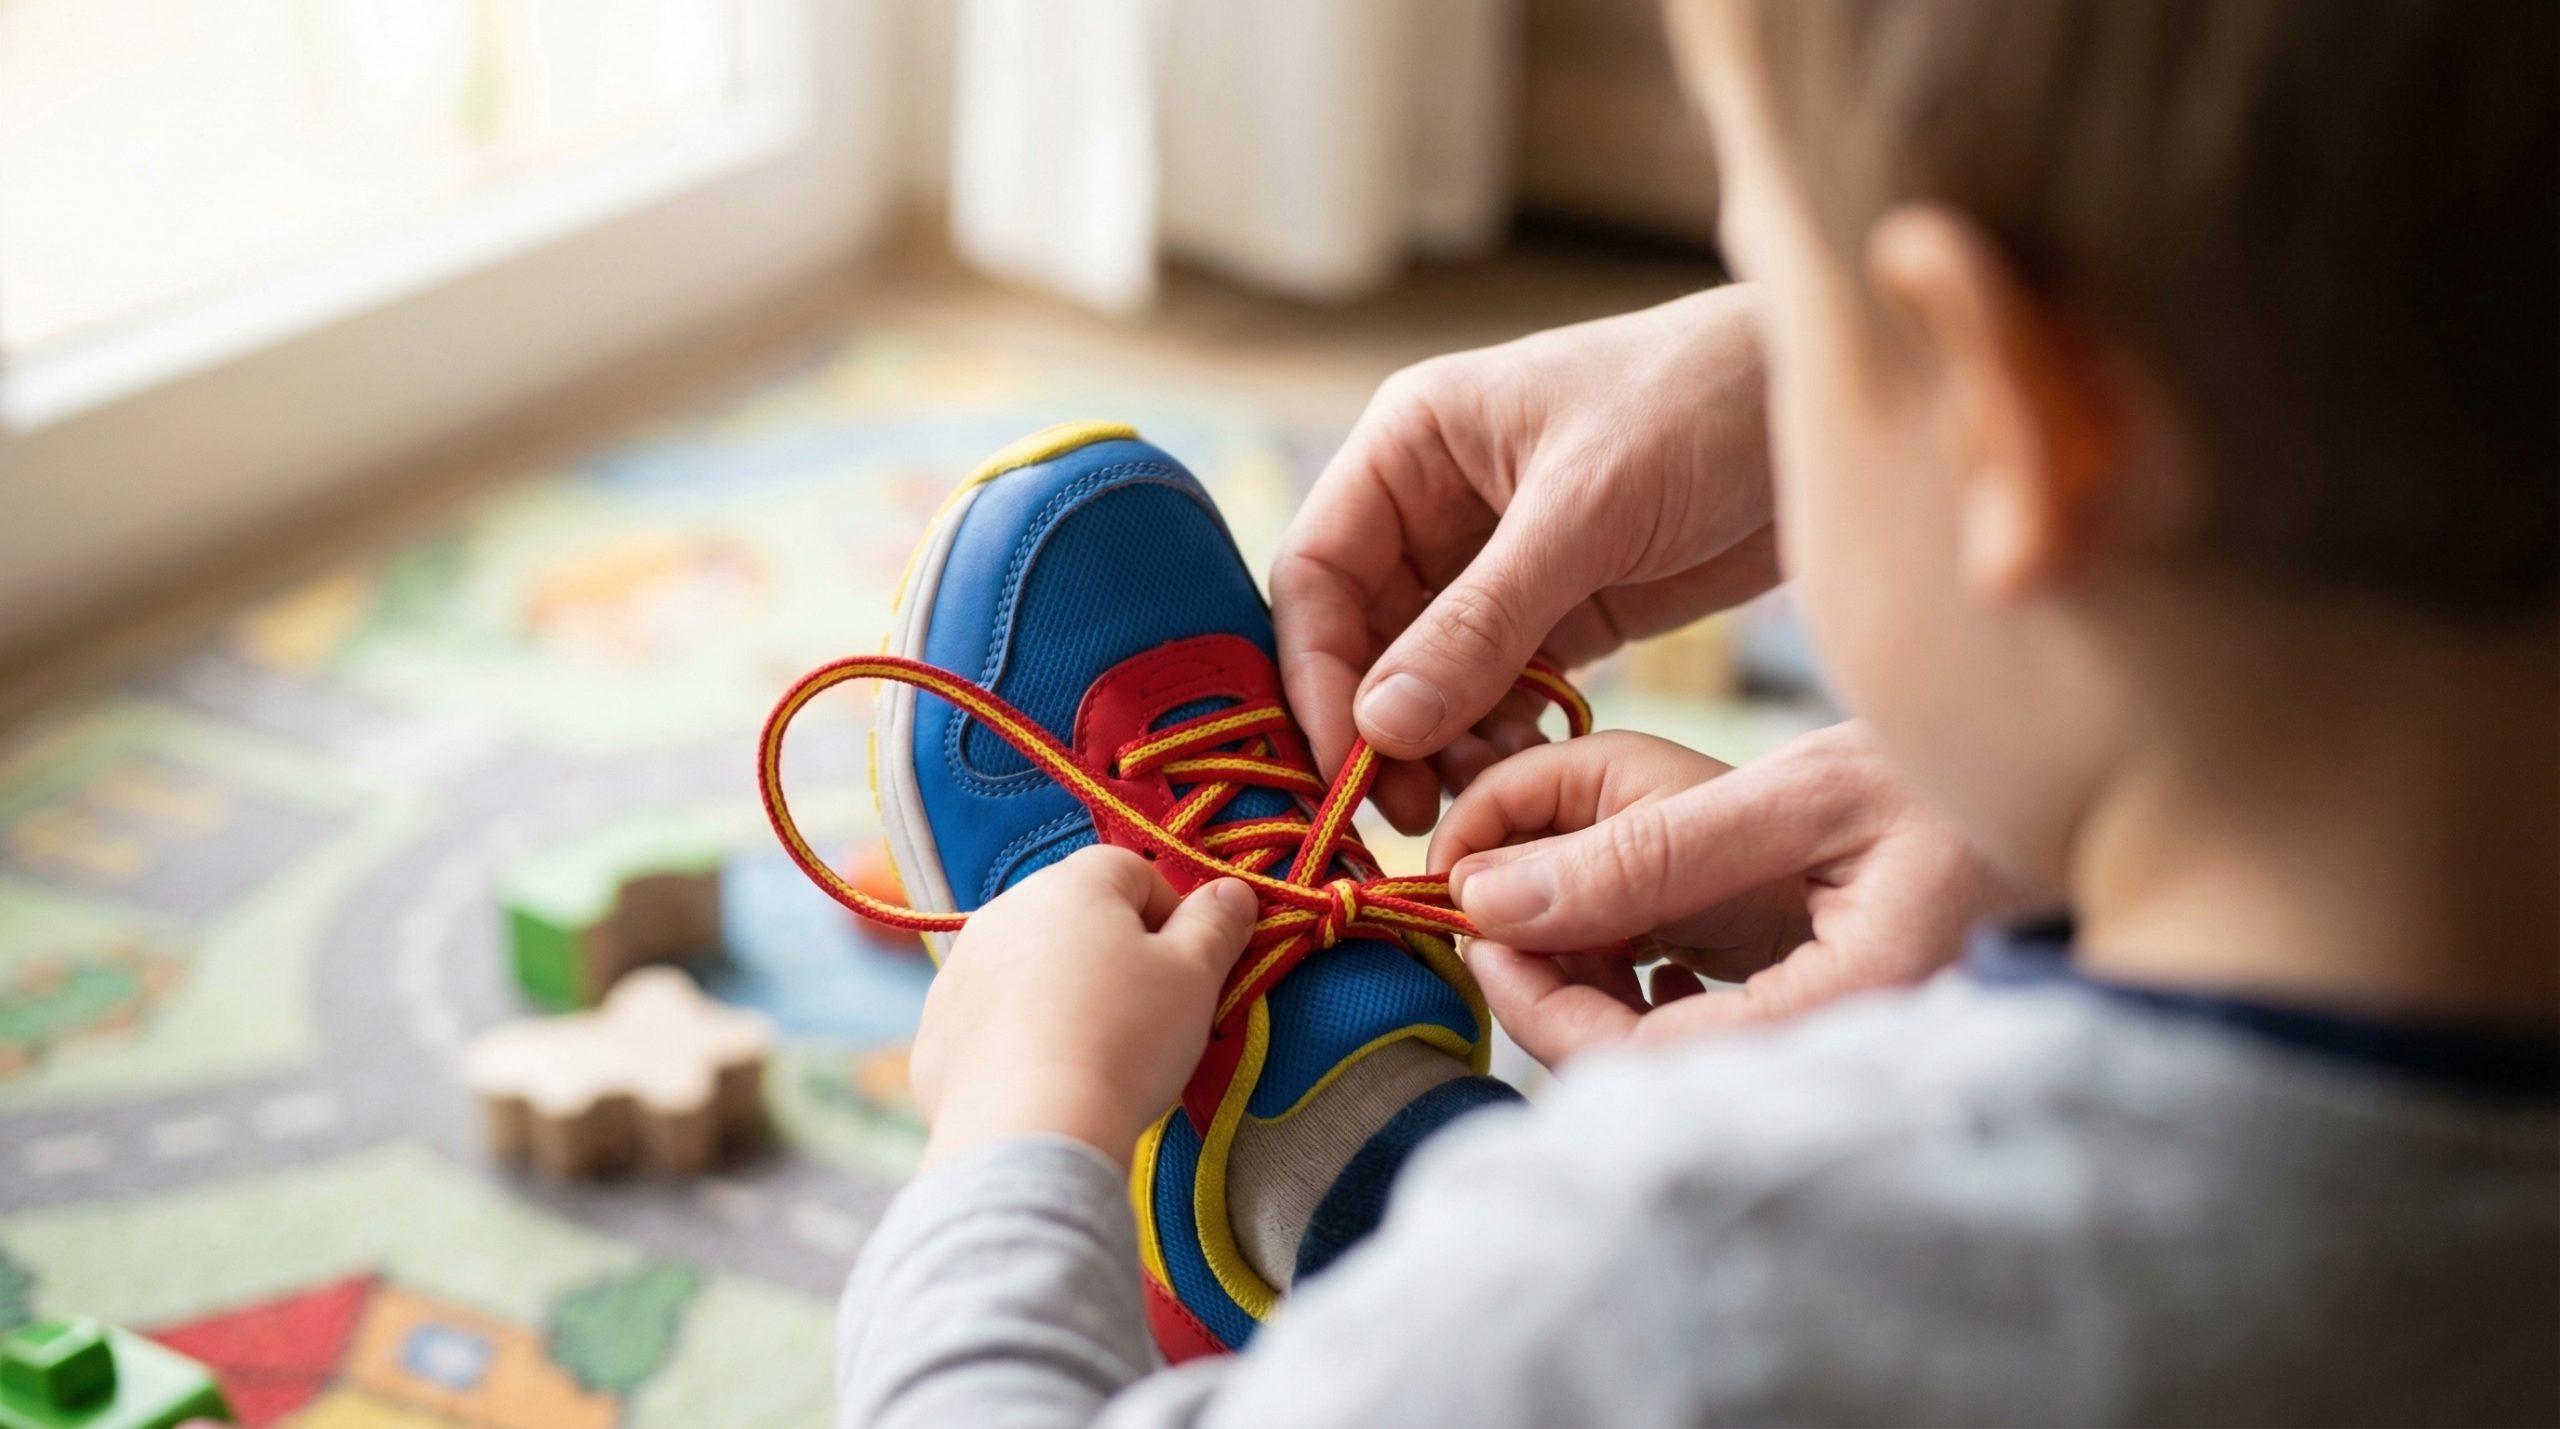
The Bunny Ears Method: Perfect for Beginners
The Bunny Ears method is the preferred teaching tool for children and individuals with limited fine motor skills. It breaks the complex “wrap and push” movement of the standard knot into two identical actions. By focusing on creating two “ears,” the learner can visualize the goal more clearly.
This method starts with the same foundational “X” cross and tuck used in the standard knot. Pulling this base tight is essential; if the base is loose, the “ears” will eventually sag, and the shoe will lose its fit.
Step 1: Making the First Ear
Once the base is secure, take the left lace and fold it back on itself to create a loop (the first bunny ear). Hold it tight at the bottom so the loop doesn’t slide.
Step 2: Making the Second Ear
Repeat the process with the right lace, creating a second loop of the same size. You should now be holding two distinct loops, one in each hand.
Step 3: Tying the Ears Together
Cross the two “ears” to form an “X.” Take one ear, tuck it under the other through the central hole, and pull both ears tight. The beauty of this method is that it is essentially tying a basic knot using loops instead of single strands. To make it even more secure, you can perform a “Double Bunny Ear” by tucking the loop through the hole a second time before pulling tight.
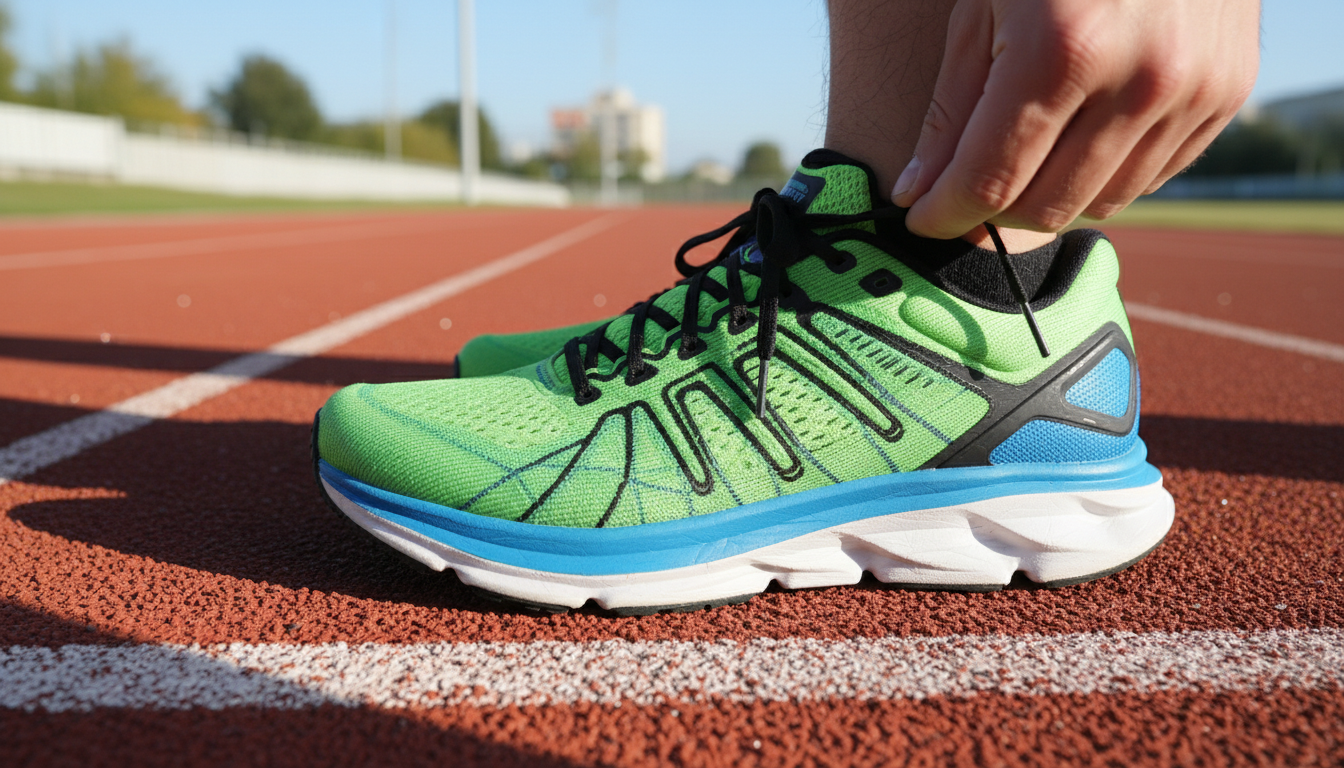
Advanced Performance Lacing for Athletes
Athletes, particularly runners and triathletes, require more from their laces than just a secure knot. They need a system that prevents “heel slip,” accommodates foot swelling, and reduces pressure on the top of the foot. For brands looking to develop high-performance private label shoes, these specialized lacing techniques are often a key selling point.
The “Heel Lock” or “Runner’s Loop” is perhaps the most famous performance technique. It utilizes the extra, often-ignored eyelet at the very top of the shoe. By creating a small loop with this eyelet and threading the opposite lace through it, you create a pulley system that cinches the heel into the back of the shoe without over-tightening the rest of the foot.
Lacing for Wide Feet
If you feel excessive pressure on the sides of your feet, you can use “parallel lacing” or “window lacing.” Instead of crossing the laces over the tongue, you run them vertically through the eyelets in the areas where you feel the most pressure. This creates a “window” of space that allows the shoe’s upper to expand outward, providing immediate relief.
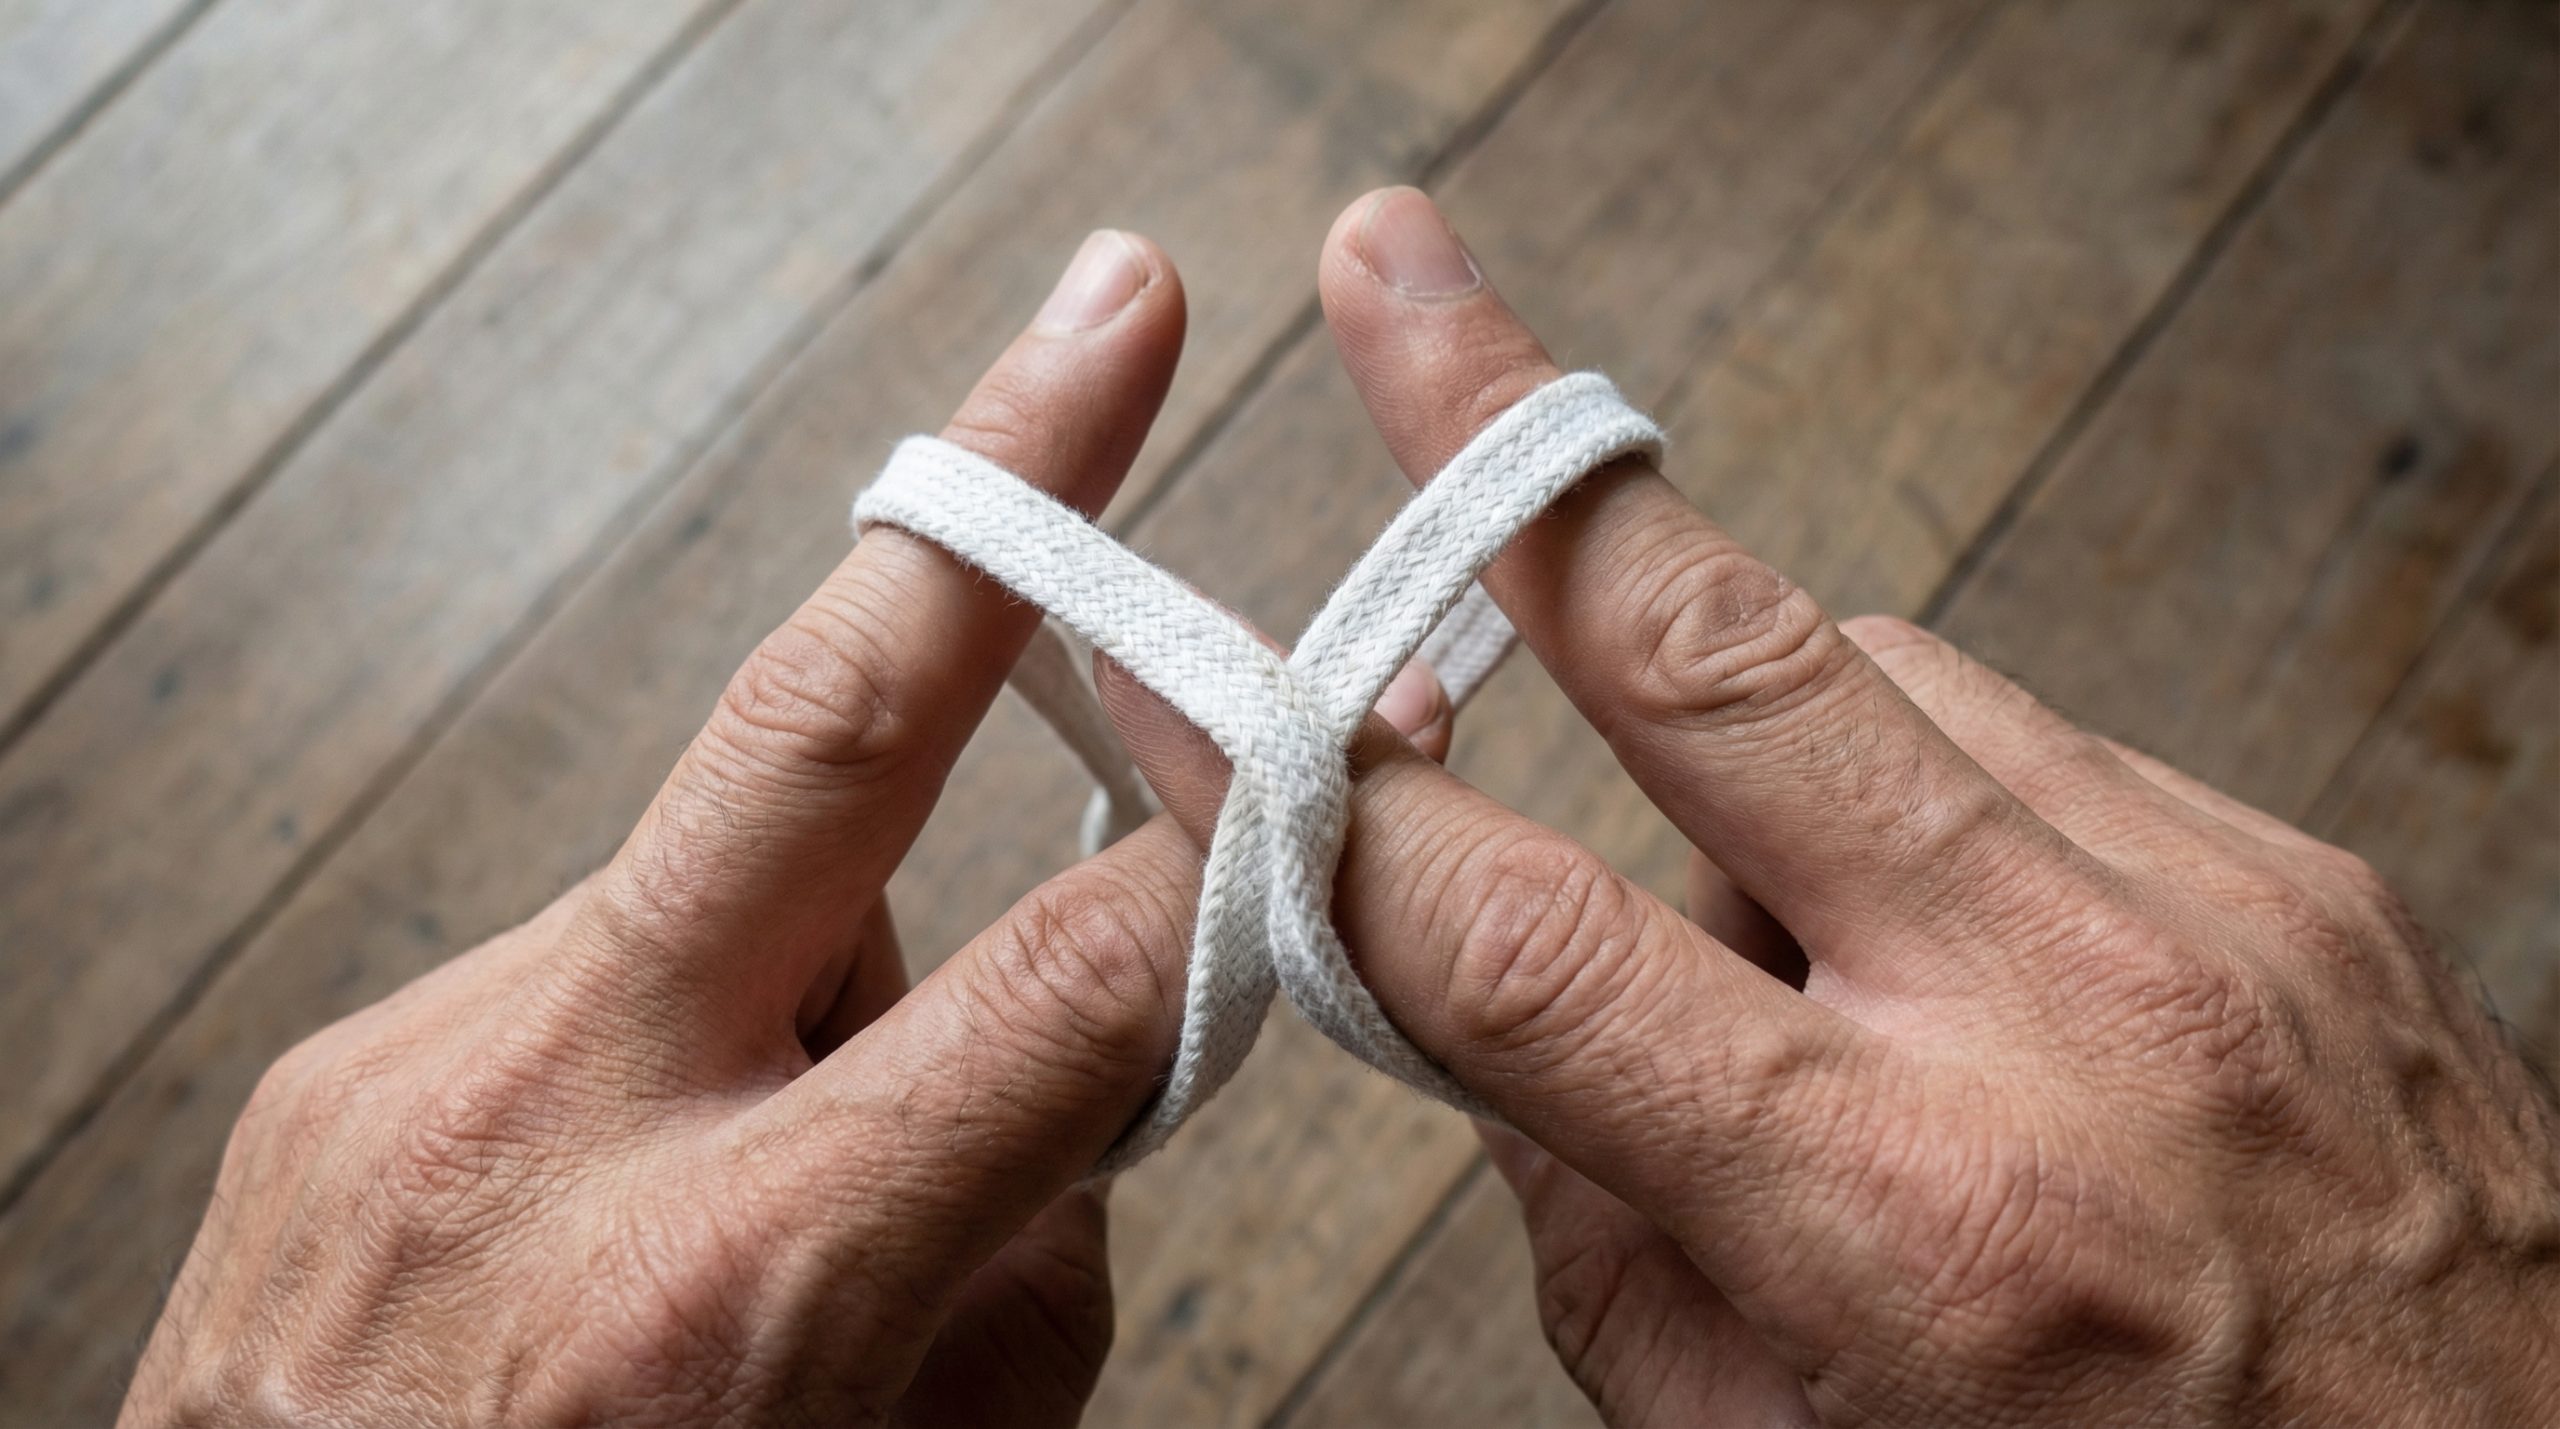
The Ian Knot: The World’s Fastest Shoe Knot
For those who value efficiency, the Ian Knot is the gold standard. Invented by Ian Fieggen, this method allows you to tie your shoes in a single, fluid motion that takes less than a second once mastered. It involves creating two opposing loops simultaneously and pulling them through each other. It is mechanically identical to the standard knot but significantly faster because it eliminates the sequential “wrap and push” steps.
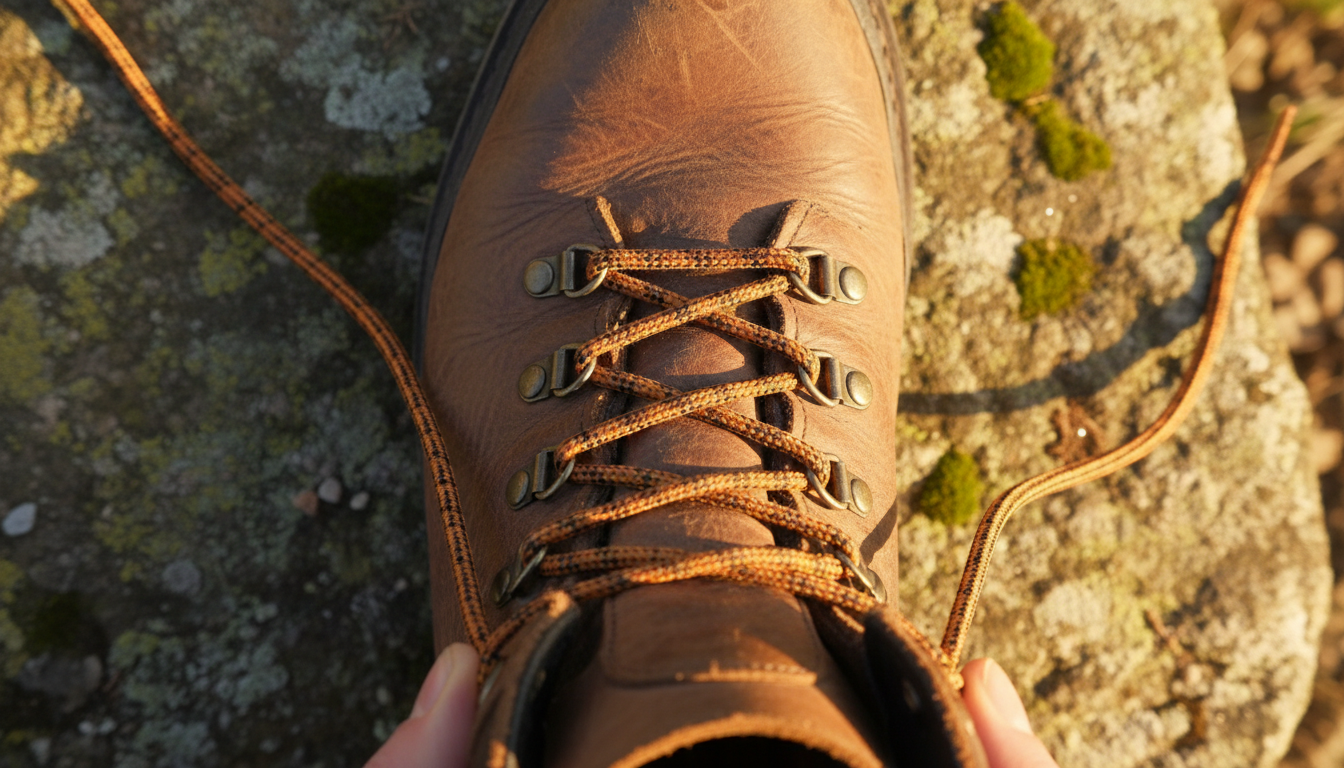
Specialized Knots for Hiking and Outdoors
When you are miles into a trail, a loose shoelace is more than a nuisance; it is a tripping hazard. Hiking boots present unique challenges because they are often made of thicker materials and have “speed hooks” rather than traditional eyelets. The goal in the outdoors is to maintain consistent tension while allowing the ankle to flex.
The “Surgeon’s Knot” is the ultimate solution for hiking. It involves adding an extra twist to the base knot and an extra wrap to the final loops. This creates so much friction that the laces cannot slide, even if the top of the knot becomes slightly loose.
Managing Tension with Speed Hooks
Most high-quality boots feature metal speed hooks at the ankle. To use these effectively, you should cross your laces and hook them from the top down rather than the bottom up. This “locking” motion ensures the lace stays seated in the hook even when the boot flexes during steep climbs.
Manufacturer Pro Tip: In rugged environments, the durability of the lace sheath is paramount. We recommend using “braid-over-core” laces for outdoor footwear. This construction ensures that even if the outer layer is abraded by rocks or brush, the inner core maintains the structural integrity of the tie.
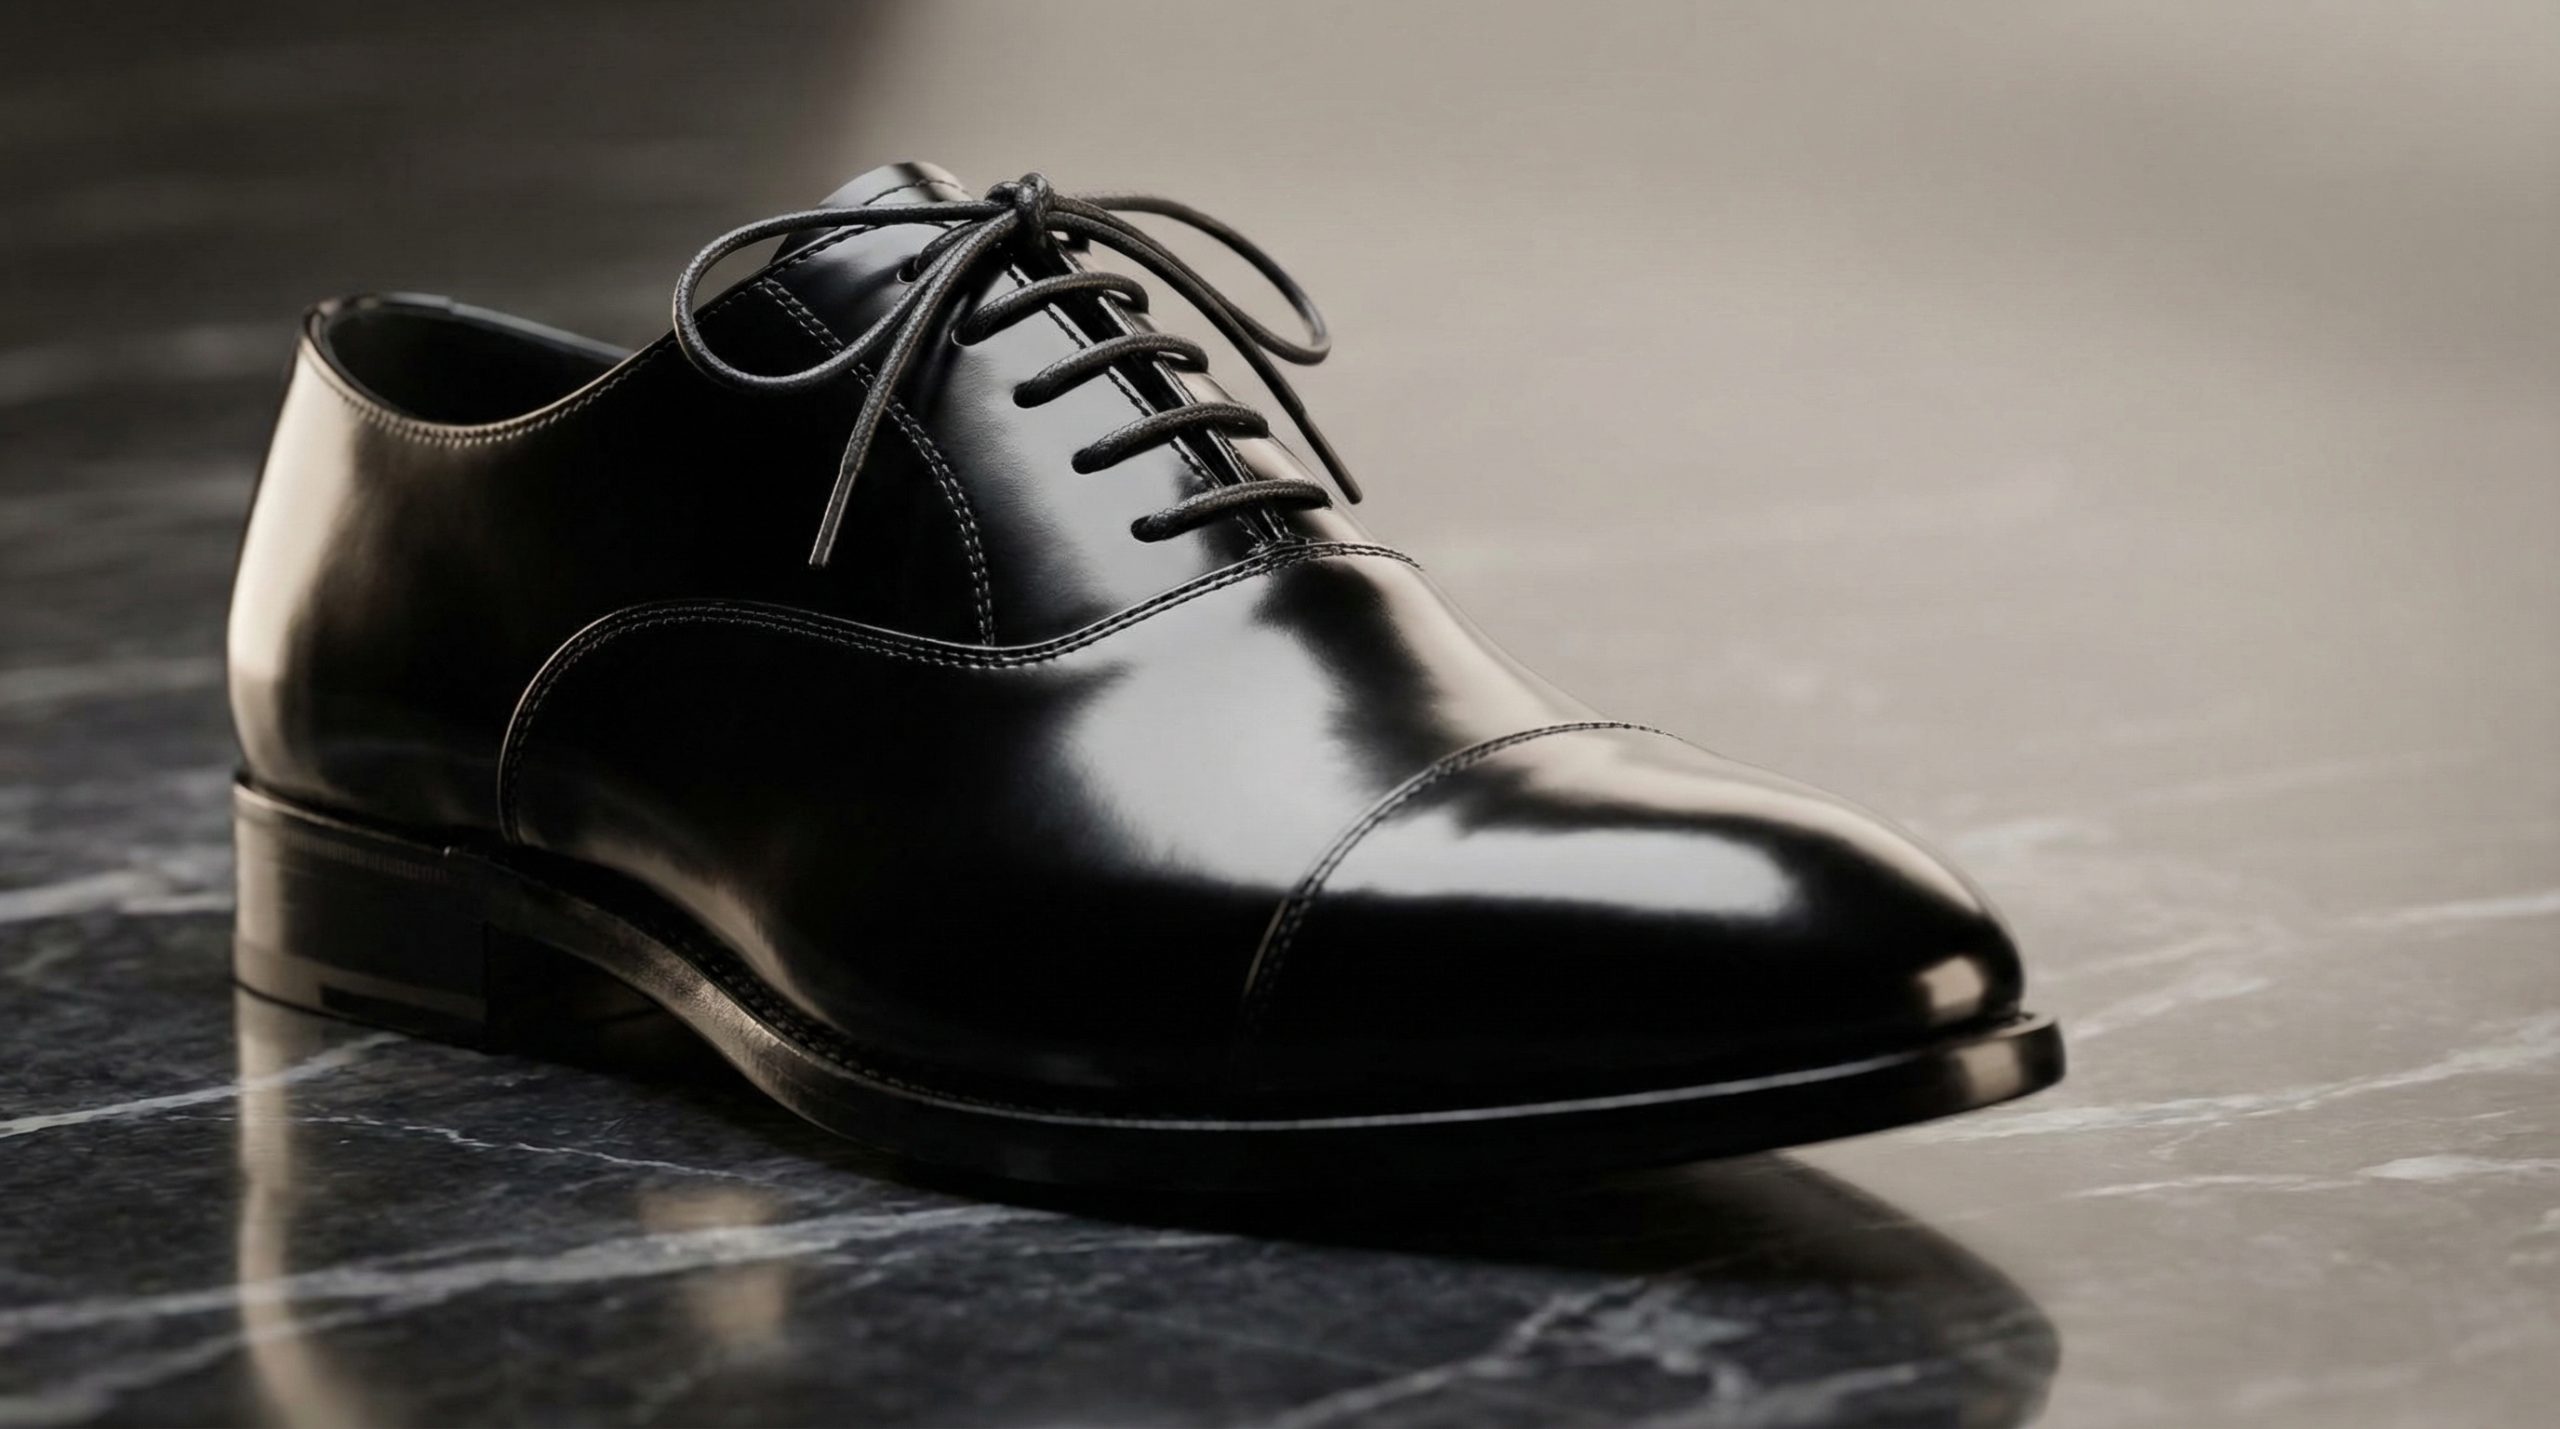
Dressing for Success: Formal Shoe Knots
In a professional or formal setting, the way your shoes are tied is a subtle indicator of attention to detail. Oxford shoes and Derbies require a clean, minimalist look. Standard “criss-cross” lacing can often look too bulky or casual for a high-end tuxedo or business suit.
“Straight Bar Lacing” is the preferred method for dress shoes. It hides the underlying diagonal crosses, leaving only clean, horizontal bars visible across the top of the shoe. This creates a sleek, streamlined aesthetic that complements the fine leather of an Oxford.
The Berluti Knot
For the ultimate in luxury, some enthusiasts use the Berluti Knot. Developed by the famed Parisian shoemaker, this knot involves a double-looping technique that results in a perfectly symmetrical, secure, and incredibly elegant finish. It is essentially a “double-wrapped” square knot that is almost impossible to come undone by accident, yet it releases easily when the ends are pulled.
Waxed Laces and Knot Security
Formal shoes often use thin, waxed cotton laces. The wax provides a beautiful sheen and protects the cotton from moisture, but it also makes the laces slippery. When tying dress shoes, it is vital to pull each stage of the knot tight to “bite” into the wax. If your dress laces keep coming undone, switching to a slightly less polished lace or using a double knot is a practical, if less traditional, solution.
The Fundamentals of Footwear and Lacing Anatomy
Before diving into the specific maneuvers required to secure your footwear, it is essential to understand the components you are working with. The art of lacing is more than just securing a knot; it is about managing the tension across the bridge of the foot. At TL Stage, we recognize that the interaction between the lace material and the eyelet design is critical for long-term durability and comfort.
The modern shoelace, while seemingly simple, is a product of centuries of evolution. Historical records suggest that footwear was secured with leather thongs as early as 3500 BC. Today, materials range from flat cotton and textured polyester to round nylon and elasticized blends. Each material offers a different “coefficient of friction,” which determines how well a knot holds. For instance, flat cotton laces provide high friction and are less likely to slip, while round synthetic laces are more durable but require more precise knot execution to stay tied.
The Role of the Aglet
The aglet—the small plastic or metal tip at the end of a shoelace—is often overlooked but serves a vital function. Without a sturdy aglet, the lace fibers would fray, making it nearly impossible to thread them through eyelets. When we discuss the history of footwear about our design philosophy, we emphasize that every component must serve a functional purpose. A well-manufactured lace begins with a high-quality aglet that ensures ease of use for the consumer.
Eyelet Geometry and Tension
The placement and spacing of eyelets (the holes the laces pass through) significantly impact how the shoe fits. Wide-spaced eyelets allow for more lateral support, while closely spaced eyelets provide a more uniform pressure distribution. Understanding this geometry allows you to customize your lacing pattern to accommodate high arches, wide forefoots, or narrow heels.
The Mechanics of a Secure Knot
Why do some knots stay tied all day while others fail within minutes? The answer lies in physics. A shoe knot is a type of friction hitch. It relies on the pressure of the loops pressing against each other to stay secure. When you walk, the impact of your foot hitting the ground creates a “swinging” force on the lace ends, which acts like a tiny tug on the knot.
Research into knot mechanics has shown that the direction of the “over-and-under” wrap is the most critical factor. If you wrap the lace the wrong way, you create a “unstable” knot that is prone to unraveling under the vibrations of walking.
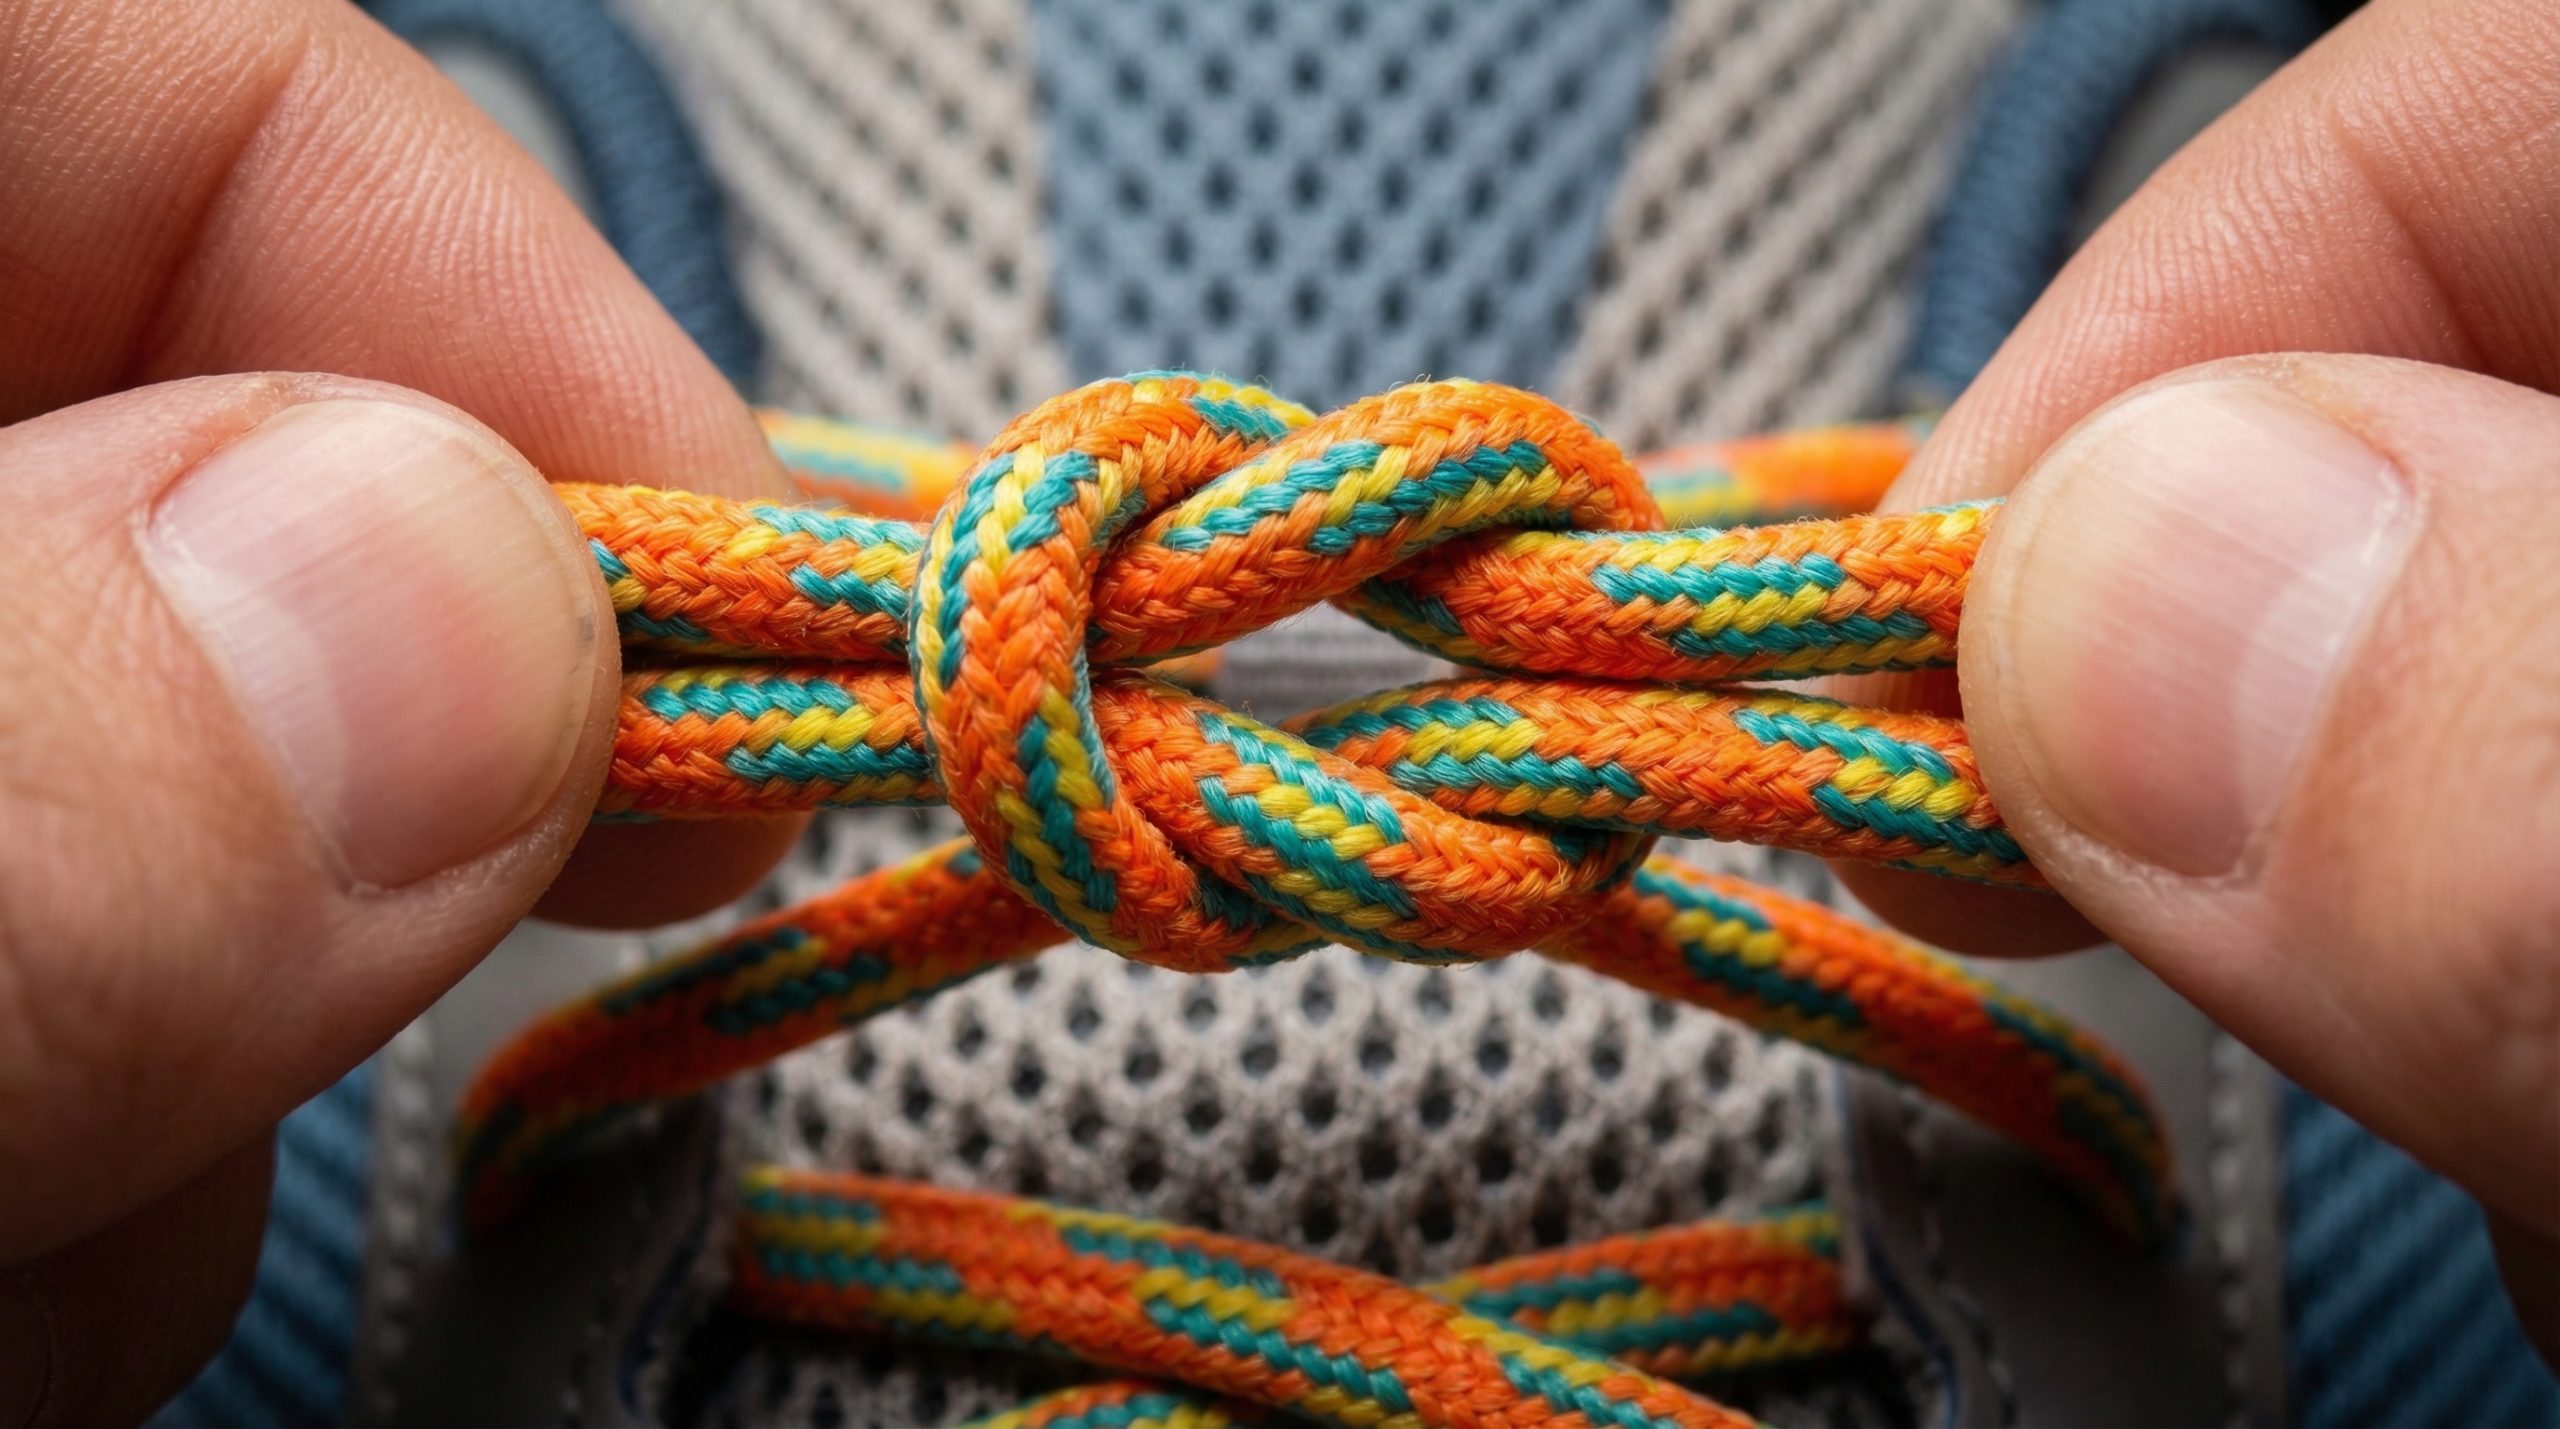
The Physics of the Granny Knot vs. the Square Knot
The “Granny Knot” occurs when the base knot and the loop wrap are done in the same direction. This results in a knot that sits crookedly on the shoe. Because of its geometry, the loops can easily slide past each other when the lace ends are pulled by the motion of your stride. The “Square Knot,” conversely, uses opposing directions for the base and the wrap. This creates a self-locking mechanism where increased tension actually makes the knot tighter.
Material Science in Shoe Lacing
At the manufacturing level, we look closely at the “denier” (thickness) and weave of the shoelace. A “textured” polyester lace has more surface area contact than a smooth silk lace, which translates to better knot retention. When designing footwear for active lifestyles, selecting a lace with the right balance of stretch and friction is a science in itself.
Manufacturer Pro Tip: If you find your laces are consistently too long, do not simply cut them. The aglet is essential for lace health. Instead, use a “double-pass” lacing technique through the middle eyelets to consume the extra length while providing additional mid-foot security.
Teaching Strategies and Cognitive Development
Learning to tie shoes is a major developmental milestone for children, usually occurring between the ages of four and six. It requires a combination of fine motor skills, hand-eye coordination, and “bi-lateral integration”—the ability to use both hands together to perform different tasks.
To make the process easier, many parents use “two-toned” laces. Having one half of the lace one color and the other half another color helps the child track which lace is doing what. This visual aid reduces the cognitive load of the task and allows the child to focus on the movement rather than identifying the strands.
Using Mnemonic Devices
Rhymes and stories are incredibly effective. The “Bunny Ears” method is naturally story-driven, but even the standard knot has its own legends. “The rabbit goes around the tree, sees the hole, and jumps inside.” These mental hooks help the brain store the sequence of movements in long-term memory.
Encouraging Independence
It is important to remember that frustration is a natural part of the learning process. Start by practicing with the shoe on a table rather than on the child’s foot. This allows them to see the knot from a better angle and removes the physical awkwardness of reaching down to their toes. Once they master the “table tie,” they can graduate to tying their own shoes while wearing them.
People Also Ask (PAA)
What is the easiest way to tie shoes?
The Bunny Ears method is widely considered the easiest way for beginners to tie shoes. By creating two simple loops and tying them together in a basic knot, it eliminates the need for the more complex “wrapping” motion found in the standard method.
How do you tie shoelaces so they don’t come undone?
The key to a secure tie is ensuring you are tying a “Square Knot” rather than a “Granny Knot.” Make sure your loops sit horizontally across the shoe. For extra security, you can use a “Double Knot” by tying the two finished loops together one more time.
At what age should a child learn to tie their shoes?
Most children develop the fine motor skills necessary to tie their shoes between the ages of 5 and 7. However, every child is different. If a child can comfortably use safety scissors or button a shirt, they likely have the manual dexterity to begin learning.
What is the “Ian Knot” and is it secure?
The Ian Knot is known as the “World’s Fastest Shoelace Knot.” It involves a unique technique where you form two loops simultaneously and pull them through each other. Despite its speed, it is functionally identical to a standard square knot and is very secure for daily use.
Why are my shoelaces always too long?
Laces are often manufactured in standard lengths (e.g., 45 or 54 inches) to fit various shoe sizes. If your laces are too long, you can use a lacing pattern that uses more eyelets or a “Heel Lock” technique to take up the excess slack without compromising the fit of the shoe.
Mastering the various ways of how to tie shoes is a simple skill that pays dividends in comfort, style, and performance every single day. Whether you are teaching a child their first knot, preparing for a marathon, or dressing for a wedding, the right technique ensures your footwear supports you rather than holding you back. By understanding the mechanics of the knot and the materials of the lace, you can transform a mundane task into a mark of personal competence.
For more information on shoe components or to discuss custom footwear solutions, please visit our contact page.