
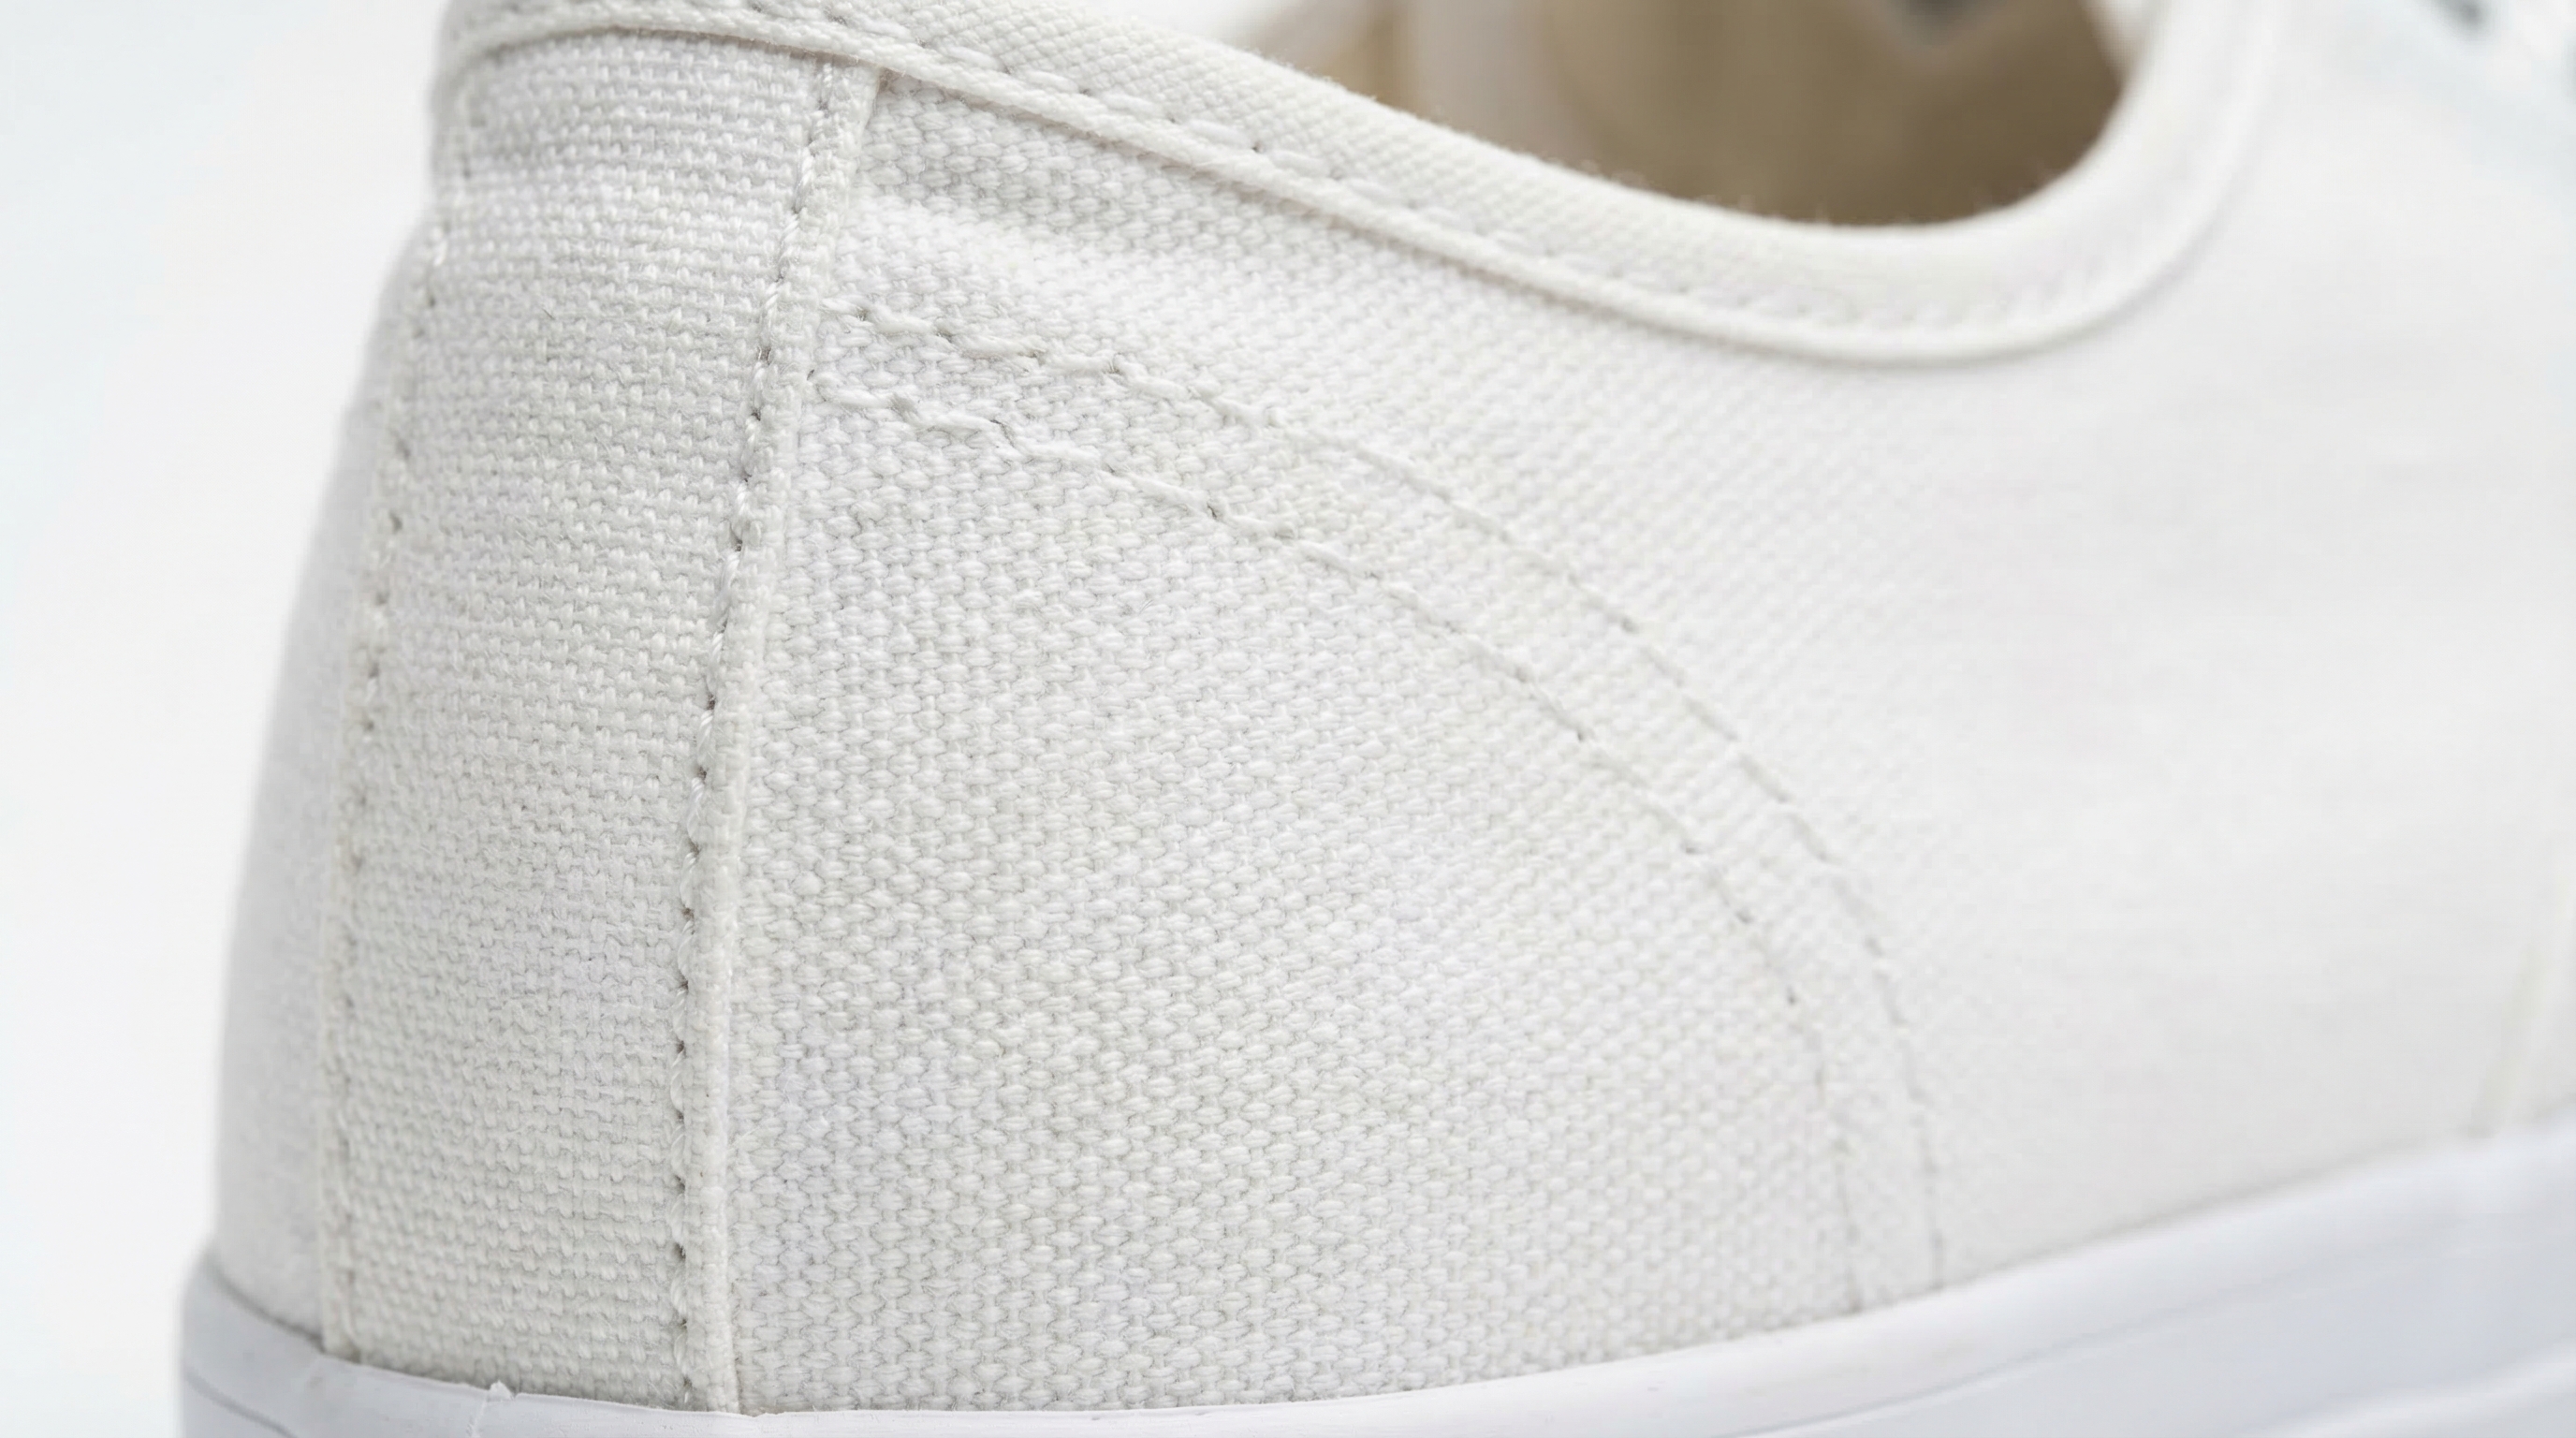
Your favorite pair of pristine white sneakers represents more than just footwear; they are a hallmark of a sharp, well-curated aesthetic. However, the porous nature of cotton canvas means they act as a magnet for environmental pollutants, carbon dust, and organic stains that eventually turn that crisp white into a disappointing shade of dull gray. Most enthusiasts attempt a basic wash, only to find that the most stubborn stains remain embedded deep within the textile fibers, mocking their efforts. This is where the precision of chemical bleaching becomes a necessary tool for restoration, though it is a process fraught with technical risks if performed without a professional methodology.
The frustration of watching your best white canvas sneakers lose their factory-bright finish often leads to desperate, uncalculated cleaning attempts that can permanently ruin the structural integrity of the shoe. Improper bleach application frequently results in “chemical burns,” characterized by unsightly yellow patches, or worse, the total failure of the adhesives holding the sole to the upper. To achieve a professional-grade result at home, you must understand the interaction between sodium hypochlorite and footwear construction materials. This guide provides a rigorous, engineering-focused framework to restore your footwear without compromising the material’s lifespan or aesthetic “clicking yield.”
Before we dive into the granular chemistry and mechanical scrubbing techniques, here is a high-level overview of the professional restoration sequence. Follow these steps to ensure you are moving from preparation to neutralization with the efficiency of a footwear technician.
| Step | Action | Objective |
|---|---|---|
| 1 | Dry Brush | Remove surface particulates and loose “clicking yield” debris. |
| 2 | Dilution | Mix a 1:5 ratio of bleach to water to protect fiber tensile strength. |
| 3 | Application | Use a shoe scrub brush and solution in circular motions on canvas only. |
| 4 | Neutralize | Rinse with a mild acetic acid (vinegar) solution to halt oxidation. |
| 5 | Wick-Dry | Stuff with white paper towels to pull moisture and residue outward. |
Why Preparation and Safety Gear Define the Restoration Outcome?
The difference between a botched DIY job and a professional restoration begins long before the bleach touches the canvas. Bleach is a powerful oxidizing agent that requires a controlled environment to prevent respiratory irritation and skin sensitivity. Professionals always operate in high-ventilation areas to ensure that chlorine fumes do not accumulate, which can be detrimental to both the user and the surrounding materials. You should assemble a dedicated workstation equipped with nitrile gloves, protective eyewear, and a consistent source of clean, lukewarm water to manage the chemical reactions effectively.
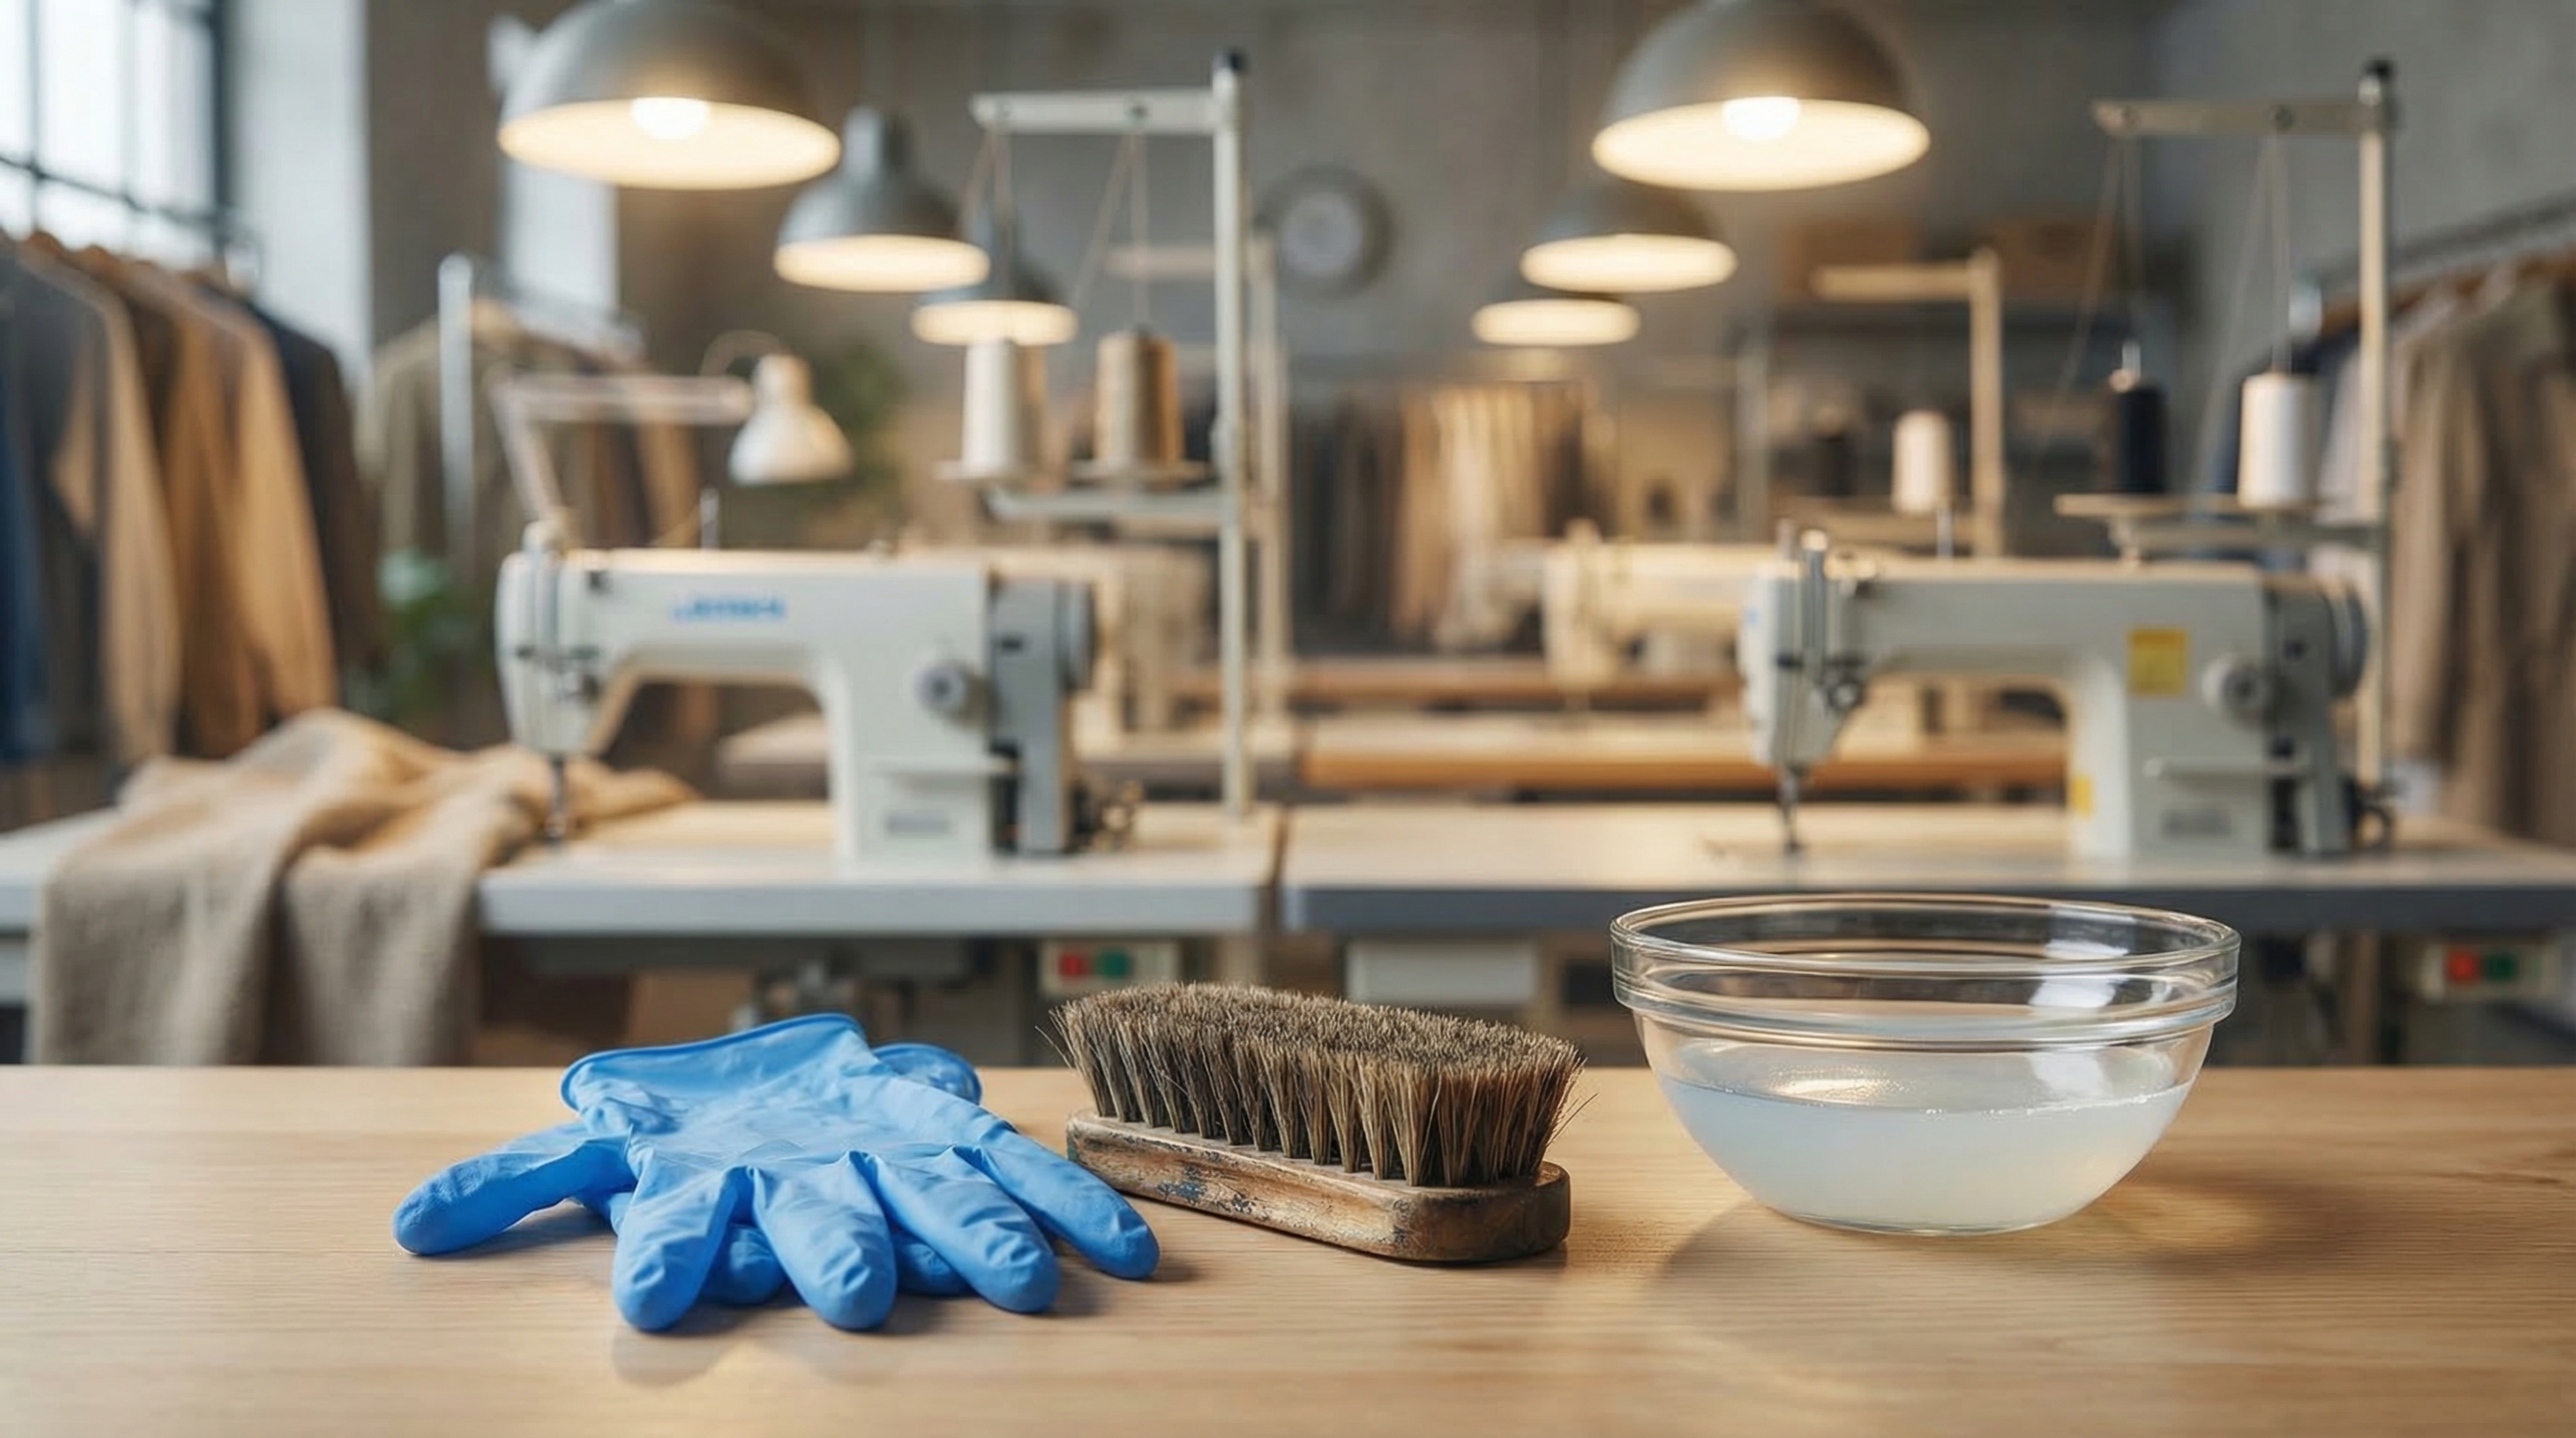
Beyond personal safety, the tools you select will dictate the uniformity of the whitening effect across the shoe’s surface. A standard household sponge is often too soft to penetrate the tight weave of high-quality canvas, while a wire brush is far too aggressive and will cause “pilling” or fiber breakage. We recommend using specialized sneaker restoration tools that include varying bristle stiffness levels to address different zones of the shoe. A medium-stiff brush is ideal for the heavy-duty canvas uppers, while a softer brush should be reserved for areas near the stitching to avoid fraying the threads.
But wait, there’s more to consider than just the brushes. You must also prepare the shoes by removing the laces and insoles, as these components often require a different chemical approach. Laces are typically made of polyester or nylon blends that can degrade rapidly if exposed to the same bleach concentration as the cotton canvas. By isolating the canvas upper, you gain better access to the “nooks and crannies” where dirt tends to migrate, such as the tongue gussets and the heel counter seams.
The Golden Ratio: How to Mix the Perfect Bleach Solution?
In the world of footwear maintenance, more is rarely better when it comes to chemical concentrations. Using undiluted bleach is the fastest way to trigger a permanent yellowing reaction known as UV residue oxidation. This occurs when the bleach remains trapped in the fibers and reacts with sunlight, creating a “burnt” appearance that no amount of re-washing can fix. A professional technician utilizes a strictly controlled dilution ratio to balance whitening power with material safety, ensuring the canvas remains supple rather than becoming brittle and prone to cracking under lasting tension.
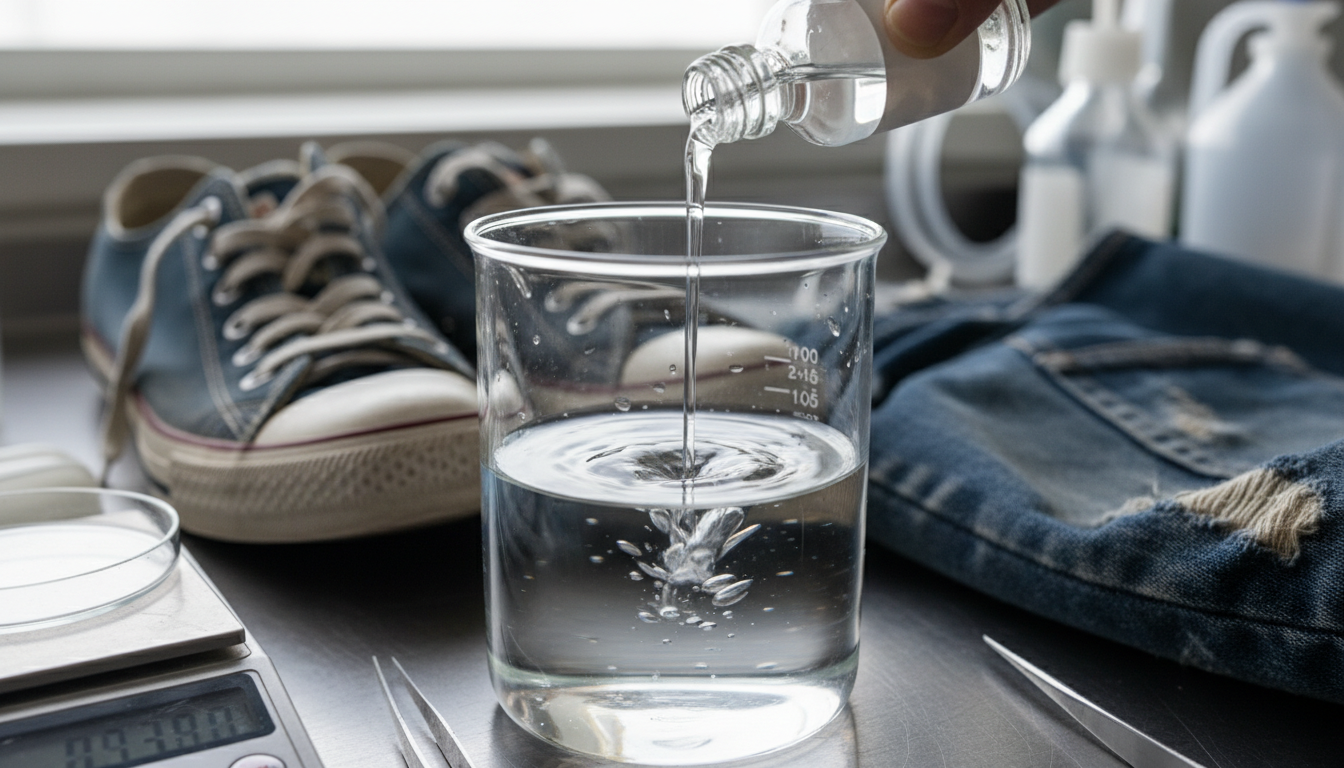
The industry standard for home restoration is a 1:5 ratio—one part bleach to five parts water. This concentration is potent enough to break down organic pigments from grass and soil without overwhelming the cotton fibers. If you are dealing with particularly sensitive or aged canvas, you might even start with a 1:10 ratio to test the material’s colorfastness. Remember, the goal is a gradual lift of the stain, not an immediate chemical “shock” to the textile.
| Material Type | Recommended Bleach Ratio | Max Soaking Time | Safety Level |
|---|---|---|---|
| Heavy Cotton Canvas | 1:5 (Bleach:Water) | 10 Minutes | High |
| Synthetic Mesh | 1:10 (Bleach:Water) | 5 Minutes | Moderate |
| Vulcanized Rubber | 1:3 (Targeted) | 15 Minutes | High |
| PU/Synthetic Leather | DO NOT BLEACH | N/A | Dangerous |
Footwear Engineer Insight: The Danger of Delamination
When applying bleach solutions near the midsole, you must be wary of delamination. Most modern sneakers use PU cement (Polyurethane) or solvent-based adhesives to bond the upper to the sole. High concentrations of bleach can penetrate the glue line, breaking down the chemical bonds and causing the sole to “peel” away from the canvas. Always apply your solution with a brush rather than soaking the entire shoe to preserve the structural integrity of the bond.
Step-by-Step Guide: The Professional Bleaching Workflow
Once your solution is mixed and your workspace is prepped, the actual cleaning process should be methodical and rhythmic. Start by dipping your shoe scrub brush and solution into the diluted bleach, shaking off any excess liquid to avoid “flooding” the canvas. You want the brush to be damp, not dripping. Begin at the toe box and work your way toward the heel, using small, circular motions. This mechanical action helps the bleach penetrate the weave of the canvas, lifting the particulates that have been compressed by daily wear.
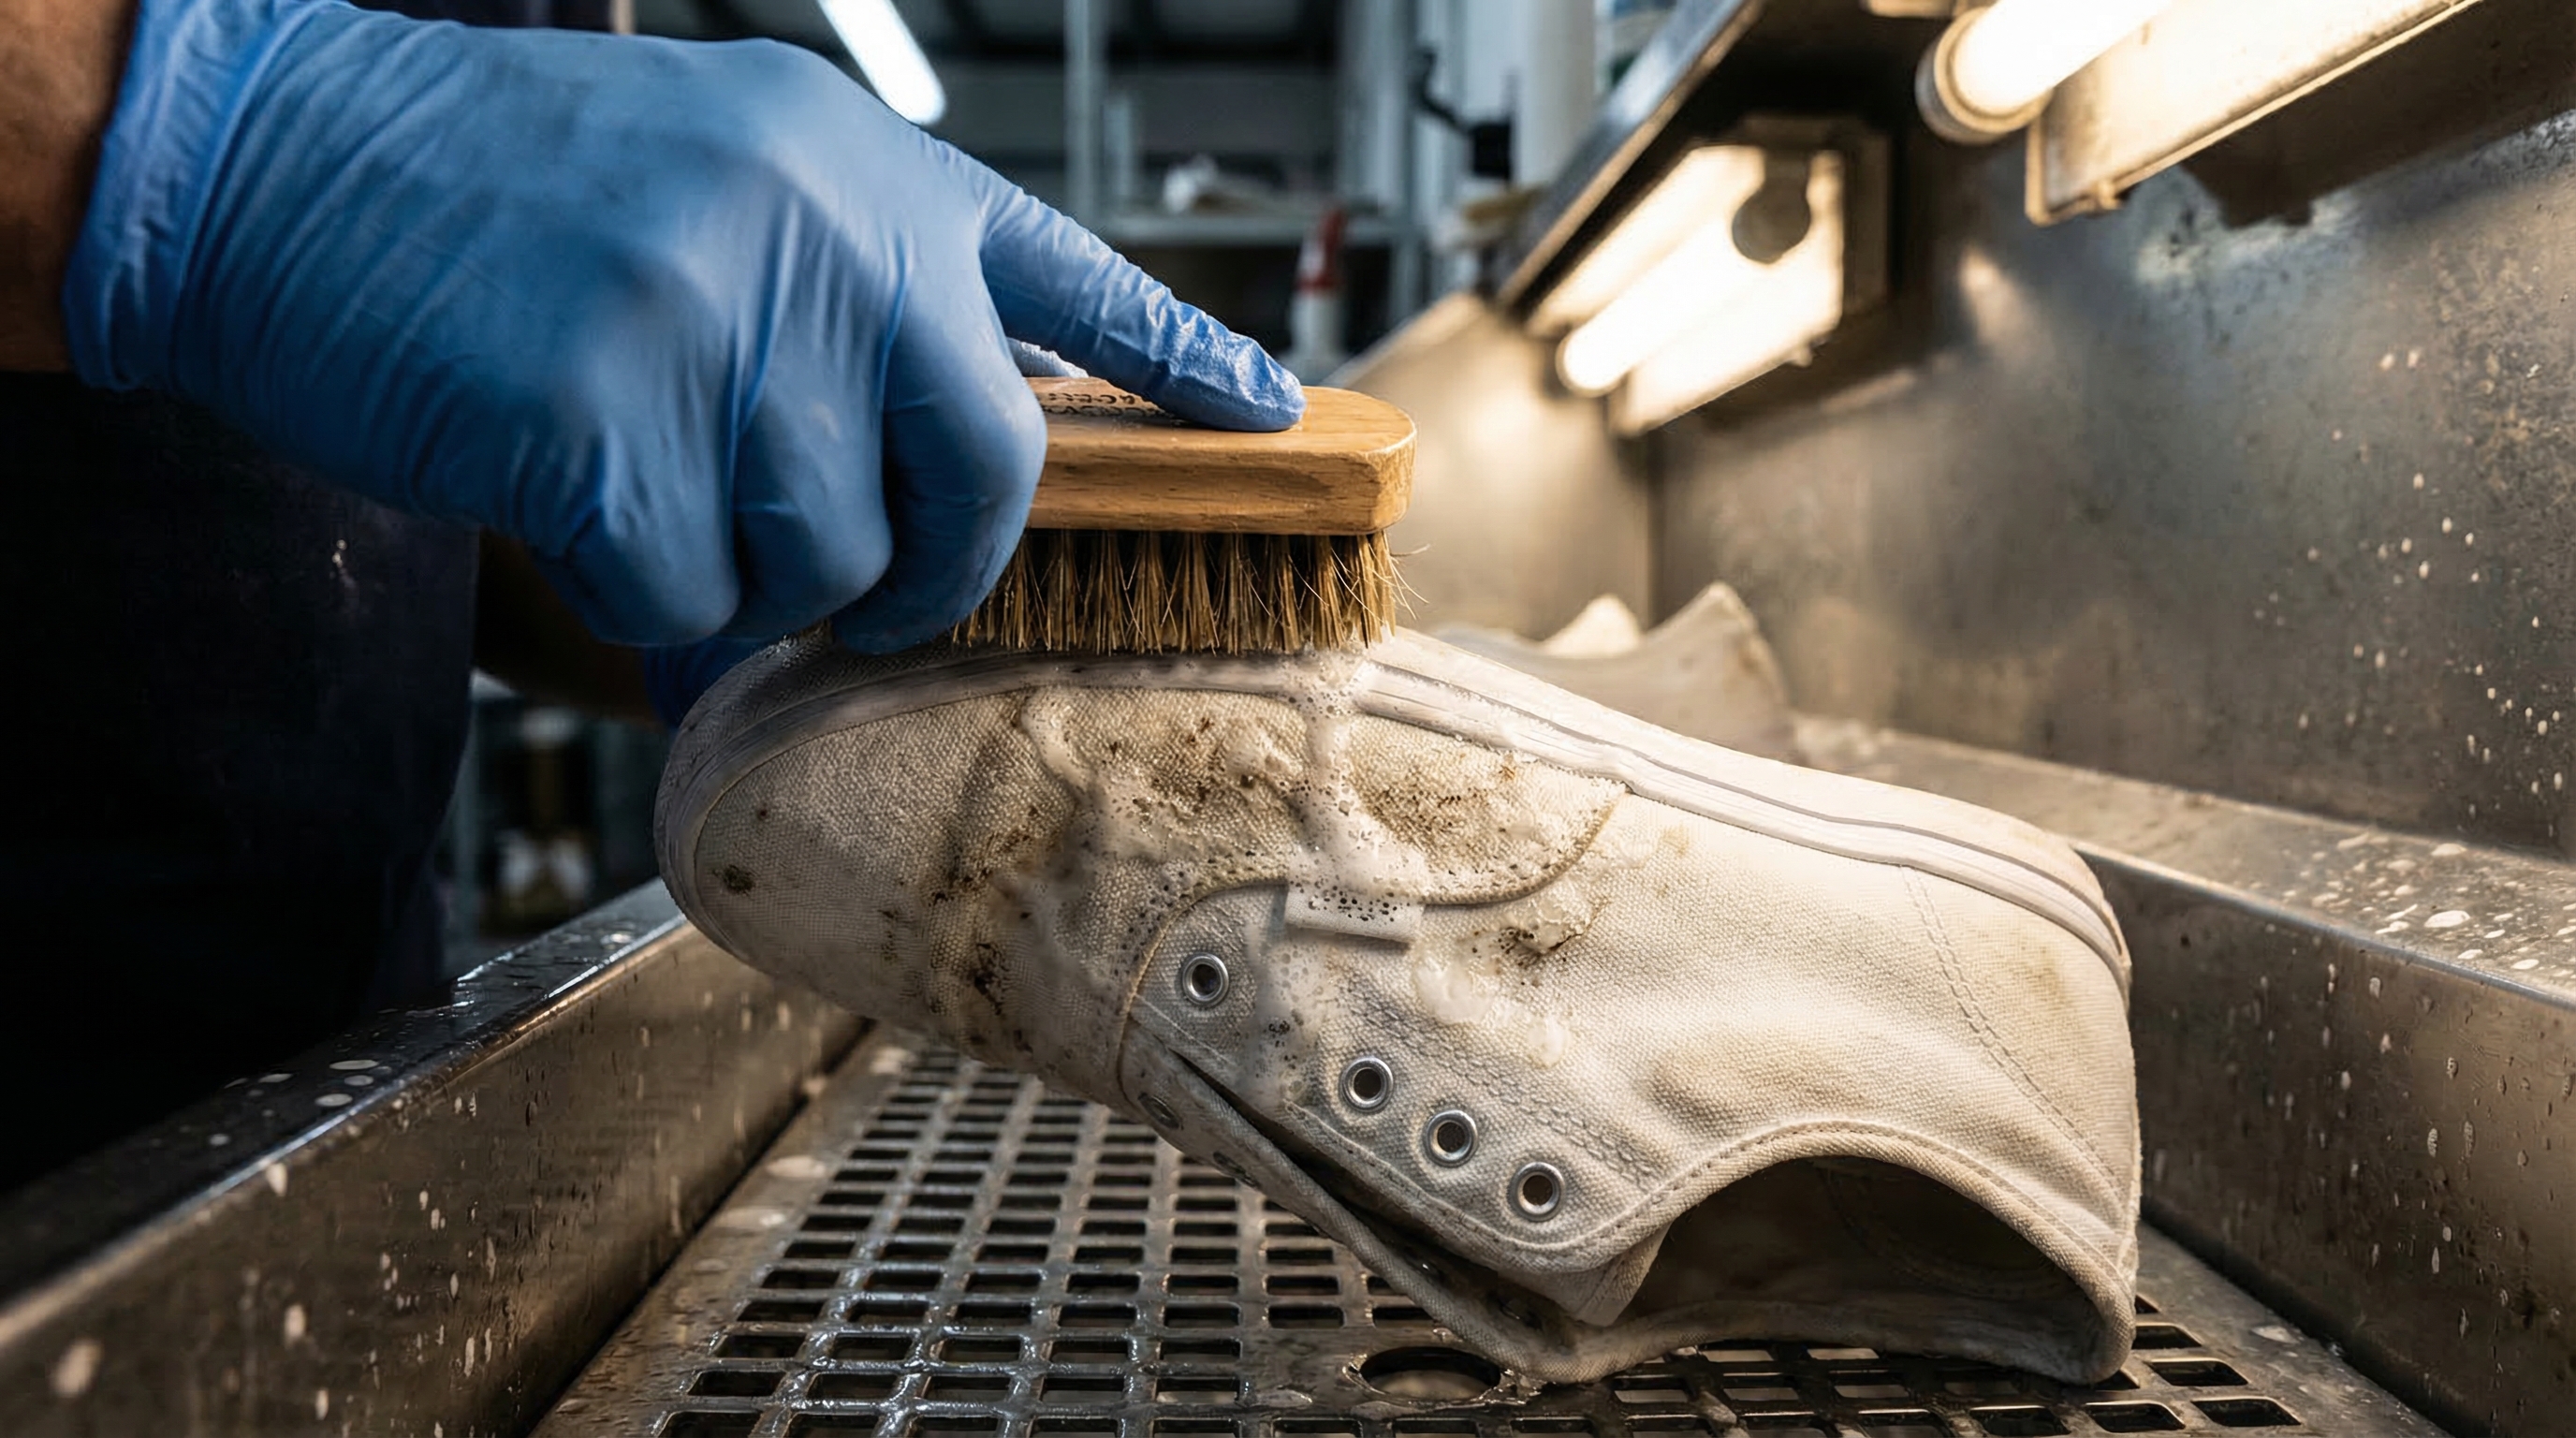
Pay close attention to the “Stitches Per Inch” (SPI) areas. Dirt often hides in the thread lines, and if these aren’t cleaned thoroughly, they will stand out as dark streaks against the newly whitened canvas. However, be gentle; aggressive scrubbing can weaken the thread, leading to seam failure when the shoe is flexed. As you move across the shoe, you will notice the stains beginning to fade. Do not wait for them to disappear completely while scrubbing; the chemical action will continue to work during the short dwell time before rinsing.
Here is the kicker: the rinse is just as important as the scrub. You must remove every trace of the bleach solution to prevent long-term damage. Use a clean, damp microfiber cloth to “chase” the bleach out of the fabric, followed by a thorough rinse under a low-pressure tap. Avoid high-pressure water, which can force bleach residue deeper into the internal foam padding of the shoe, where it becomes nearly impossible to neutralize.
Material Science: Protecting Rubber and Adhesives
While your primary focus is the white canvas, the rubber components—specifically the foxing tape and the midsole—require their own level of care. Most classic white sneakers for men feature a vulcanized rubber sole. Vulcanization is a chemical process that hardens rubber, making it durable but also somewhat susceptible to chemical drying. If bleach is allowed to sit on the rubber for too long without being rinsed, it can cause the material to become brittle or develop a “chalky” texture that eventually cracks.
To protect these areas, some professionals apply a thin layer of petroleum jelly to the rubber edge before bleaching the canvas, acting as a chemical barrier. If the rubber itself is yellowed, you might find that bleach is less effective than a white midsole paint pen. These markers are designed to provide a fresh, opaque coating that covers stubborn oxidation that chemical cleaners cannot reach. This dual-approach—bleaching the fabric and “refreshing” the rubber—results in a shoe that looks truly “deadstock.”
But what about the internal structures? Many high-end sneakers contain internal stiffeners made of thermoplastic or treated cardboard. Excessive saturation during the bleaching process can soften these components, causing the shoe to lose its original silhouette. By focusing your application on the surface and using a “wicking” drying method, you ensure that the moisture stays primarily in the canvas layer, protecting the hidden engineering that provides the shoe’s support and comfort.
Troubleshooting: Why Did My Shoes Turn Yellow?
It is the most common nightmare in shoe DIY: you finish bleaching, let the shoes dry, and wake up to find them covered in mysterious yellow splotches. This is not a failure of the bleach to clean, but rather a chemical reaction known as “bleach burn” or residue oxidation. When bleach is not fully rinsed out, the remaining sodium hypochlorite reacts with the oxygen in the air and the UV rays from the sun. This reaction creates a yellow pigment that is chemically bonded to the fabric.
To fix or prevent this, you must master the art of pH neutralization. Bleach is highly alkaline (high pH). To stop its reactive process, you need a mild acid to bring the pH levels back to neutral. A simple rinse with a solution of one part white vinegar to four parts water after your final rinse can work wonders. The acetic acid in the vinegar neutralizes the residual bleach, effectively “turning off” the chemical reaction before the yellowing can begin.
| Problem | Cause | Professional Solution |
|---|---|---|
| Yellow Splotches | Bleach Residue + UV | Neutralize with vinegar; re-wash with baking soda. |
| Brittle Canvas | Over-bleaching | Apply a fabric conditioner; reduce bleach ratio next time. |
| Sole Separation | Adhesive Breakdown | Use a specialized footwear glue for repair; avoid soaking. |
| Frayed Stitching | Excessive Scrubbing | Trim loose threads; use a softer brush for seams. |
Footwear Engineer Insight: The Impact of SPI on Cleaning
High-quality sneakers often feature a high SPI (Stitches Per Inch) to ensure durability under stress. However, these dense stitch lines act as a filter, trapping microscopic dirt particles. When bleaching, if you don’t use a fine-bristled brush to agitate these specific areas, the bleach may whiten the surrounding canvas while leaving the stitch line looking “muddy,” which ruins the visual clicking yield of the restoration.
Advanced Care: Drying Physics and Wicking Techniques
How you dry your shoes is just as critical as how you wash them. The temptation is often to place freshly bleached shoes in the direct sun to “accelerate” the whitening process. While UV light does have a natural bleaching effect, it is a double-edged sword. As mentioned earlier, UV light accelerates the oxidation of any remaining bleach molecules, leading to yellowing. Furthermore, intense heat can cause the canvas to shrink unevenly, affecting the lasting tension and making the shoes feel tight or distorted when you put them back on.
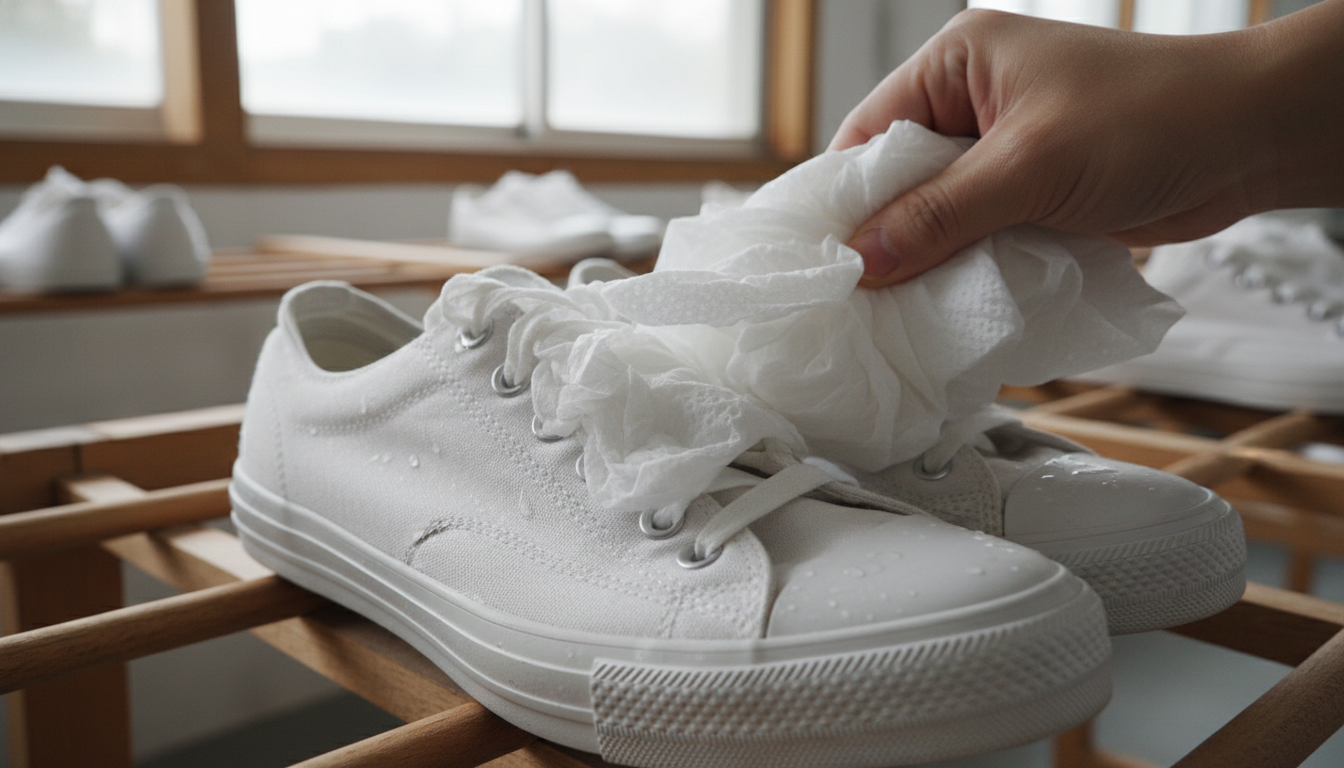
The professional method involves “wicking.” After the final neutralizing rinse, stuff the shoes tightly with white paper towels or plain white tissue paper. Do not use newspaper, as the ink will transfer to the wet canvas instantly. The paper towels serve two purposes: they help the shoe maintain its original shape (acting as a temporary “last”) and they pull moisture—and any lingering dissolved dirt—out of the canvas and into the paper.
Check the paper towels every few hours; if they are soaked, replace them. This internal “pulling” of moisture ensures that the drying process happens from the inside out, preventing water spots from forming on the surface. Always air-dry your shoes in a cool, shaded area with good airflow. This slower drying process preserves the flexibility of the fibers and ensures the PU cement remains stable, preventing future delamination issues.
Maintenance: Long-term Protection for Canvas
Once you have successfully restored your shoes to their former glory, the next step is prevention. A freshly bleached canvas is essentially a “naked” fiber—it is highly absorbent and will soak up the next spill or splash even faster than before. To lock in your results, you should apply a high-quality water and stain repellent spray. This creates a hydrophobic barrier on the surface of the canvas, causing liquids to bead up and roll off rather than penetrating the weave.
If you notice small scuffs or minor dullness between deep cleanings, you don’t always need to reach for the bleach. A sneaker whitening marker is an excellent tool for “spot-checking” the midsole or covering small blemishes on the canvas. For those looking to upgrade their rotation after a pair has finally reached the end of its life, exploring options for shop white canvas footwear allows you to start fresh with the knowledge of how to maintain them properly from day one.
Regular maintenance with a dedicated ultimate shoe cleaning kit will significantly extend the time between bleaching sessions. By removing surface dust weekly with a dry brush, you prevent the particulates from becoming “set” in the fibers through the action of moisture and pressure from walking. A proactive approach to care is the difference between a shoe that lasts six months and one that remains a staple of your wardrobe for years.
Footwear Engineer Insight: Colorfastness and Textile Integrity
Before you decide to shop white canvas footwear, understand that not all “white” is the same. Some canvas is optically whitened with fluorescent whitening agents during the manufacturing process. Over-bleaching can strip these agents away, leaving the shoe looking “creamy” or “off-white” rather than “triple white.” Always perform a spot test on the inner tongue to ensure the chemical reaction aligns with your aesthetic goals.
Frequently Asked Questions
How can I safely bleach white canvas shoes without them turning yellow?
The key is dilution and neutralization. Always use a 1:5 bleach-to-water ratio and rinse the shoes with a diluted vinegar solution (1 part vinegar to 4 parts water) after cleaning. This neutralizes the alkaline bleach residue. Additionally, avoid drying the shoes in direct sunlight, which triggers UV oxidation.
What is the correct bleach-to-water ratio for cleaning canvas shoes?
The professional industry standard is one part bleach to five parts water. This provides sufficient oxidative power to remove organic stains without compromising the tensile strength of the cotton fibers or destroying the underlying PU adhesives.
Are there effective alternatives to bleach for whitening canvas shoes?
Yes, for maintenance, you can use a paste of baking soda and hydrogen peroxide, or a specialized ultimate shoe cleaning kit. Oxygen-based bleaches (like OxiClean) are also safer for frequent use as they are less likely to cause chemical burns on the fabric.
How do I remove existing yellow stains from white canvas shoes?
If the yellowing is caused by bleach residue, you can attempt to neutralize it by soaking the area in a mixture of cream of tartar and water, or a strong vinegar solution. For stubborn chemical burns, a white midsole paint pen or sneaker marker can be used to mask the discoloration on the canvas and rubber.
For more information on professional shoe care or to find specialized cleaning components, please visit our contact page for expert assistance.