
Suede shoes are a hallmark of sophisticated style, yet their delicate texture often makes them a source of anxiety for the modern wearer. A single rain shower or a stray drop of oil can seemingly destroy the luxurious finish of your favorite pair of loafers or boots. This vulnerability often leads many to relegate their suede footwear to the back of the closet, fearing that any attempt at restoration will only exacerbate the damage.
Fortunately, maintaining the pristine appearance of this material is entirely possible with the right knowledge and a methodical approach to care. By understanding the unique structural properties of the leather and utilizing professional-grade techniques, you can reverse most common stains and prevent future degradation. This guide provides a comprehensive roadmap for revitalizing your investment and ensuring your footwear remains in peak condition.
You can effectively clean suede shoes by utilizing a specialized suede brush for dry debris, applying cornstarch to absorb grease, and using white vinegar to neutralize salt or water stains.
| Step | Action | Tools Required | Outcome |
|---|---|---|---|
| 1 | Surface Prep | Suede Brush | Removes loose dirt and dust |
| 2 | Scuff Erasure | Suede Eraser | Lifts minor marks and scuffs |
| 3 | Stain Absorption | Cornstarch/Soda | Extracts oil and grease deep in fibers |
| 4 | Liquid Cleaning | White Vinegar | Neutralizes salt and water rings |
| 5 | Nap Reset | Brushing/Steam | Restores the signature fuzzy texture |
| 6 | Preservation | Protector Spray | Creates a hydrophobic barrier |
Why is suede so sensitive to water and dirt?
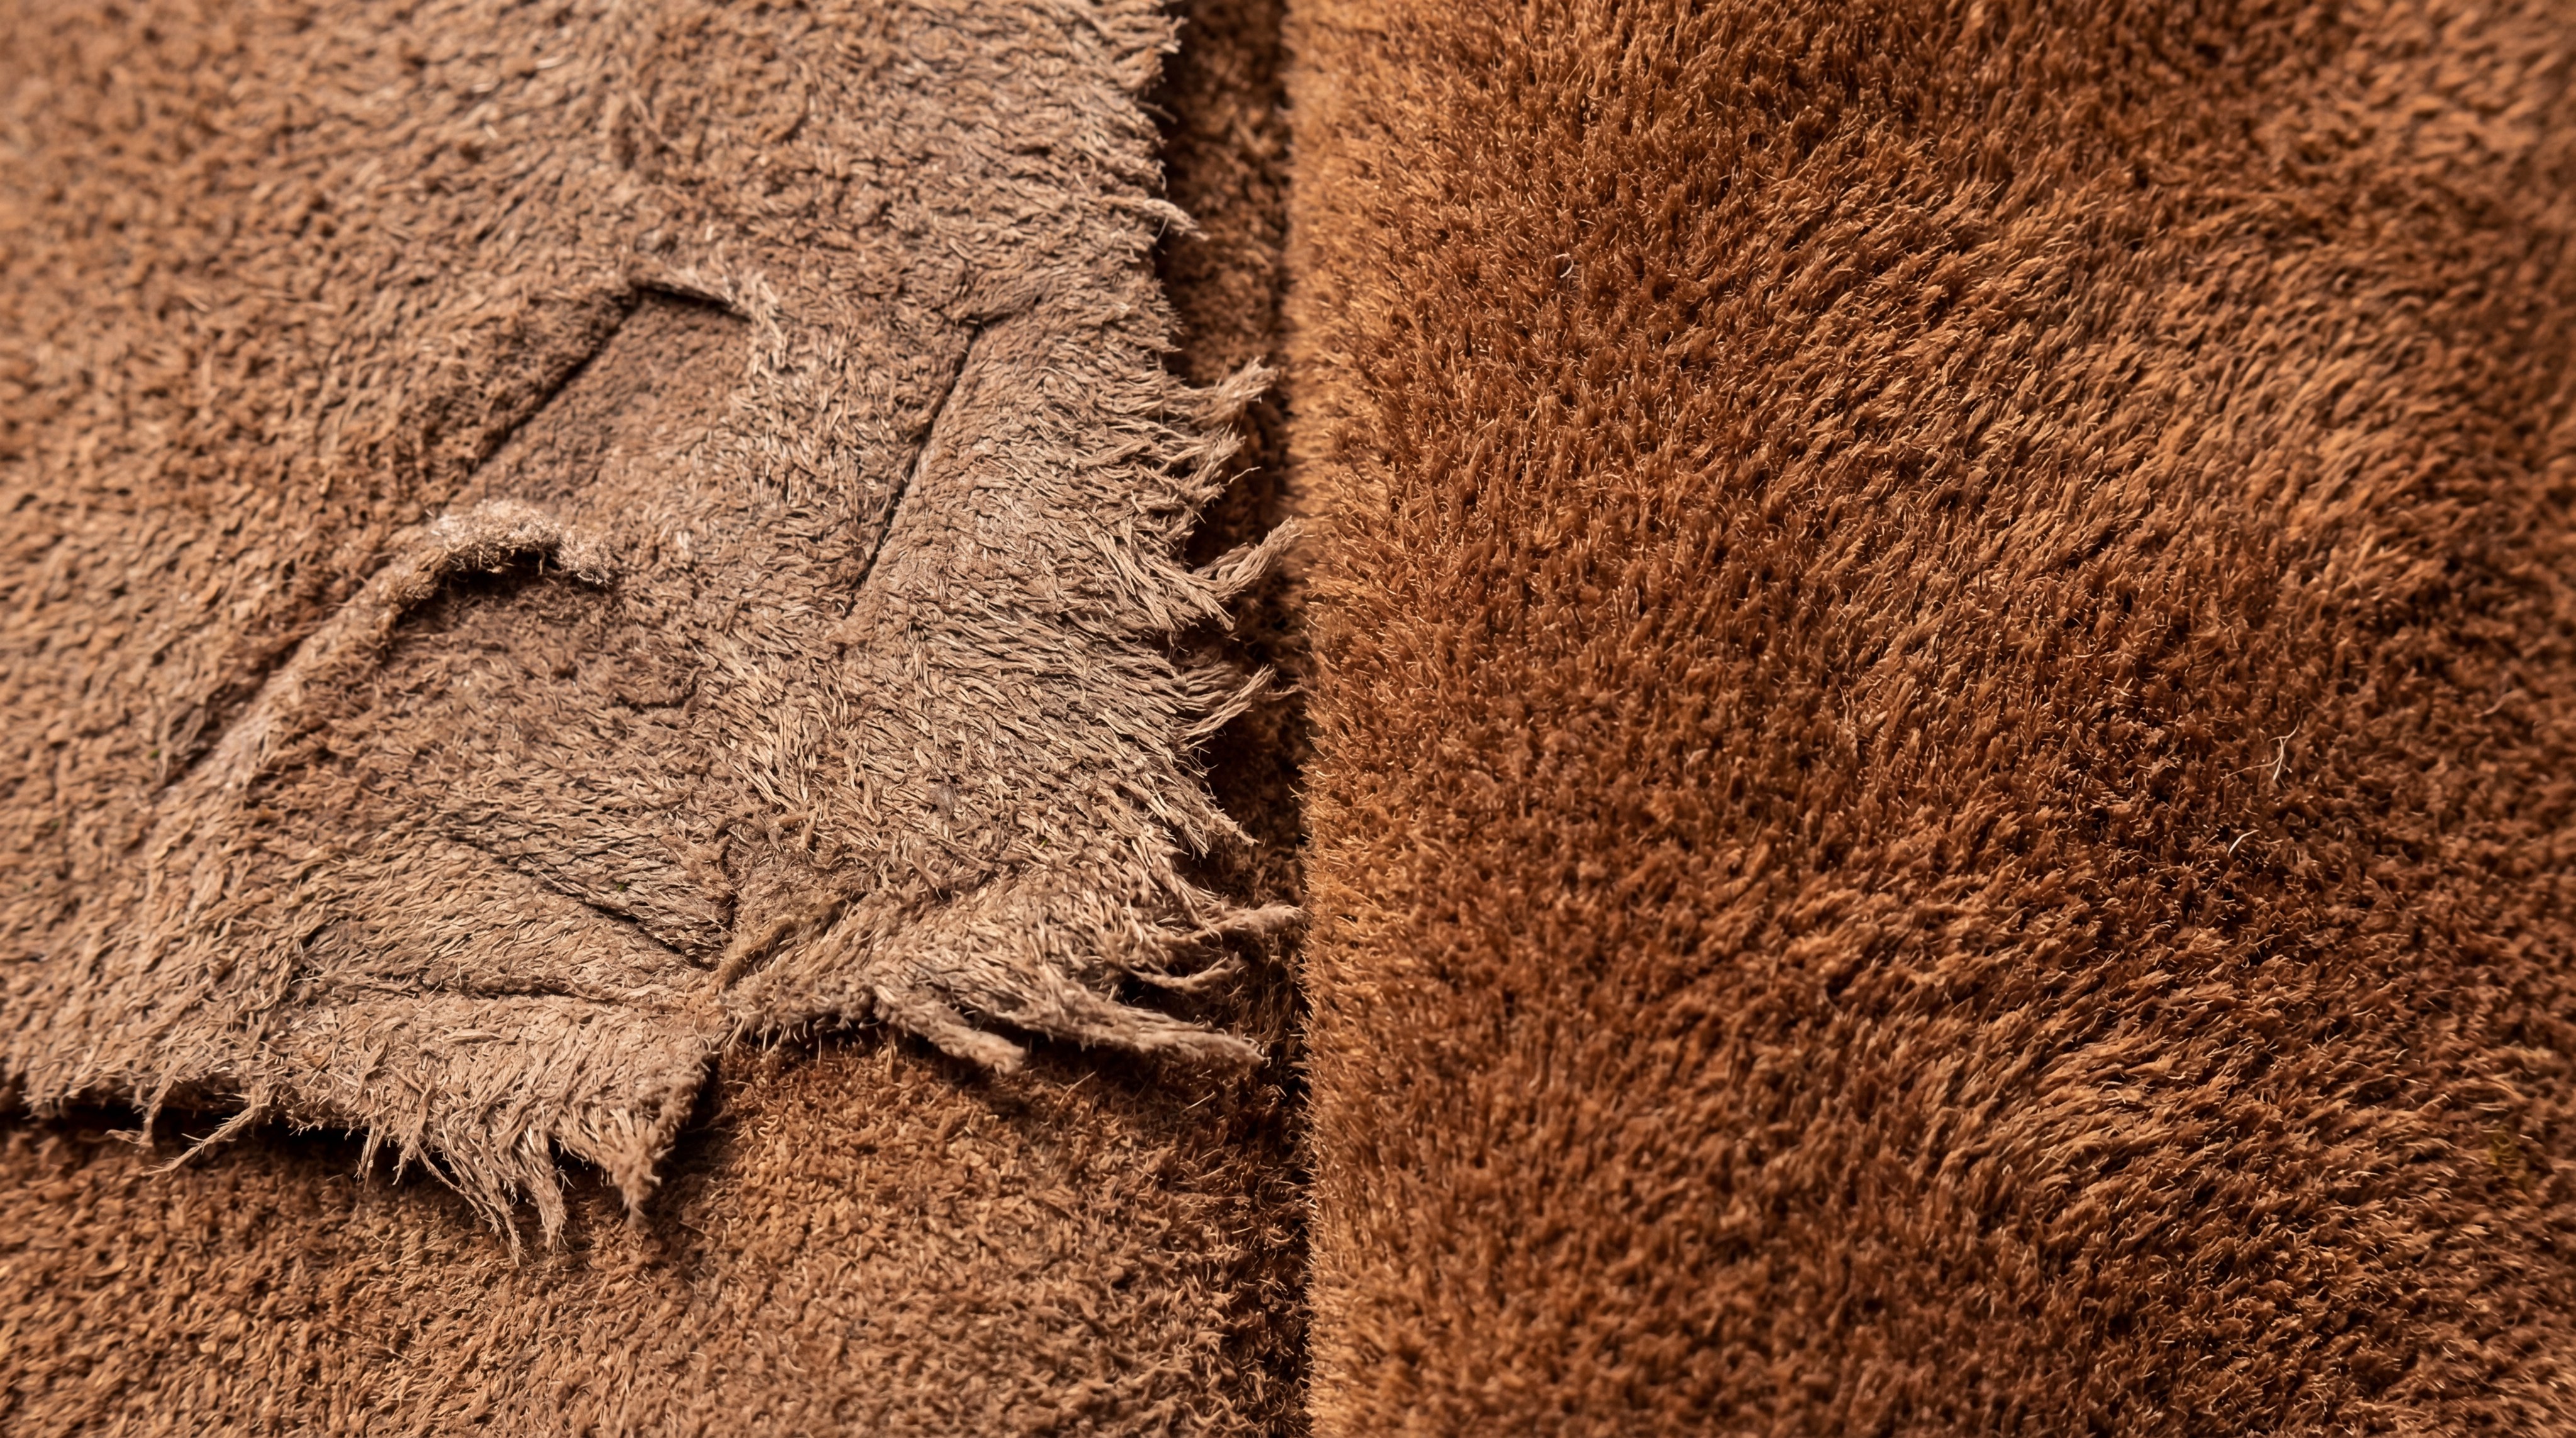
To understand why suede requires such specific care, one must look at the structural composition of the leather hide itself. Unlike standard smooth leather, which utilizes the tough outer “grain” side of the skin, suede is created from the inner “split” side. This process exposes millions of tiny, open protein fibers known as the “nap,” which give the material its iconic soft and velvety feel.
However, this exposed surface area acts like a microscopic sponge, readily trapping environmental contaminants and moisture. When water enters these fibers, it displaces the natural tanning oils that keep the leather supple and resilient. As the water eventually evaporates, the fibers shrink and stiffen, leading to the brittle texture and unsightly water rings often seen on neglected footwear.
Dirt and dust present an even more insidious threat to the longevity of your shoes. Because the nap is so porous, fine particulate matter can migrate deep into the base of the leather, where it acts as an abrasive. Every time you walk, these particles grind against the delicate protein strands, eventually causing them to snap and leading to a “bald” appearance.
What essential tools do you need for a DIY suede cleaning kit?
Building a proper maintenance kit is the first step toward professional-grade results at home. At the heart of every kit should be a high-quality suede brush, which often features a combination of nylon and brass bristles for different levels of agitation. You will also need a suede eraser, which is specifically designed to crumble away and lift surface-level debris without damaging the underlying structure.
Beyond specialized items, several household staples are remarkably effective for advanced stain removal and material preservation. High-quality white vinegar and rubbing alcohol are excellent for breaking down chemical bonds in salt or ink without over-saturating the leather. You should also keep a supply of clean, lint-free microfiber cloths to ensure that you aren’t introducing new debris during the cleaning process.
Manufacturer Pro Tip: The Bristle Secret
Manufacturers often use brass-bristle brushes for heavy-duty nap restoration, but for consumer-grade fashion suede, we recommend sticking to crepe or soft nylon to avoid micro-tearing the fibers. Over-aggressive brushing with metal can permanently scar the hide.
If you are interested in how professional-grade materials are selected during the manufacturing process, you can learn about TLStage shoe manufacturing to see how high-end brands prioritize durability. Having the right tools is only half the battle; knowing the specific material science behind your footwear ensures that your cleaning efforts are productive rather than destructive.
How do you perform a “dry clean” for everyday surface dirt?
The “dry clean” method is the most frequent maintenance task you will perform and is essential for preventing long-term damage. Before you begin, ensure the shoes are completely dry, as brushing wet suede can push dirt deeper into the fibers. Start by using your suede brush in a single direction to remove loose dust and realign the nap.
But here’s the kicker:
Brushing back and forth in a frantic motion is a common mistake that can actually fray the fibers. Instead, use long, gentle strokes following the natural “grain” of the nap to lift the dirt out. If you encounter a stubborn scuff mark that doesn’t budge with the brush, this is where the suede eraser comes into play.

Apply firm but controlled pressure with the eraser, moving it specifically over the mark until it begins to crumble away. Much like a pencil eraser on paper, the suede eraser captures the dirt particles in its own debris, which can then be brushed away easily. This dual-action approach of brushing and erasing should resolve 90% of everyday wear and tear marks.
How can you remove stubborn stains like oil, grease, or mud?
Dealing with oil or grease stains requires a completely different approach because these substances penetrate the fibers and bond with the leather’s chemistry. If you notice a fresh oil spot, do not attempt to wipe it away with a wet cloth, as this will only spread the grease further. Instead, your goal is to use an absorbent medium to pull the oil out of the leather.
Wait, it gets better:
Standard kitchen cornstarch or baking soda is incredibly effective at this task due to its high surface area and capillary action. Cover the stain with a generous mound of the powder and allow it to sit for at least 12 hours, preferably overnight. During this time, the powder will draw the lipids out of the suede fibers and into the dry granules.
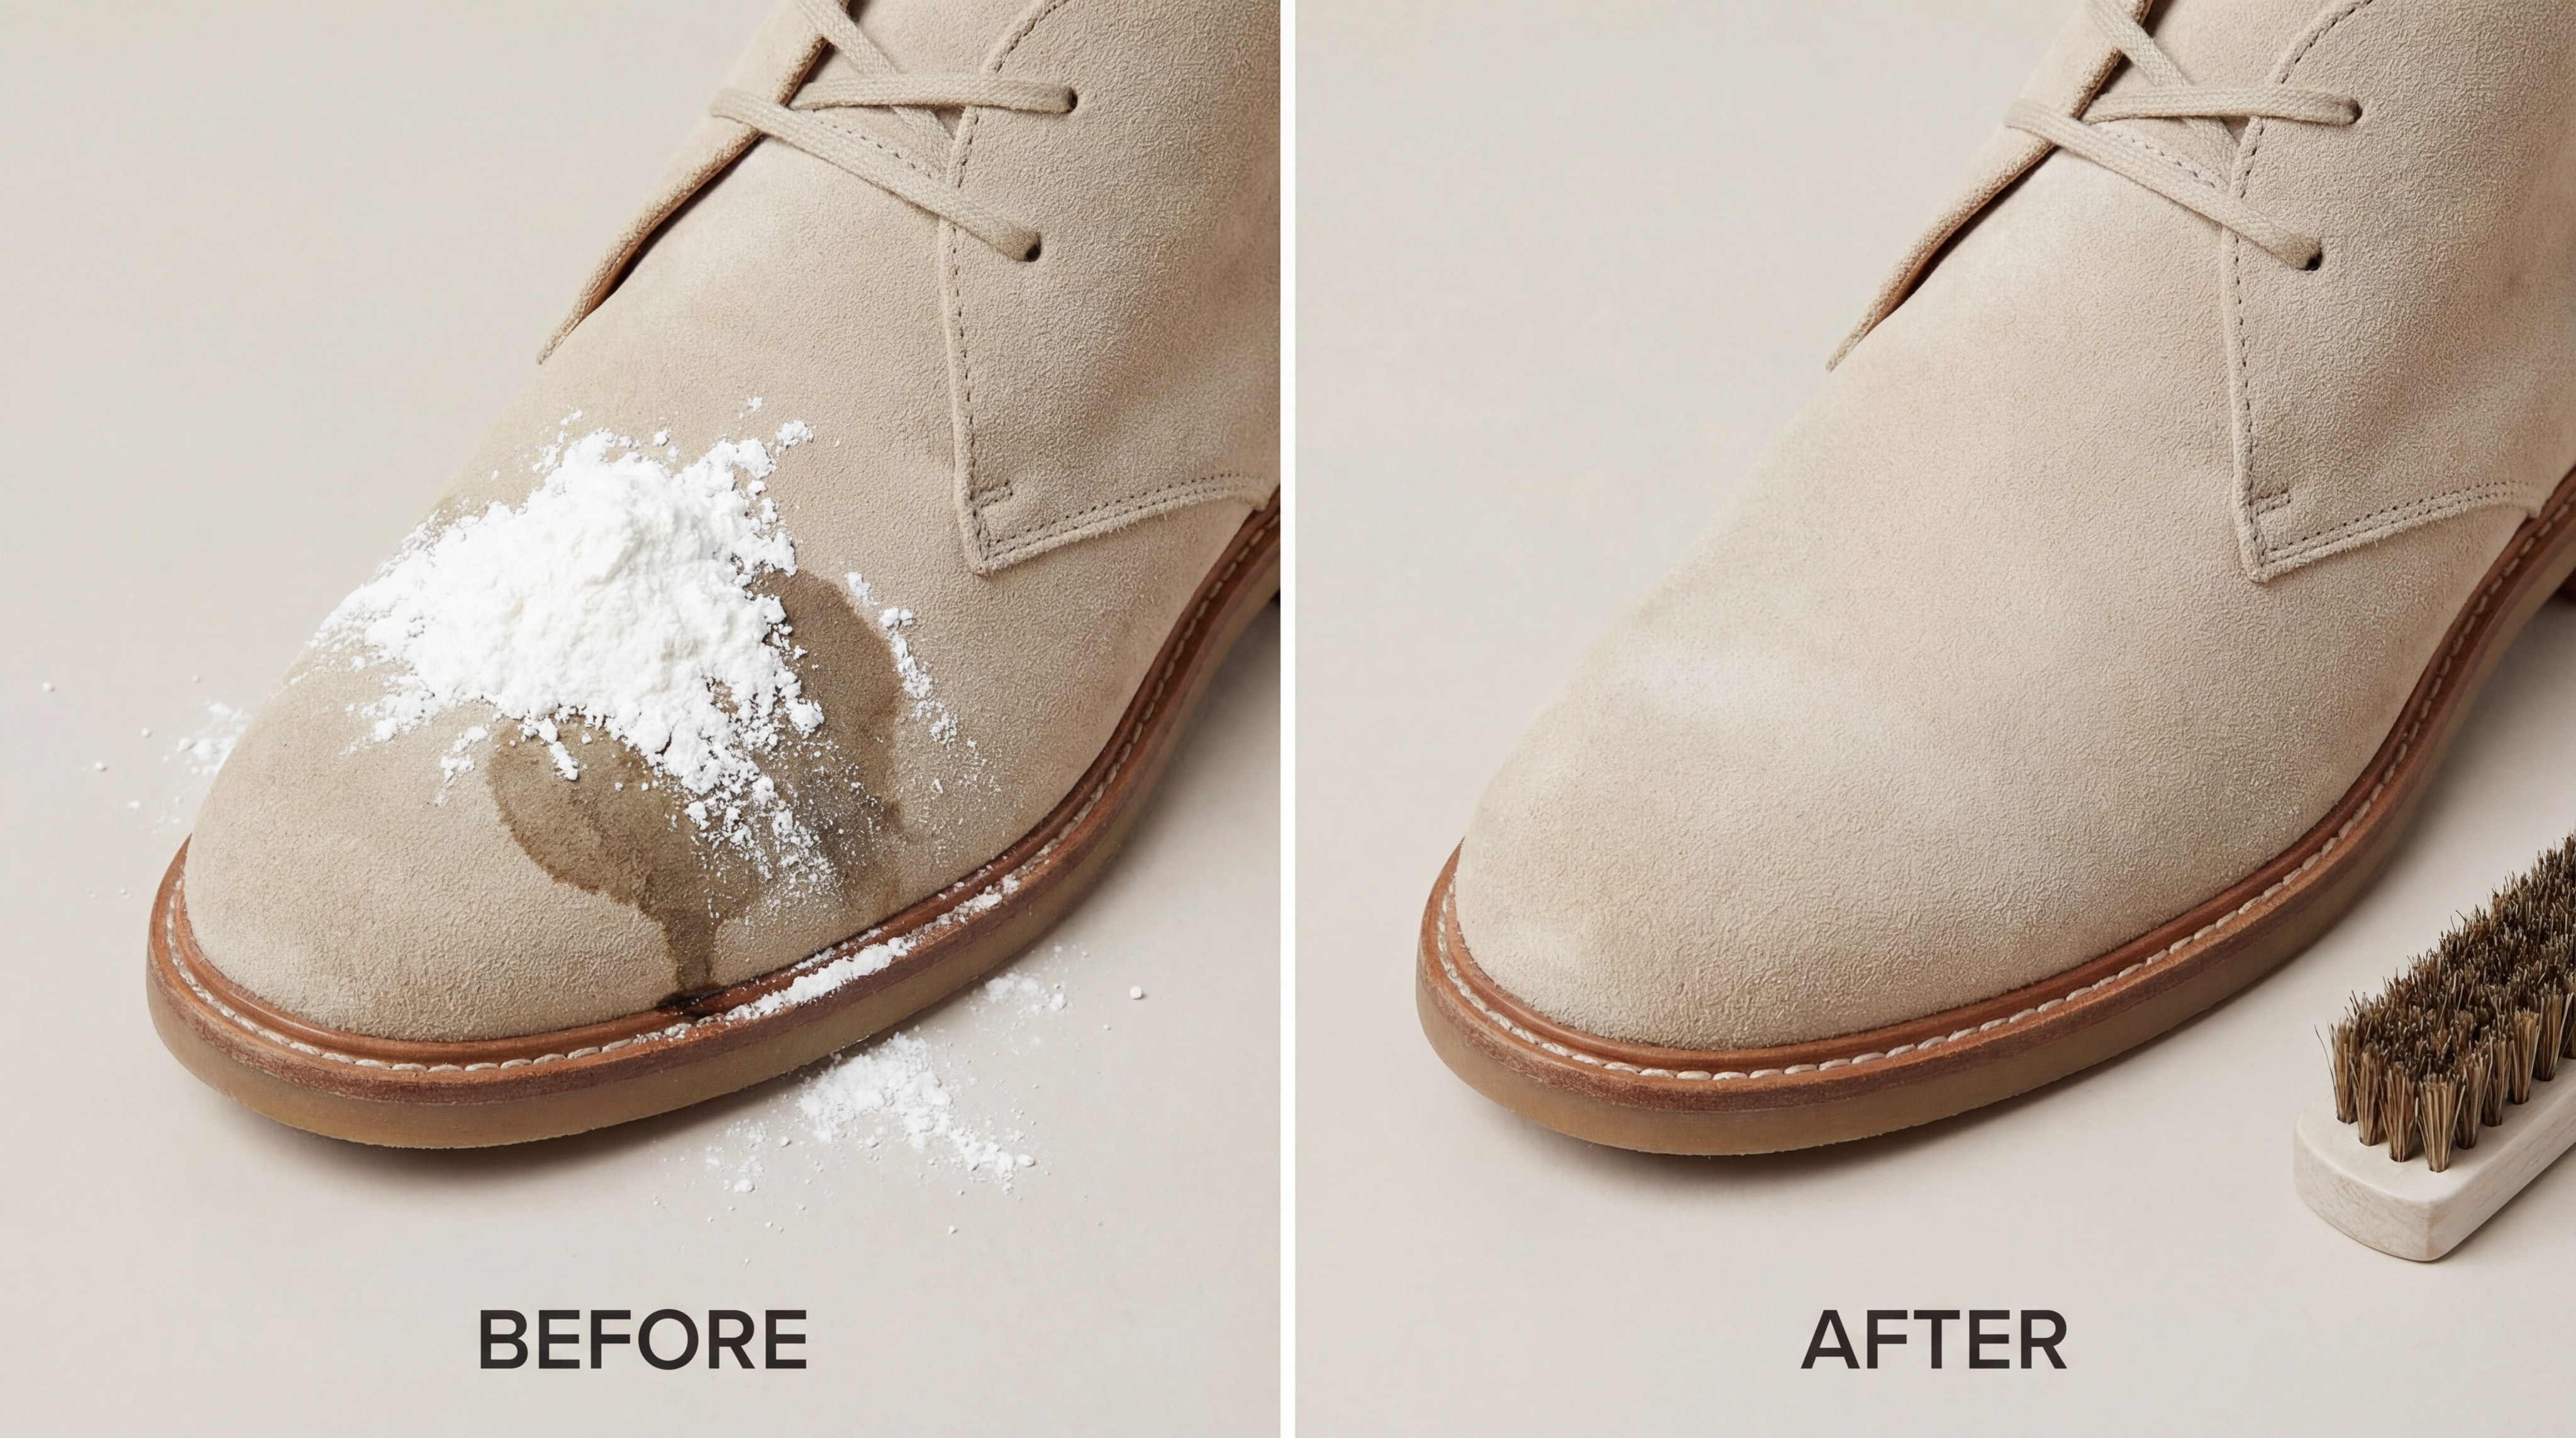
After the waiting period has passed, use your suede brush to gently sweep away the powder. If the stain is still visible, you can repeat the process, but typically a single thorough application will drastically reduce the visibility of the mark. For mud stains, the golden rule is to wait for the mud to dry completely into a hard crust before attempting any cleaning.
Is it safe to use household items like white vinegar or rubbing alcohol?
You might be wondering:
Does applying an acidic substance like vinegar actually help or hurt the leather? The answer lies in the pH balance of the tanning process used to create the material. While water can leave mineral deposits and cause fiber stiffening, white vinegar acts as a mild surfactant that breaks down salt crystals and water-soluble stains without permanently altering the leather’s moisture balance.
When using vinegar or rubbing alcohol, the key is to avoid drenching the shoe; instead, dampen the corner of a clean cloth and lightly dab the affected area. This technique is particularly effective for removing the white “salt lines” that appear on shoes during winter months. The acetic acid in the vinegar neutralizes the alkaline salts, allowing them to be lifted away without leaving a residue.
Manufacturer Pro Tip: The pH Warning
While white vinegar is a great home remedy, avoid over-saturation. Excessive acidity can strip the tanning oils used during the manufacturing process, leading to premature cracking of the leather base. Always follow a vinegar treatment with a light brushing once dry.
For those interested in the experts behind the footwear, understanding these chemical interactions is part of the rigorous quality control practiced in modern factories. Using these agents correctly can save a pair of shoes that might otherwise be discarded. Always ensure you are working in a well-ventilated area and test a small, inconspicuous patch of the shoe first to ensure no color bleeding occurs.
How do you restore the nap and texture after the suede has dried?
After any cleaning process involving liquids or heavy brushing, you may notice that the suede looks flat, shiny, or “matted.” This happens because the fibers have become compressed or stuck together during the drying phase. Restoring the nap is the final, essential step to returning your shoes to their “factory-fresh” appearance and feel.
Actually, there’s a catch:
If you simply brush the flat spots, you might find they remain stubborn and unresponsive. In these cases, a gentle application of steam can be a miracle worker for loosening the fibers. Hold the shoe several inches away from a steaming kettle or use a professional garment steamer to lightly warm the surface, being extremely careful not to let the leather get actually wet.
Once the fibers are slightly warmed and humidified, use a medium-soft brush to lift the nap in several different directions. This “multi-directional” brushing breaks up any remaining surface tension and encourages the fibers to stand upright again. You will see the characteristic “color shift” return as you move your hand across the surface, indicating the texture has been successfully restored.
Do different types of suede—like Nubuck or dyed skins—require special care?
Think about it:
Is the suede on your heavy-duty work boots the same as the material on a luxury Italian loafer? In reality, there are significant differences between traditional split suede and its more durable cousin, nubuck. Nubuck is created by sanding the outer grain side of the hide, resulting in a much finer, tighter nap that is inherently more resistant to wear but requires a softer touch during cleaning.
Delicate skins like goatskin or lamb suede are significantly thinner and more prone to tearing than bovine-sourced leathers. These materials often feature deep, vibrant dyes that can be highly sensitive to liquid cleaners or even aggressive dry brushing. When working with dyed skins, you must be extremely cautious with vinegar or alcohol, as these can cause the pigment to migrate and create permanent “bleached” spots.
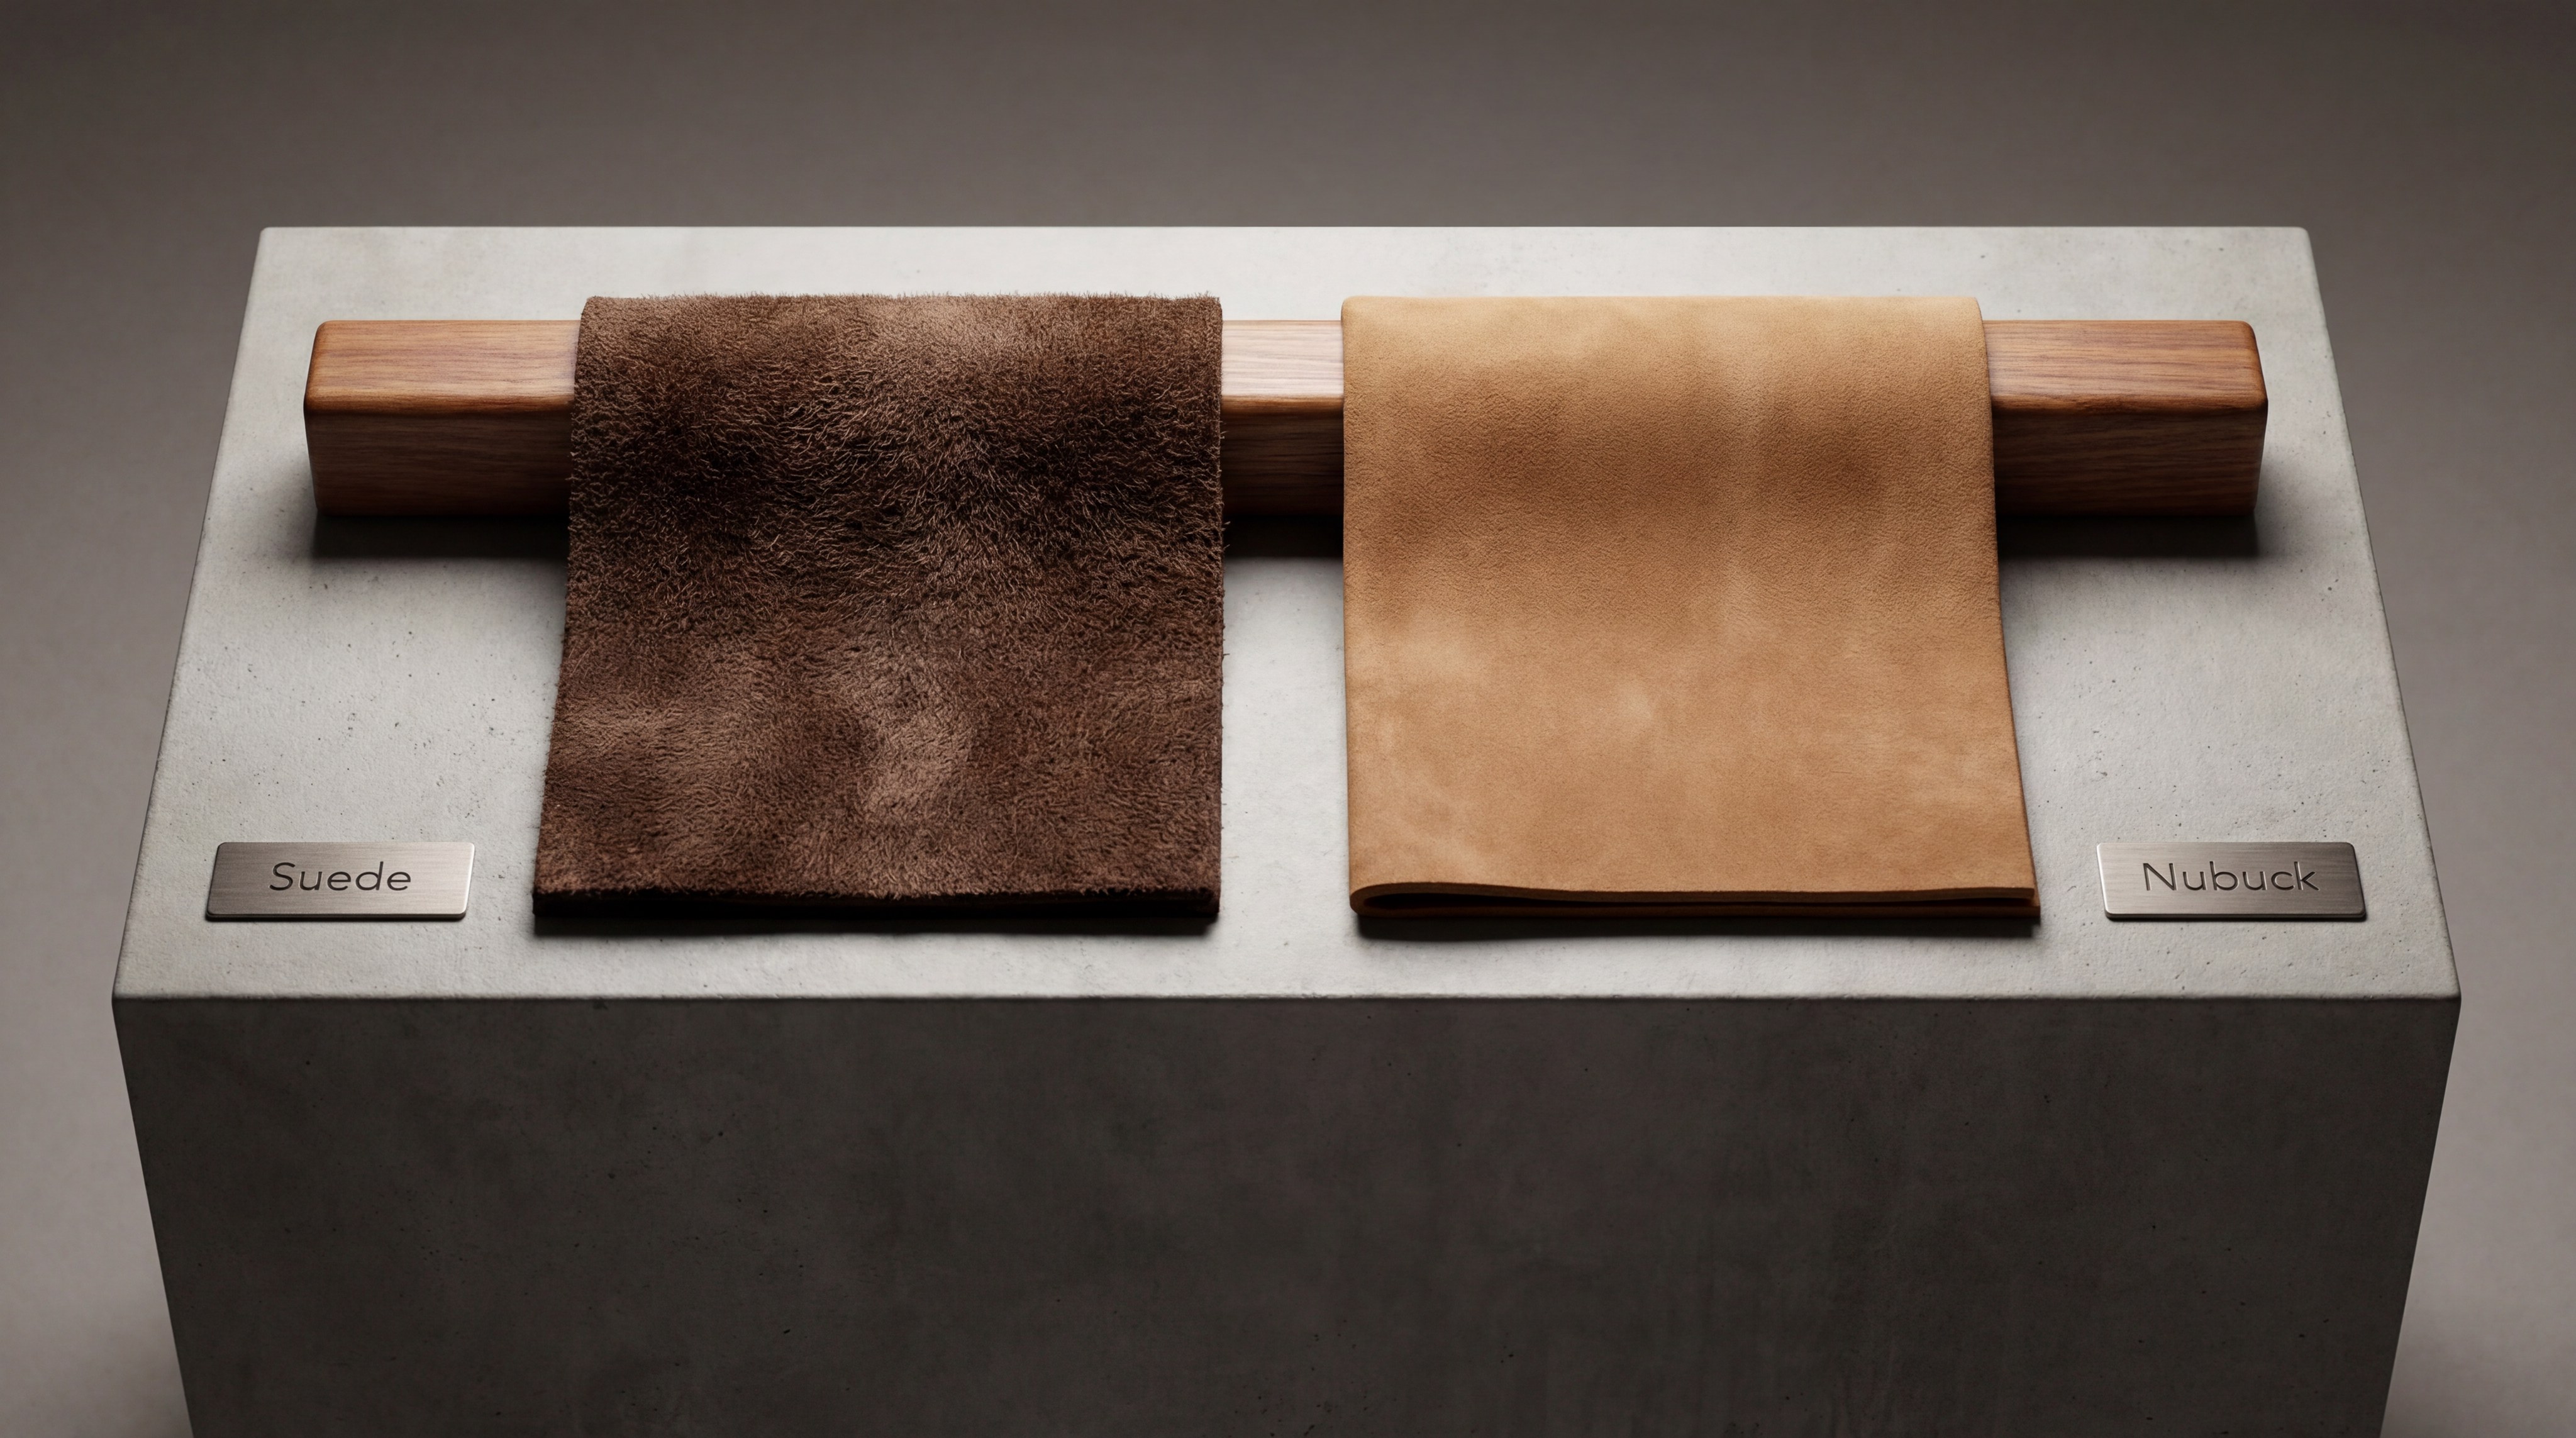
Understanding these nuances is why many enthusiasts choose to visit the home of footwear expertise to research the specific leather types used in their collections. If your shoes have a very short, velvet-like nap, they are likely nubuck and should be treated with a dedicated nubuck cloth rather than a brass-bristle brush. Conversely, “roughout” leathers can handle much more aggressive agitation without losing their structural integrity.
When is a stain too deep for DIY cleaning and requires a professional?
Here is the bottom line:
While the DIY methods outlined here are powerful, there are certain scenarios where continued home treatment will likely result in permanent damage. If a liquid stain has been allowed to “set” for several weeks, the chemical bonds between the contaminant and the leather fibers may be too strong for simple vinegar or cornstarch to break. Attempting to scrub these out usually leads to “balling” of the fibers, where the nap is physically destroyed.
Chemical burns from battery acid, industrial solvents, or heavy-duty household cleaners are also beyond the scope of home repair. These substances don’t just sit on the surface; they chemically alter the collagen structure of the leather hide. If you notice that the leather has become hard, cracked, or is literally disintegrating, it is time to seek out a professional cobbler who specializes in leather restoration.
Furthermore, if you have an extremely expensive pair of custom shoe production items, the risk of a DIY mistake might outweigh the cost of professional service. A professional cleaner has access to industrial degreasers and ultrasonic cleaning tools that can safely extract deep-seated grime without the physical abrasion of a hand brush. They can also perform “color matching” and re-dyeing, which is nearly impossible to achieve with consistent results at home.
How should you store and protect your suede shoes for the long term?
Long-term care is less about cleaning and more about environmental management and preventative protection. Moisture is the primary enemy during storage, as it can lead to the growth of mold or the structural rot of the inner linings. Always store your suede shoes in a cool, dry place away from direct sunlight, which can cause the dyes to fade and the leather to become brittle over time.
Manufacturer Pro Tip: The ‘Factory-Fresh’ Finish
To maintain the silhouette of a suede boot, always store with cedar shoe trees. This doesn’t just hold the shape; it wicks away internal moisture that can rot the suede from the inside out. Cedar also provides a natural deodorizing effect that chemical sprays can’t match.
Investing in a high-quality waterproofing spray is the single most effective way to reduce your cleaning workload. These sprays create a microscopic, hydrophobic barrier on the surface of the nap, causing water and oil to bead up and roll off rather than soaking in. For the best results, apply two light coats rather than one heavy one, allowing the shoes to dry completely between applications.
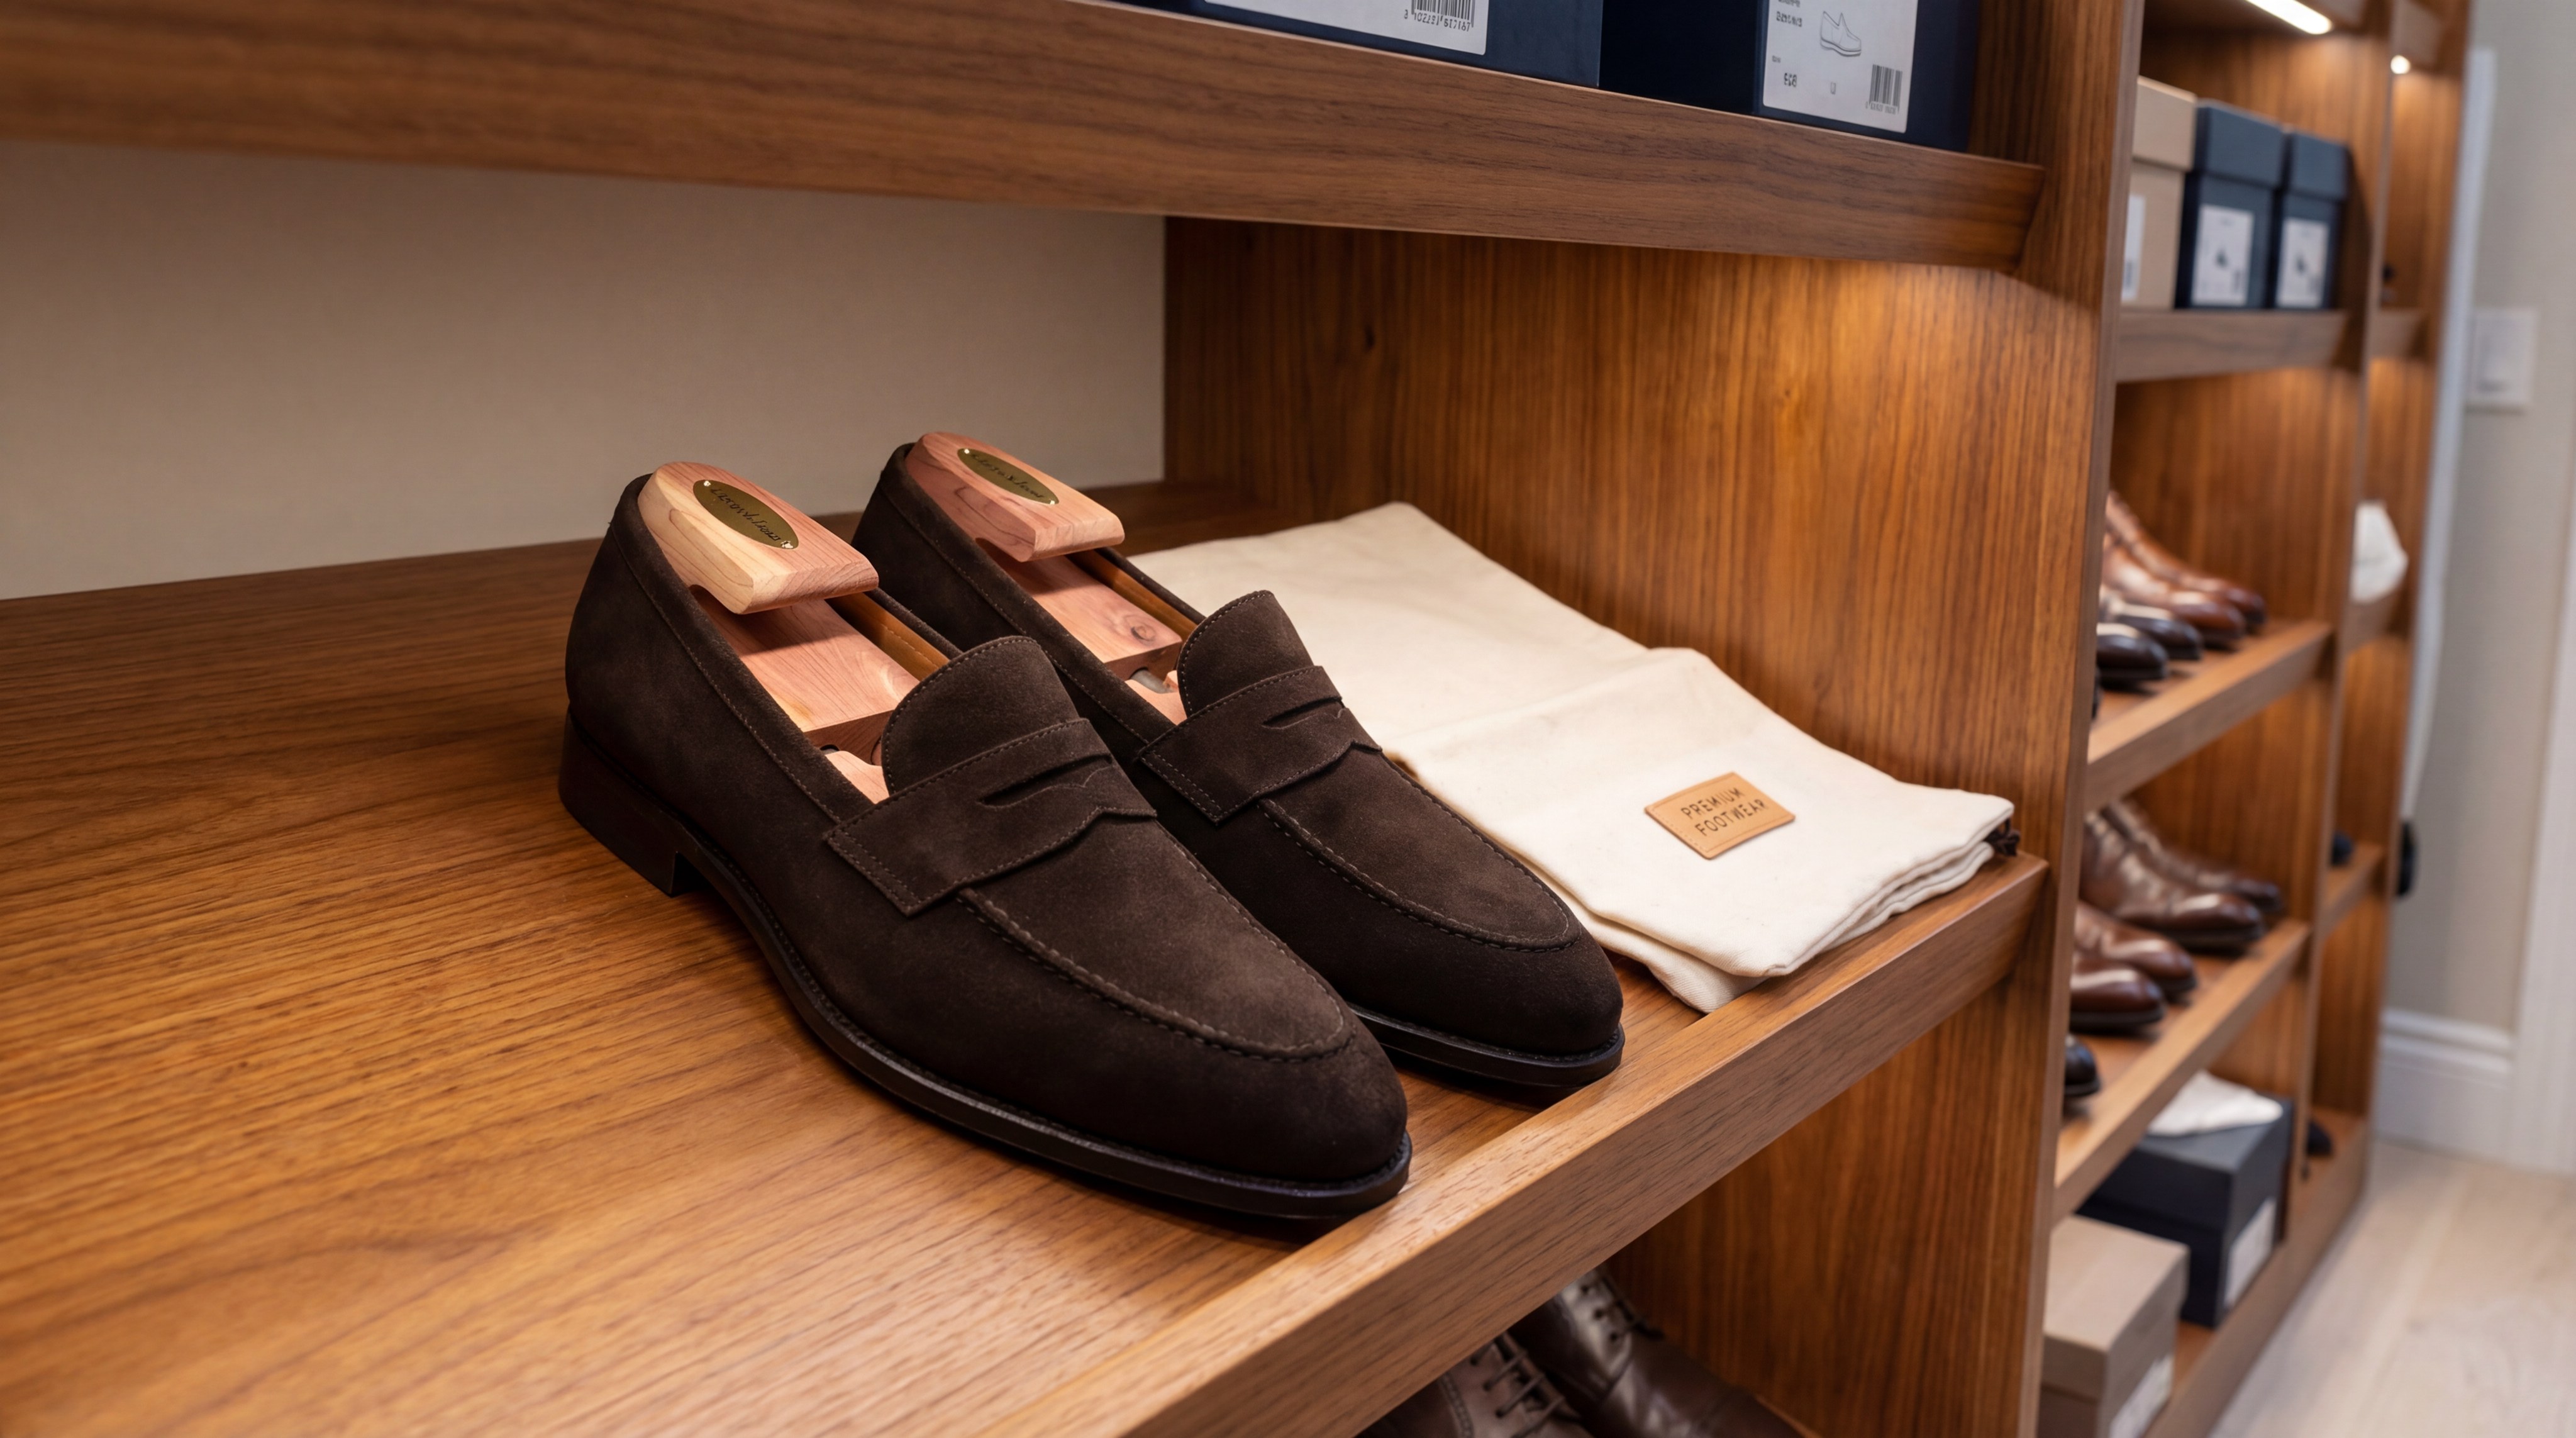
Finally, always use breathable cotton dust bags rather than plastic containers for storage. Plastic traps moisture and prevents the leather from “breathing,” which can lead to a funky odor and material degradation. By following these storage protocols, you ensure that your cleaning efforts aren’t wasted and your shoes are ready for the next time you need to make a lasting impression.
Frequently Asked Questions
Can you wash suede shoes with water?
You should never fully submerge suede shoes in water or put them in a washing machine because it will ruin the texture. Excessive water causes the leather to stiffen as it dries and can lead to permanent distortion of the shoe’s shape and silhouette.
How do you get deep stains out of suede shoes?
Deep stains often require specialized treatments such as cornstarch for oil absorption or a mixture of white vinegar and water for mineral deposits. For the most stubborn grime, a dedicated commercial suede shampoo can be used sparingly, provided you treat the entire shoe to ensure even drying.
What household items can you use to clean suede shoes?
The most effective household items for suede care include white vinegar for salt stains, cornstarch or baking soda for oil removal, and clean pencil erasers for scuffs. You can also use a clean, dry toothbrush as a substitute for a specialized suede brush in an emergency.
How do you restore the nap on suede shoes?
To restore the nap, you should gently steam the leather and then brush it in multiple directions with a soft-bristled brush. This process lifts the flattened fibers and restores the velvety texture that often becomes matted after cleaning or exposure to rain.
What should you not use to clean suede?
Never use heavy soaps, laundry detergents, or harsh chemical solvents like bleach on suede footwear. These substances will strip the natural oils from the leather and can cause permanent discoloration or structural damage to the delicate nap.
For further assistance with maintaining your high-quality footwear or to inquire about professional care solutions, please reach out for professional shoe care.